Chicago-style Hot Dog (Homemade)
In the Windy City, the “Chicago Dog” is king. Well, one of the kings at least (respect to Italian Beef and Pizza, too). Here’s the question of the day, is a homemade version worth the time and effort to make? Does a homemade chicago dog taste better than what you’ll find at the one of the thousands of hotdog stands scattered across the city? It’s a tall order, but I intend to get to the bottom of it. Let’s cook, bake and stuff. Mush!
P.S. I owe a lot of the Hot Dog knowledge that I acquired for this video to the book Made In Chicago by Monica Eng and David Hammond. If you’re interested in the food that built Chicago, you should pick up a copy. I couldn’t recommend it enough. 🤘🏼 Adam
STUFF I USE...
The Hot Dog
Hot dogs are essentially the American spin-off of the German frankfurter—both are cured, cooked sausages, but frankfurters are typically pork-based with a mild spice blend and coarser texture, while hot dogs in Chicago are usually all-beef, emulsified into a smooth paste, and packed with bolder seasonings. Frankfurters are eaten solo or with bread in Europe, but hot dogs took a detour through U.S. ballparks and street carts, landing in a bun with an identity crisis of toppings depending on where you get one. Think of frankfurters as the traditional blueprint and hot dogs as the loud, overachieving remix.
In Chicago, the influence of Kosher practices from Austrain-Hungarian Jews lead to an all-beef variety which is now a big difference maker that separates Chicago dogs from many of the rest.

This poster is nothing new to any Dog-lovin’ Chicagoan, you’ll see it hung up in hot dog stand all over Chicago. I even have one in my office. Lol.
Chicago-style Hot Dog (Sausage Recipe)
Ingredients
Instructions
- Soak the sheep casings in cold water overnight stored in the fridge.
- Grind and separate all lean meats and fat. Ensure both are at or below 34F during the grinding process to ensure they grind well. Store the meat in fridge until needed, the fat can be left at room temperature after its ground up.
- Add the lean meat to a powerful food processor, ensuring its temperature is not above 45F, along with the kosher salt, granulated garlic, onion and half of the ice. Chop for 20 seconds, check the emulsion and temperature and keep processing for 20 seconds.
- Add the potato starch, fat and remaining half of the ice. Process the mixture until smooth, or until it reaches 55F.
- Transfer the farce to your sausage stuffer ensuring there are no air holes. Wet the tip of the stuffer and apply the sheep casing. Tie the end and stuff the casings.
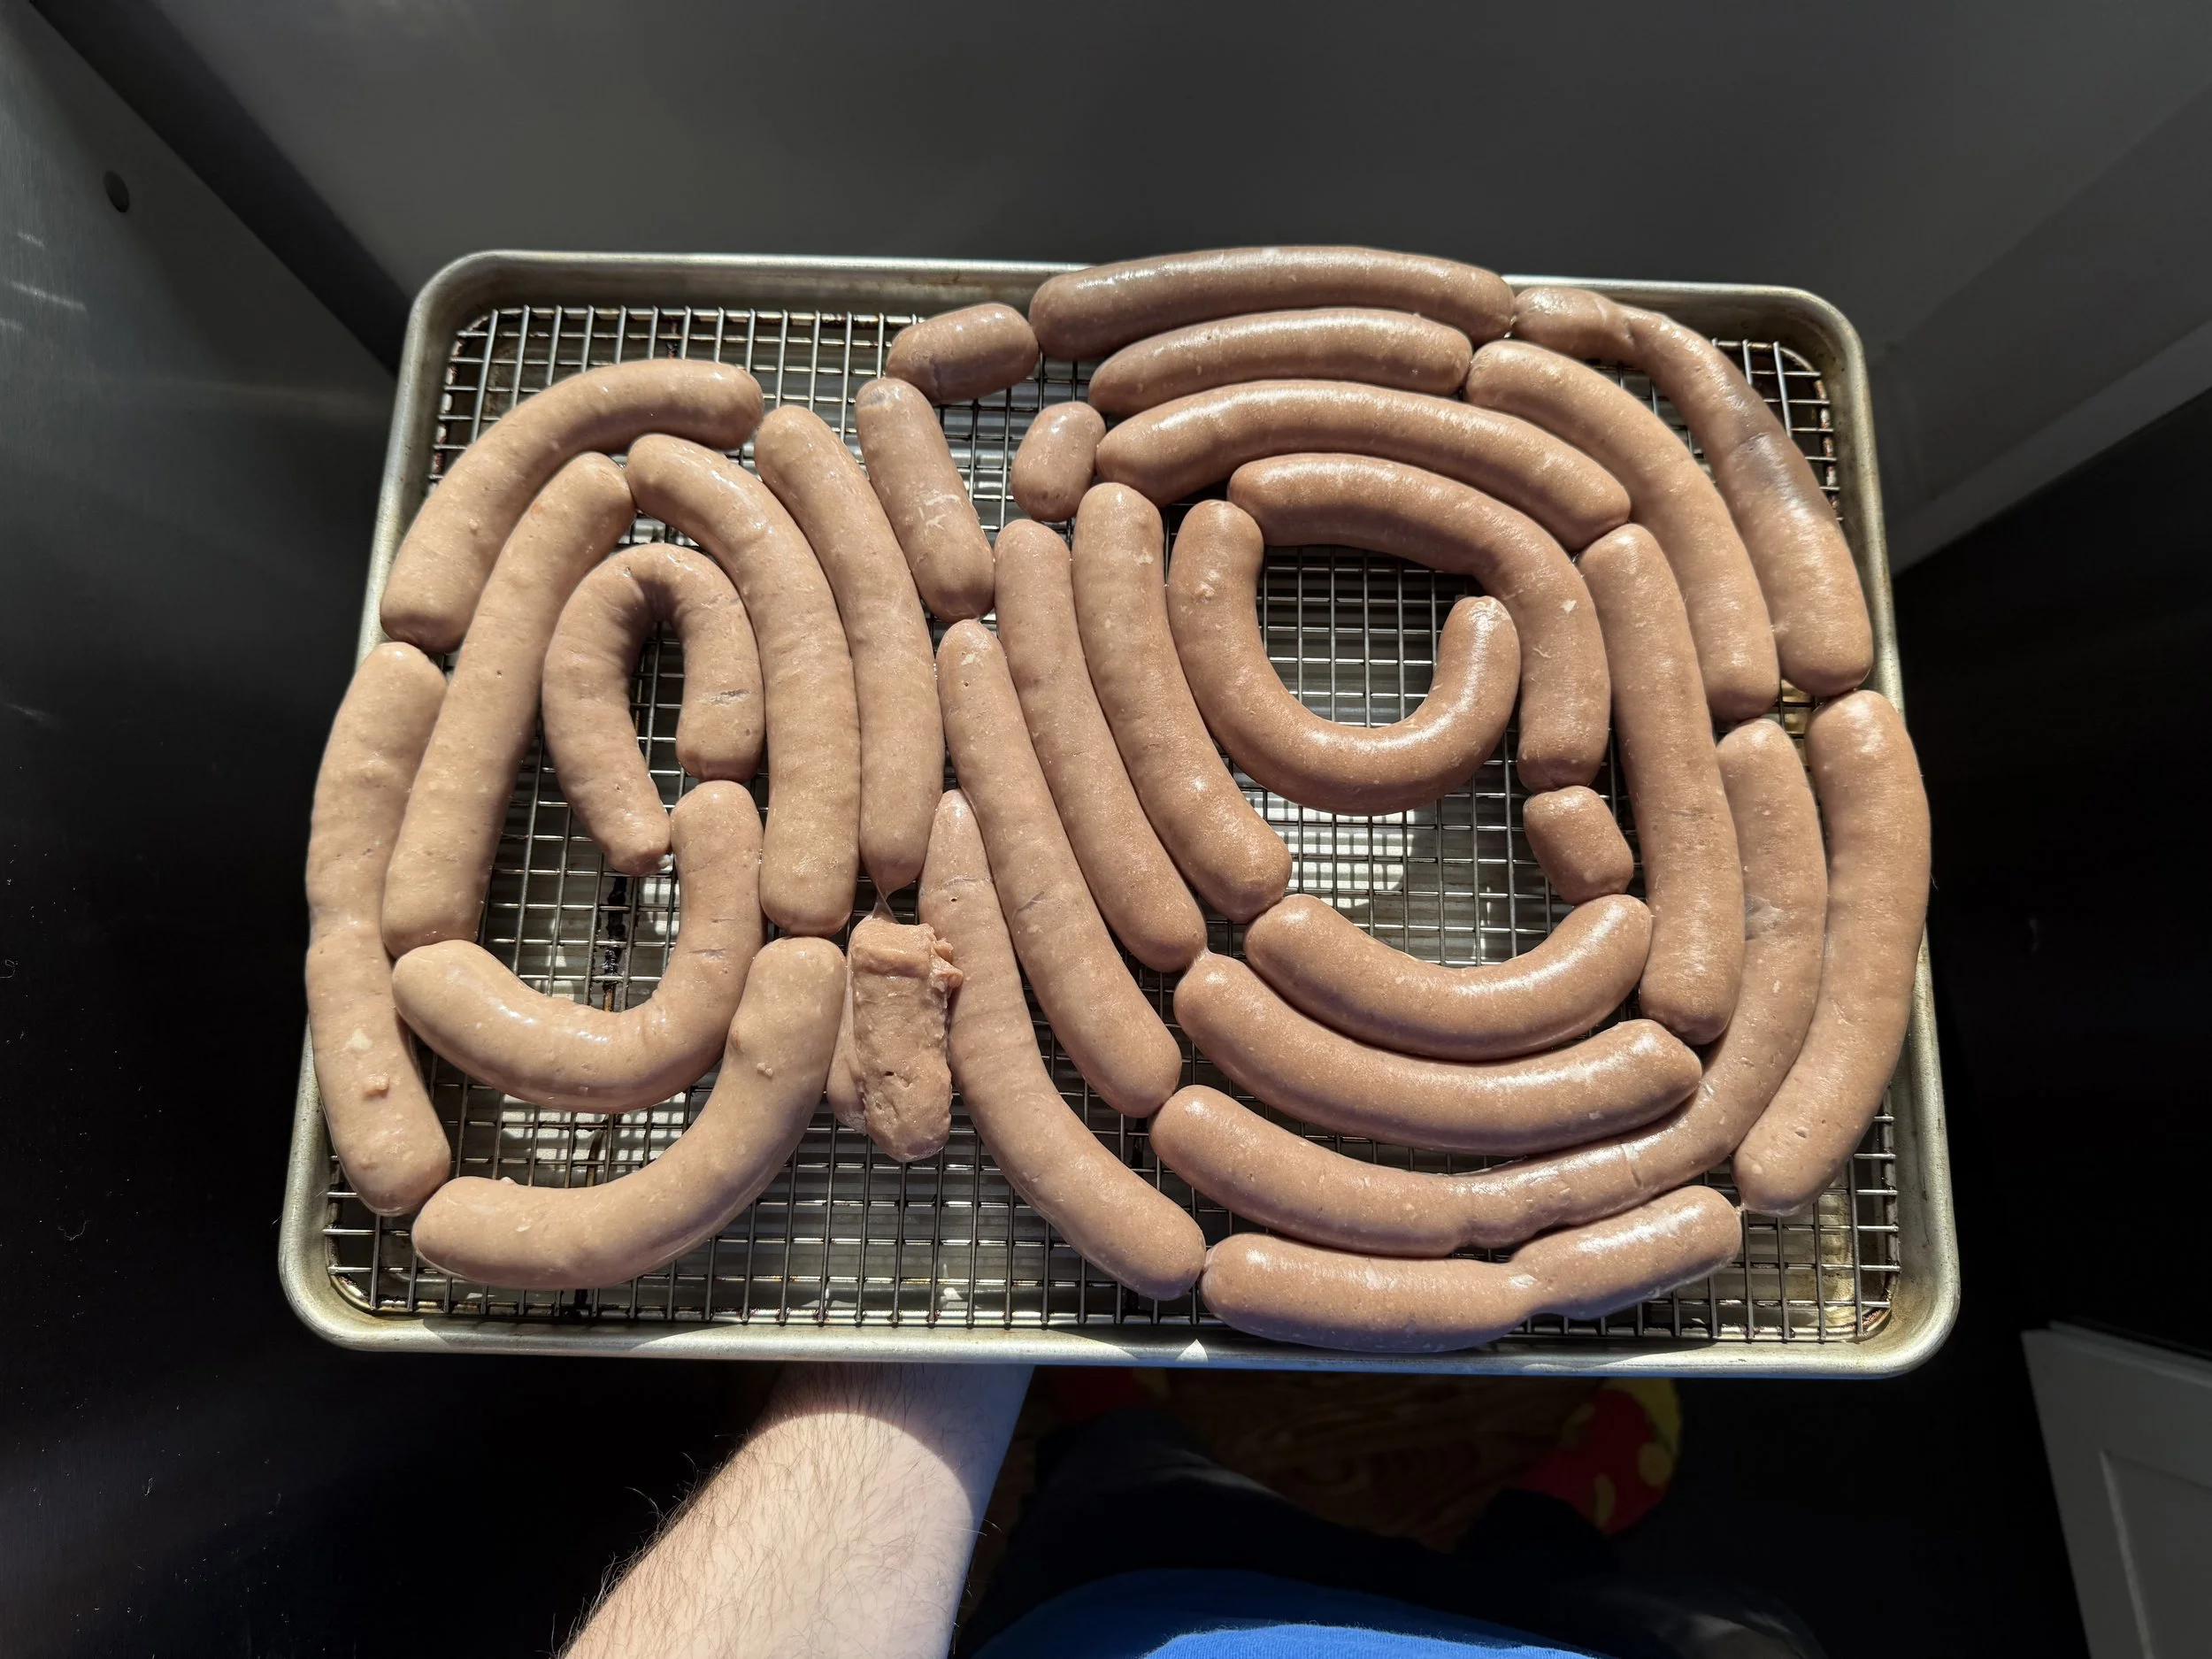
- Twist and tie the casings. Prick any sausages that have air holes.
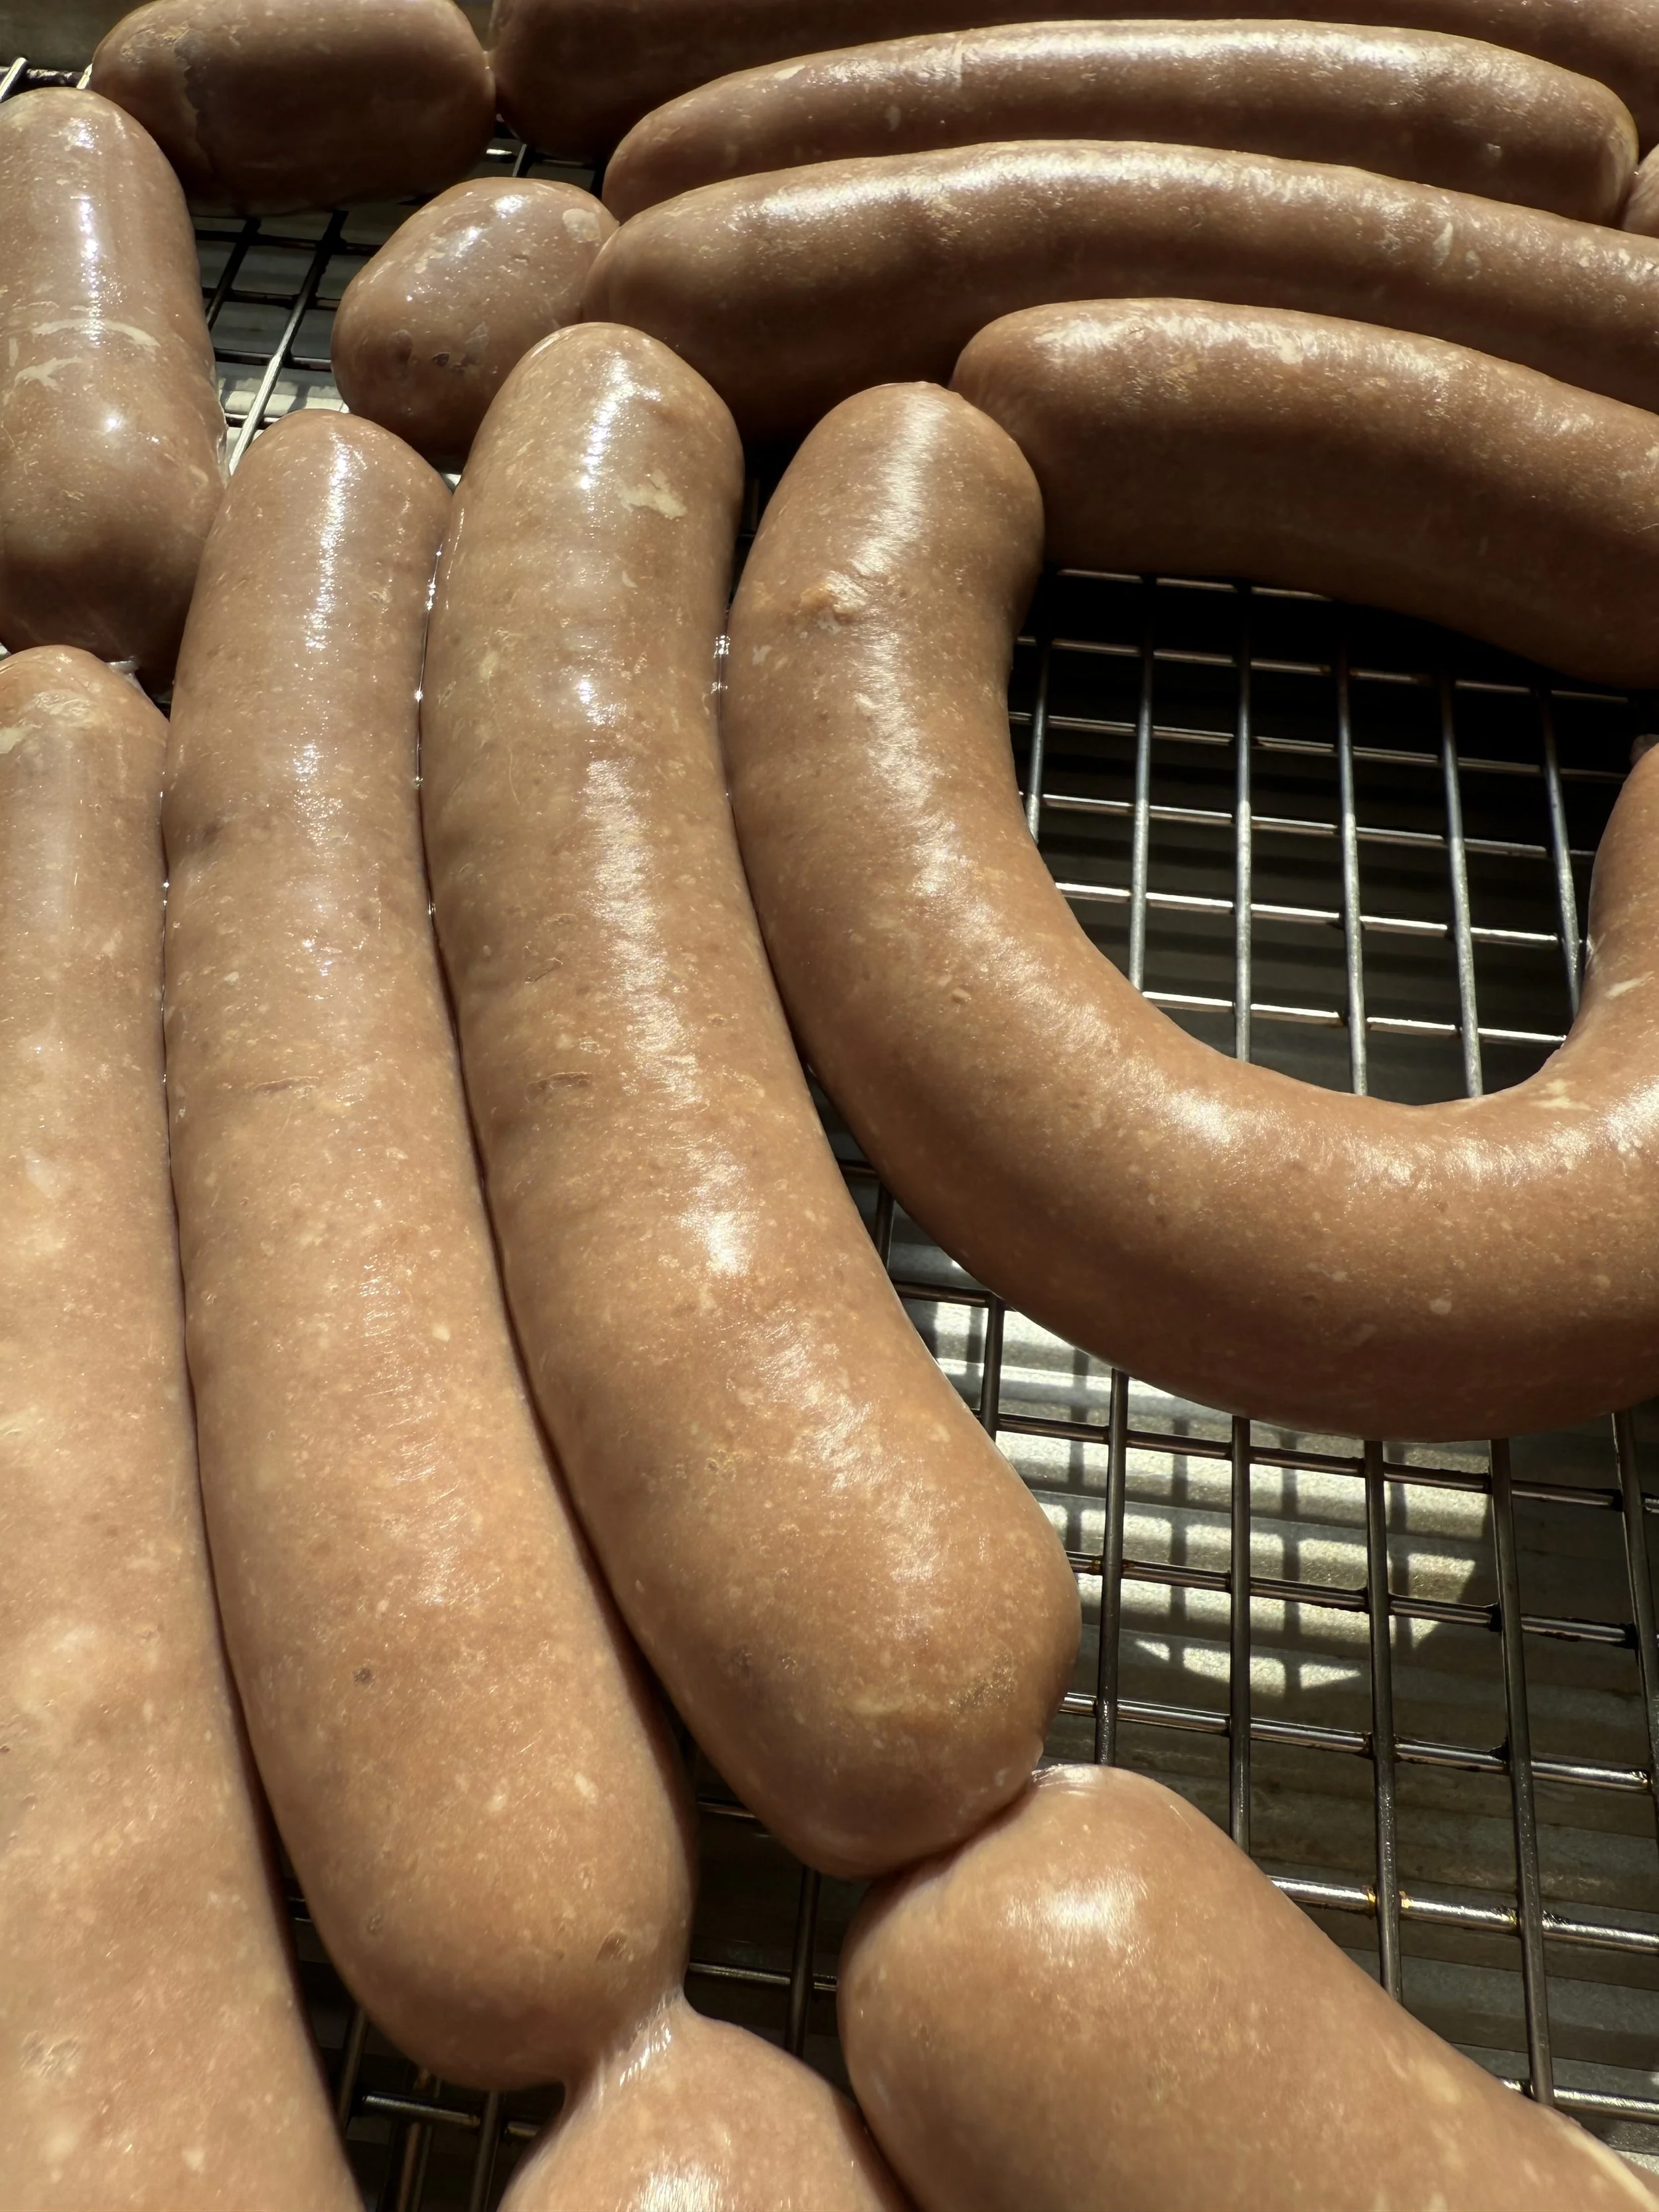
- Cold smoke (cook under 90F) for 1 hour with hickory wood pellets or chips. You can add a tray of water to maintain a humid environment which will help the sausages from drying out.
- • 8. Once smoked, finish the hot dogs in a sous vide bath for 1 hour at 145F. Chill in an ice bath or enjoy immediately.
Adam's Notes
- Ensure grinder blade is sharp and meat grinder is cold for best results.
- Under 45F meat temperature will allow for best protein extraction in the lean meat.
- The temperature for making sausage is important. If the fat smears it could render out of the hotdogs when cooked which will lead to a crumbly sausage which is the exact opposite texture of what is needed in an emulsified sausage like a hot dog.
- This video taught me everything.
American Yellow Mustard
While I prefer a dijon or whole grain mustard on most sausages, a Chicago dog is all about good ol’ American yellow mustard… anything with the word artisan in it, get it out of here… for the time being. The addition of mustard was brought on, you guessed it, by the Germans in the mid 19th century. However, the use of Yellow mustard turned out to be more popular than others here in The States probably because it’s more mild, it was also cheaper to make.
American Yellow Mustard
Ingredients
Instructions
- Put water, mustard powder, turmeric, garlic powder, paprika and salt in a small sauce pan over medium-low heat and whisk until smooth.
- Cook for 10 minutes, until the mustard thickens and reduces slightly.
- • 3. Whisk in the vinegar and continue cooking until you’ve achieved a thick, mustard consistency. Cool and store in the fridge until needed.
Adam's Notes
- For best results, wait a few days to let the mustard mellow out in the fridge. At first, it will be strong.
Neon Green Relish
Chicago-style neon green relish is probably the most iconic topping on the “sandwich” probably because, well, it’s neon green. I mean strikingly green, it looks like one of the hulks tissues if he sneezed in it… get your head out of the gutter. According to Food Historian Bruce Kraig in the book Made In Chicago by Monica Eng and David Hammond, this relish stems from an old American recipe meant to preserve cucumbers and it was first seen at a 1928 exhibition game between the cubs and sox. How it transformed from a regular dark green to a neon green, well, we have the commercial food biz to thank for that. Food coloring can do some pretty wild stuff.
Neon Green Relish
Ingredients
Instructions
- Place the roughly chopped bell peppers, cucumbers, and onions into a food processor. Process until minced.
- Drain, and transfer to a large bowl. Sprinkle with salt, cover, and rest overnight in the fridge.
- In the morning, drain the veggie mixture once again.
- In a small bowl, mix the mustard seed, celery salt, turmeric, sugar, white wine vinegar, and water to make the relish dressing.
- Transfer the veggie mixture into a large pot on the stove.
- Add the relish dressing to the pot. Heat over a high flame to boiling, then lower the heat, and allow to boil for 10 minutes.
- • 7. Remove from the heat, and allow the relish to cool before serving. Mix in enough green food coloring to make the relish a neon green color.
Poppy Seed Hotdog Buns
For a Chicago Hot Dog, a poppy seed bun is a must. The bun itself should be like white bread — fluffy, soft and warmed by steam then studded all over with little black poppy seeds. No sesame seeds, no corn meal, just poppy seeds on a soft hotdog bun. The addition of Poppy seeds stem from Eastern-European Jewish baking traditions.
Poppy Seed Hot Dog Buns
Ingredients
Instructions
- In the bowl of a stand mixer, whisk in the warm water, warm milk, sugar and yeast. On top of the liquid, add the milk, oil and flour. With the dough hook attached, mix the dough until it comes together into a shaggy ball, about 30 seconds, then allow it to rest uncovered for 20 minutes.
- Mix the dough until it turns smooth, elastic and passes the “window test”.
- Place dough in an oiled bowl, turning to coat. Cover with plastic wrap and let rise for 1 hour at room temperature.
- Transfer dough to a lightly oiled surface. Divide into 6 equal flattened squares. Use a rolling pin to flatten them to 1/4 inch 6x7 inch rectangles. On the bottom side, smear the dough to the cutting board (see pictures), then from the top side use both hands to evenly roll the dough into a tubular shape. Pinch the seams together and shape each piece into 6 inch cylinders and slightly flatten with your hand. Cover and proof for 45 minutes. Preheat the oven to 400F.
- Before baking, spray the buns with water and sprinkle with poppy seeds. Bake for 18-20 minutes or until the internal temperature reaches 190F.
- Cool buns on a wire rack to avoid a soggy crust and let rest for 20 minutes before slicing.
- • 7. Store in an airtight container at room temperature for a few days or freeze for extended storage.
Adam's Notes
- For soft and tender buns, this dough should remain fairly loose. After adding 3.5 cups of flour, only incorporate enough to make it manageable, using minimal extra flour to prevent sticking during kneading.
- Remember, when incorporating the milk powder, you'll want to mix it directly with the flour to ensure even distribution. Adjust the amount of flour as needed to achieve the desired dough consistency.


Dill Pickle Spears
The pickle spear was added to the Chicago Hot Dog along the way through central and Eastern European influence, a love for pickles is something that the europeans AND Americans seemed to like so it only made sense. The spear runs the length of the hotdog so you get a little vinegar-y crunch in every bite.
Dill Pickle Spears
Ingredients
Instructions
- Slice cucumbers into spears, chips, or halves to best fit your 1-quart deli container.
- Place garlic, dill, mustard seeds, and optional spices at the bottom of the container.
- Pack the cucumbers tightly in vertically.
- In a saucepan, heat vinegar, water, and kosher salt until the salt dissolves—do not boil.
- Let the brine cool to room temperature.
- Pour the cooled brine over the cucumbers until fully submerged.
- Seal the container and refrigerate.
- • 8. Let sit at least 3 days before eating—flavor deepens after 1 week. Keeps for about 1 month.
“Dragged Through The Garden”
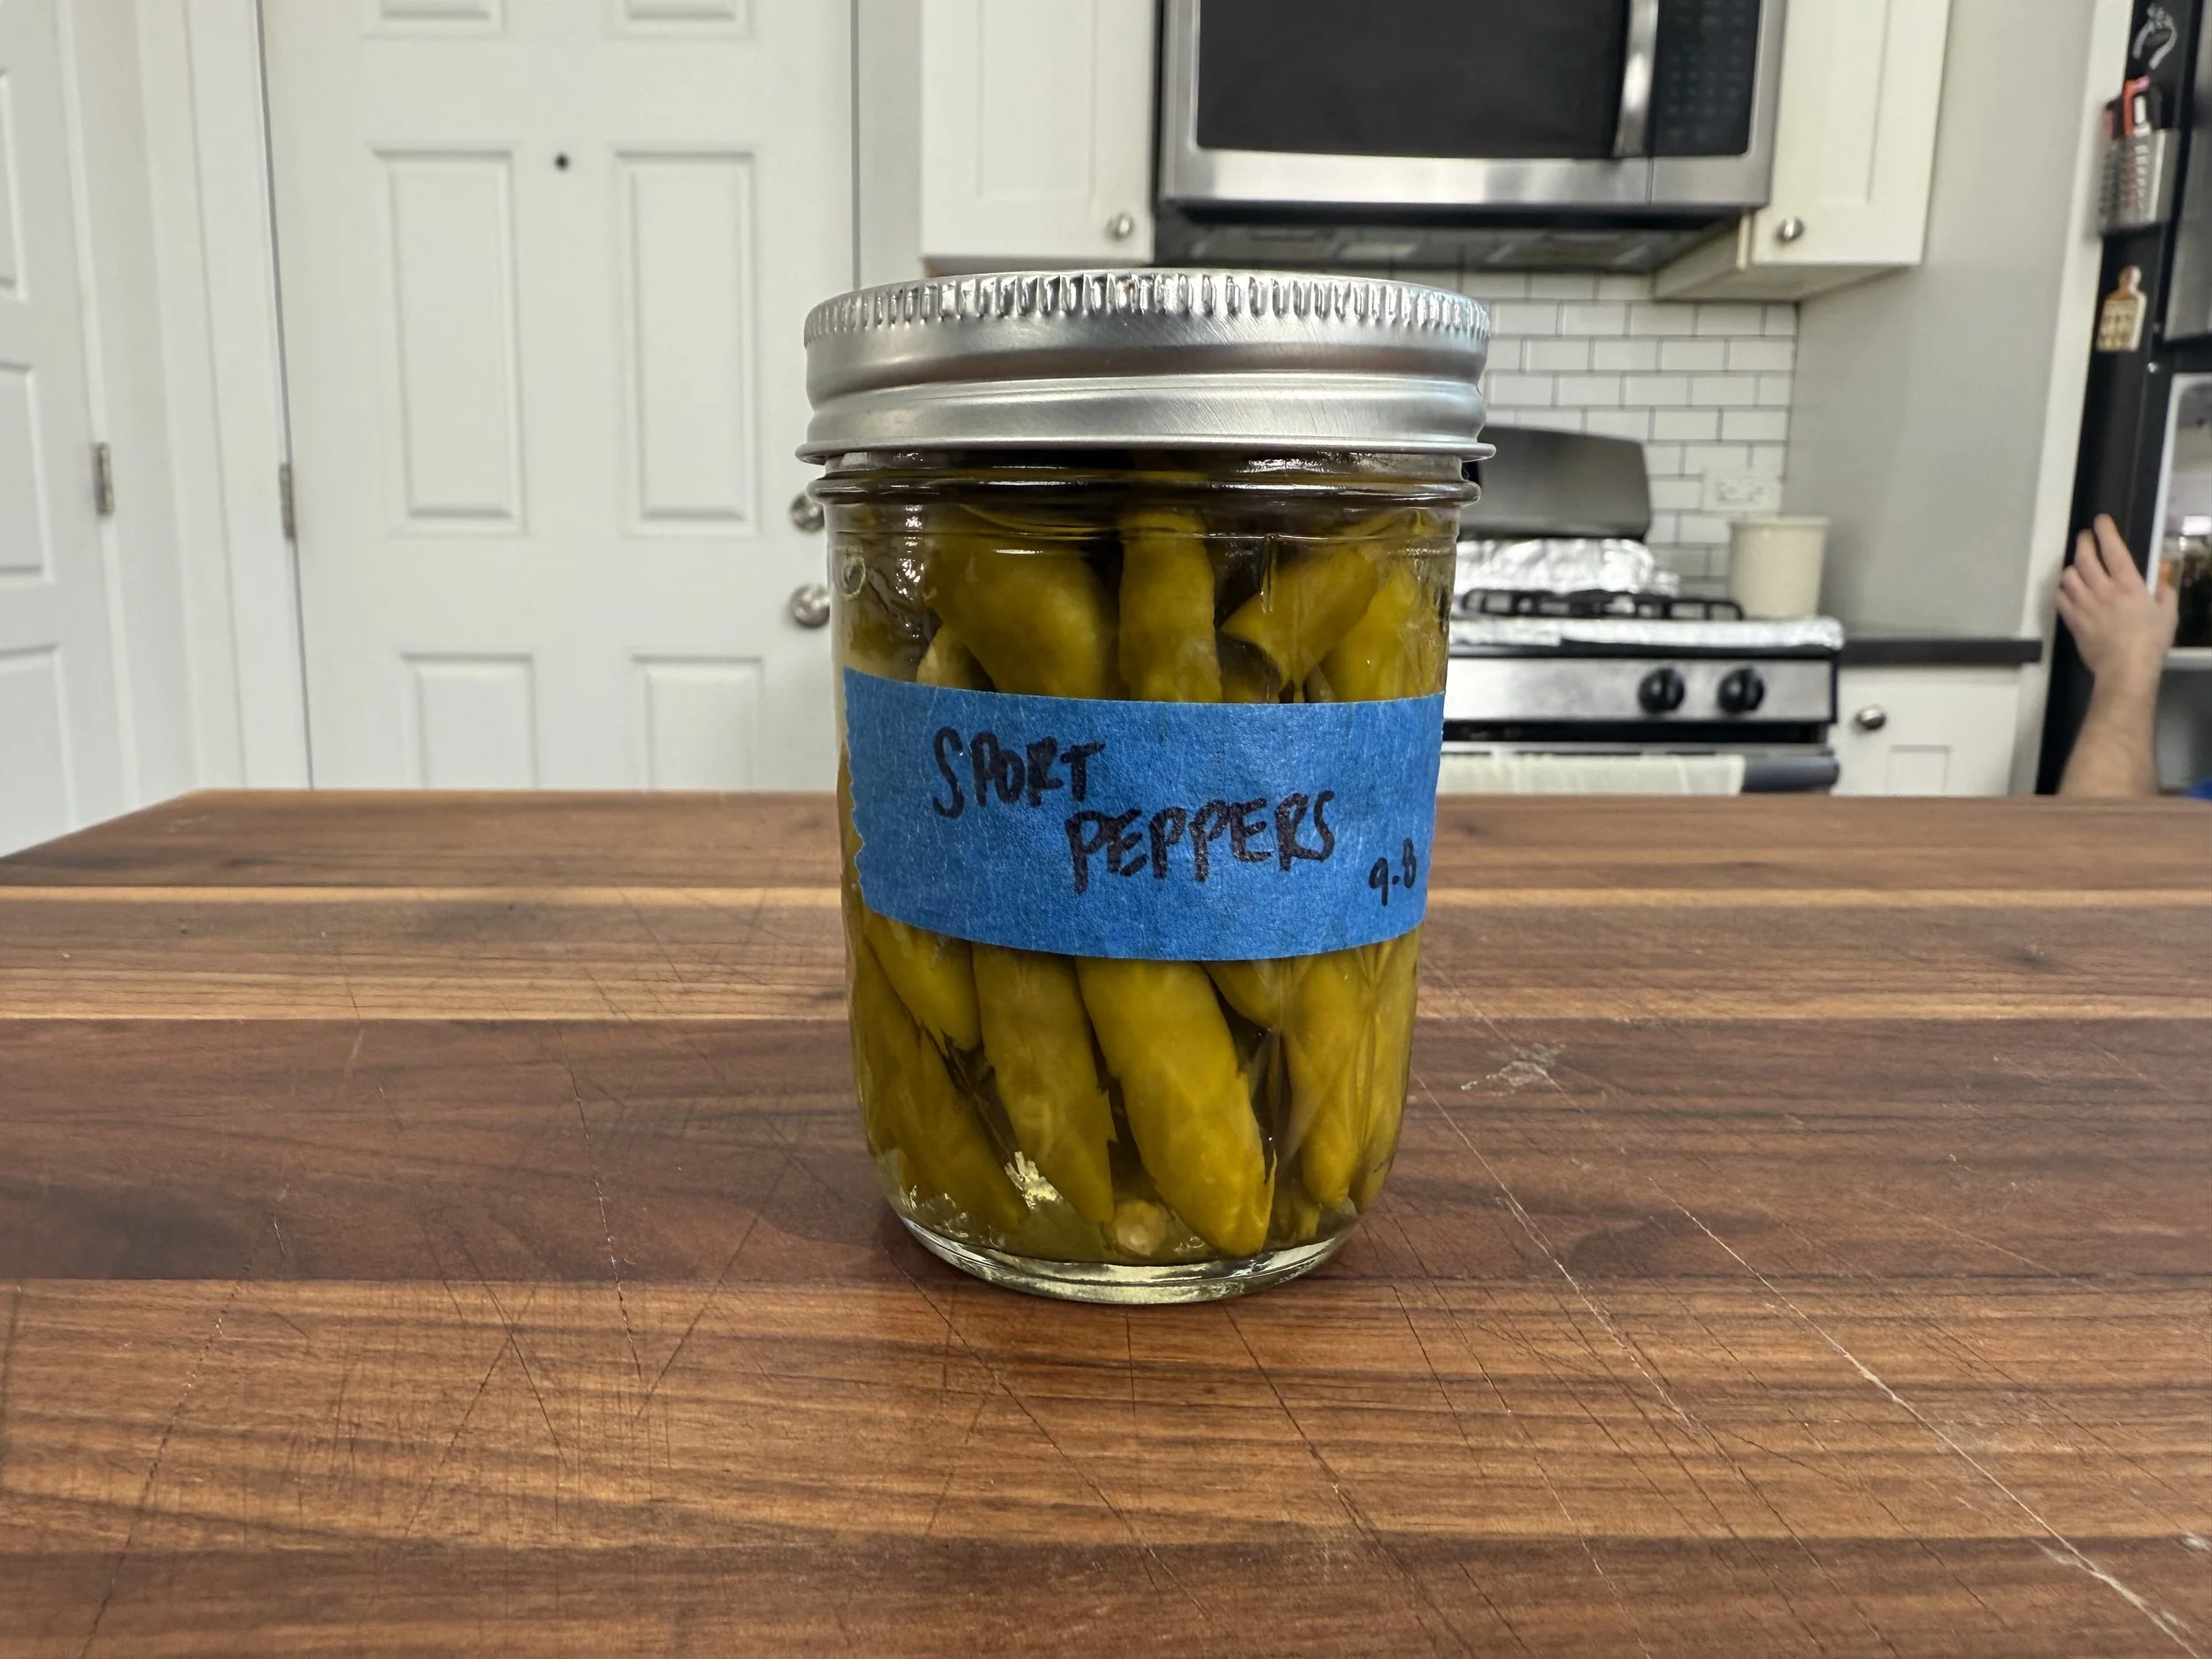
When ordering a Chicago Dog with everything on it you would say “drag it through the garden” which is supposed to explain all of the colorful vegetables scattered about it — onions, relish, tomatoes, celery seed, sport peppers, yellow mustard and pickle.
The pickle spear was added along the way through central and Eastern European influence, a love for pickles is something that the europeans AND Americans seemed to like so it only made sense. The spear runs the length of the hotdog so you get a little vinegar-y crunch in every bite.
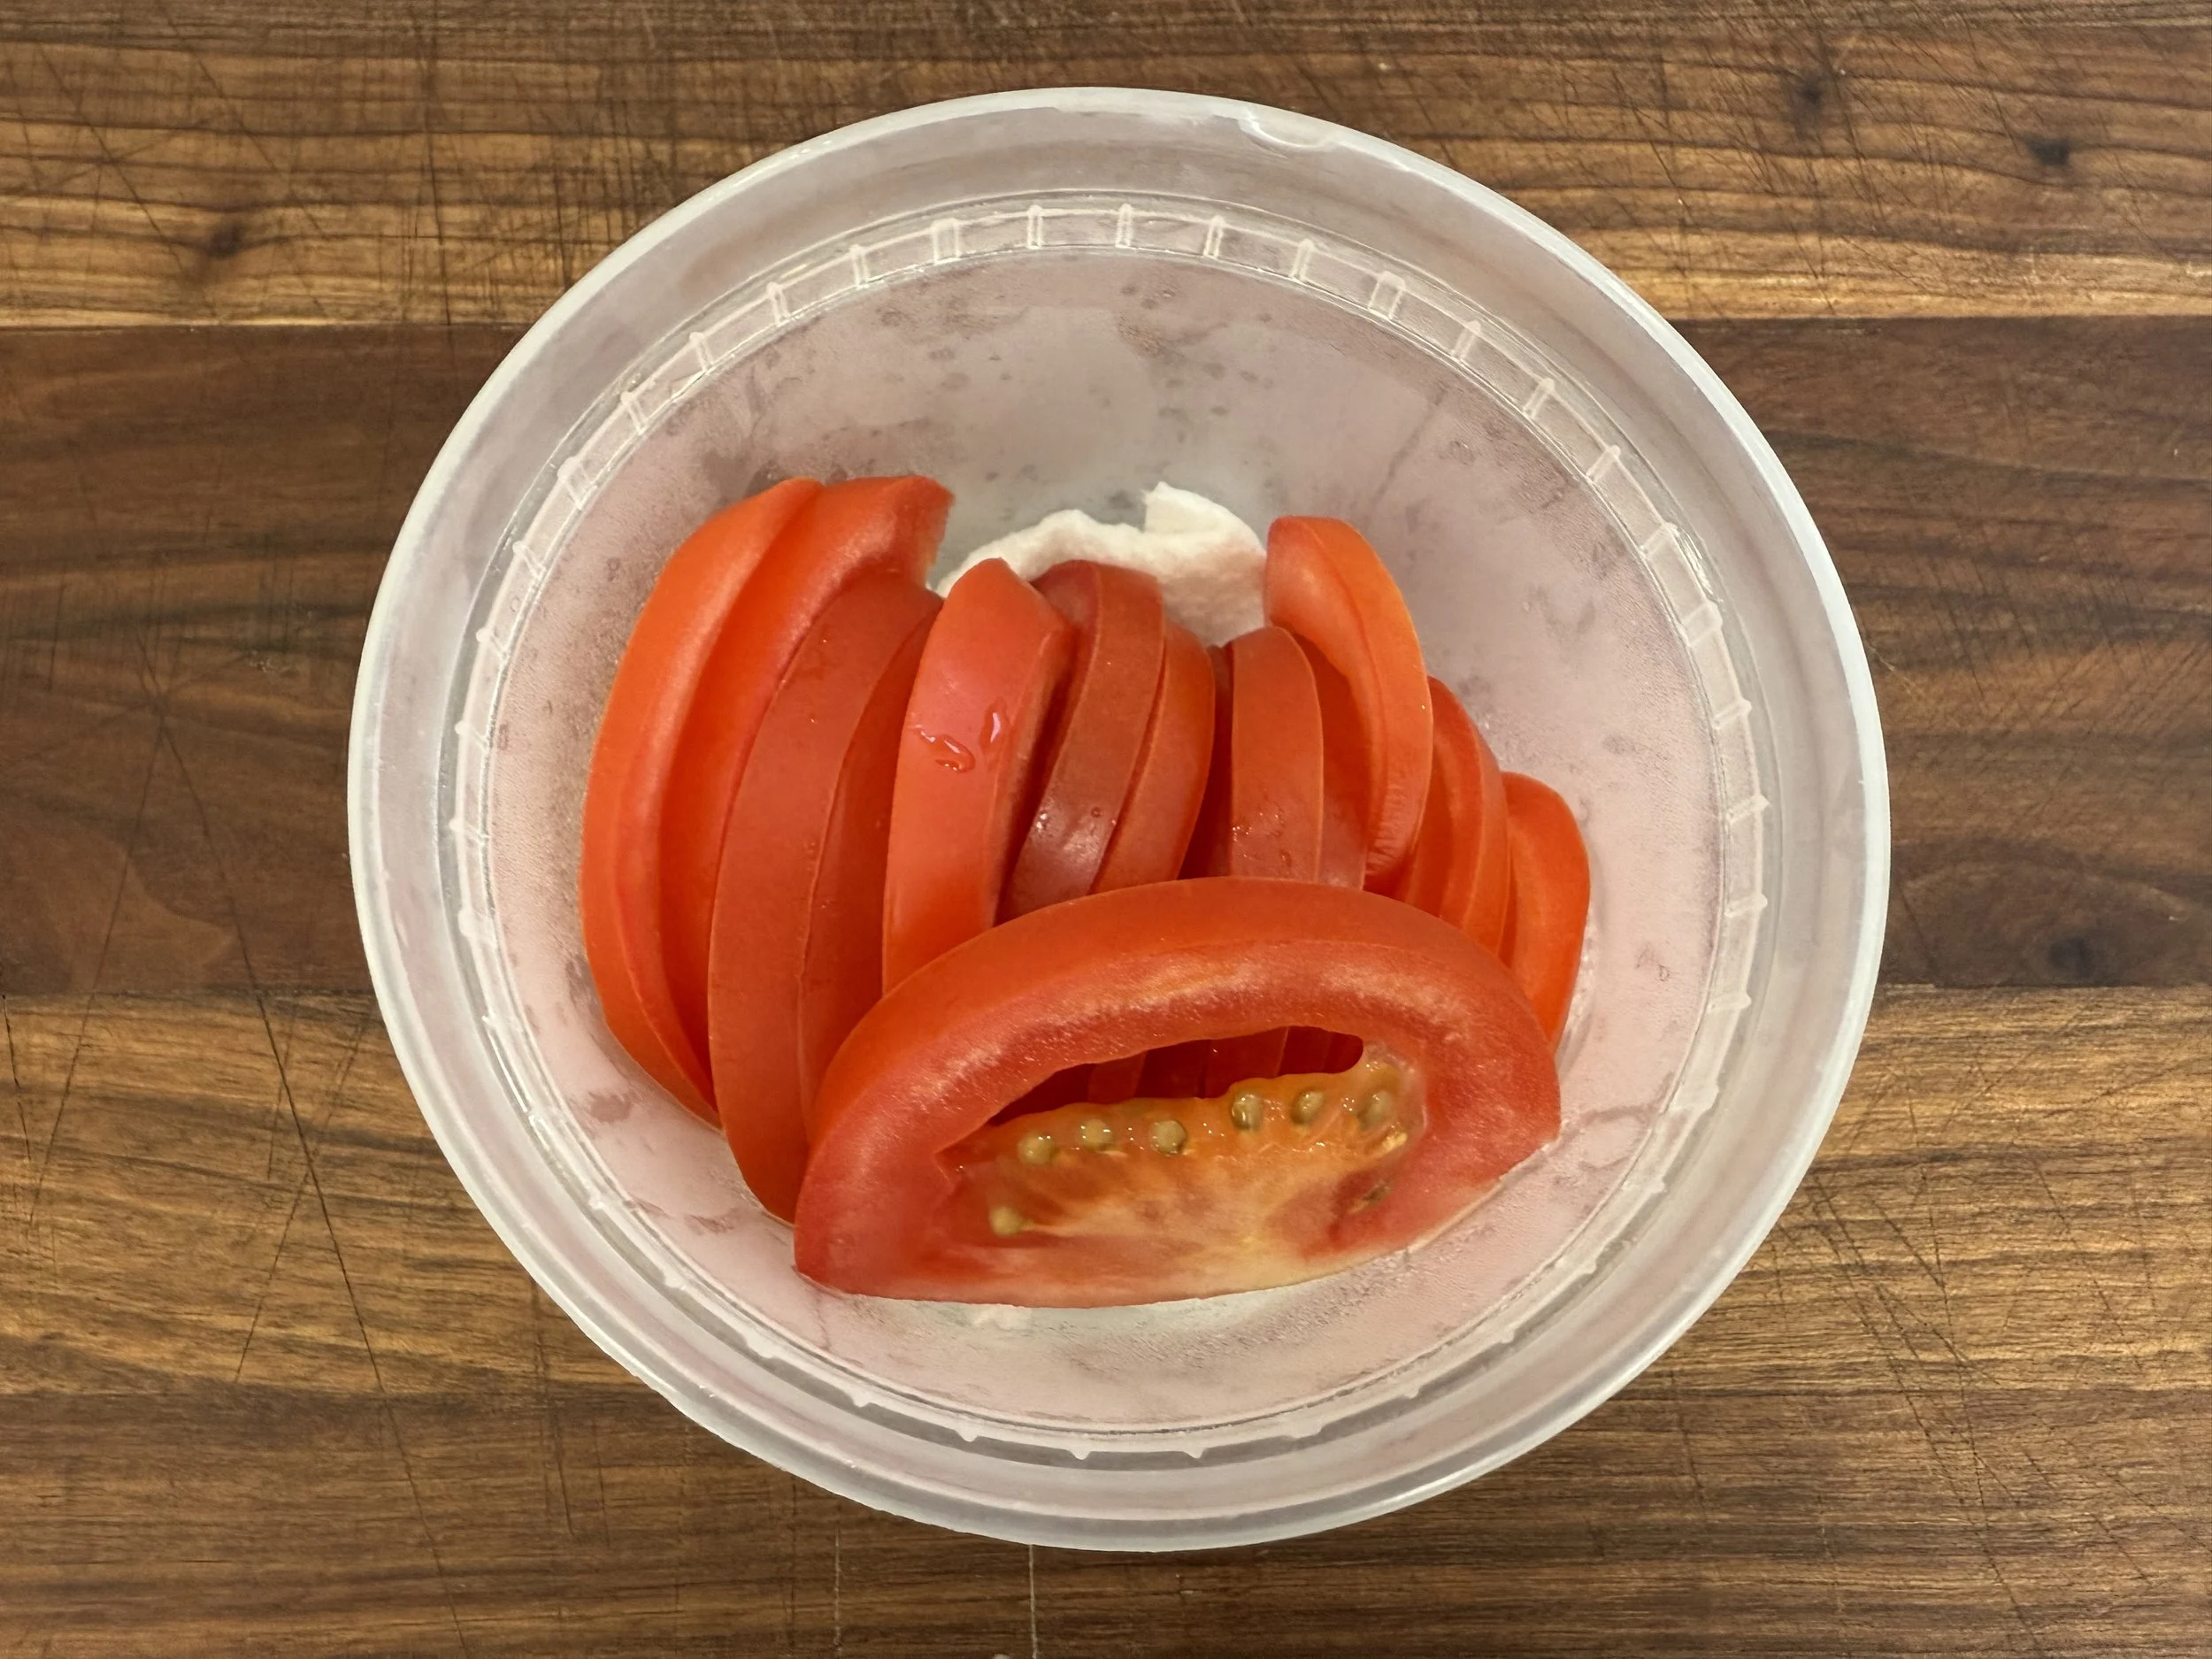
The tomatoes add a touch of sweetness and acidity AND is the reason why this dog doesn’t take any ketchup. Tomatoes were likely added by Italian, Greek and/or Jewish immigrants who all competed to sell the fruit in their Maxwell Street Market produce stalls.
Next is the onion, which again was likely added by either the germans, greeks, jews, or Italians, I mean who doesn’t like onion… it’s a cross cultural thing.
Then there’s the celery salt—the ingredient responsible for the dog's signature aroma, instantly triggering nostalgia in any Chicagoan whether they realize it or not. All it is, is kosher salt and celery seed in a ratio of 2:1, or at least that’s what I like. Blitz it up in a spice blender or mortar & pestle and you’re ready to go.


Below is a poster from Vienna Beef that was made to celebrate the history of Maxwell street. Maxwell Street was the birthplace of Chicago’s open-air market culture and a melting pot of immigrant hustle, where blues music, street food (Dzien dobry, Polish sausage), and American grit collided.

Disclaimer: I earn commission income with qualifying purchases made through Amazon’s Affiliate program and other affiliate links in this description.