Italian Beef Sandwich 2.0
The Italian beef is not just a sandwich, it‘s a system. It is beef cooked low and slow until it finally gives up, sliced paper thin so it stays tender, and kept bathing in its own juices so nothing ever dries out. That beef gets piled into a plain, unpretentious French roll that is engineered to soak and compress instead of crumble. You dip it or you do not, you add sweet peppers or hot giardiniera or both, but every version is built around the same idea of maximum flavor, maximum mess, and zero concern for looking polite while you eat it.
What makes the Italian beef special is how perfectly it reflects Chicago. It is practical, bold, and unapologetically working class, born out of stretching cheap cuts of meat to feed a lot of people and accidentally becoming iconic in the process. This is food that values function over flash, balance over refinement, and satisfaction over subtlety. When everything is right, the sandwich hits you with rich beef, soft bread, sharp peppers, and spicy oil all at once, and for a few minutes nothing else matters except keeping the juices off your hands and getting back in for another bite.
Stuff I Use...
The Beef
Chuck brings intramuscular fat and collagen that melt into the jus and back into the sliced beef, giving you a silkier mouthfeel, better reheating tolerance, and a richer sandwich without changing the spice profile, slicing tradition, or visual identity of a classic Chicago Italian beef.

Italian Beef Sandwich
Ingredients
Instructions
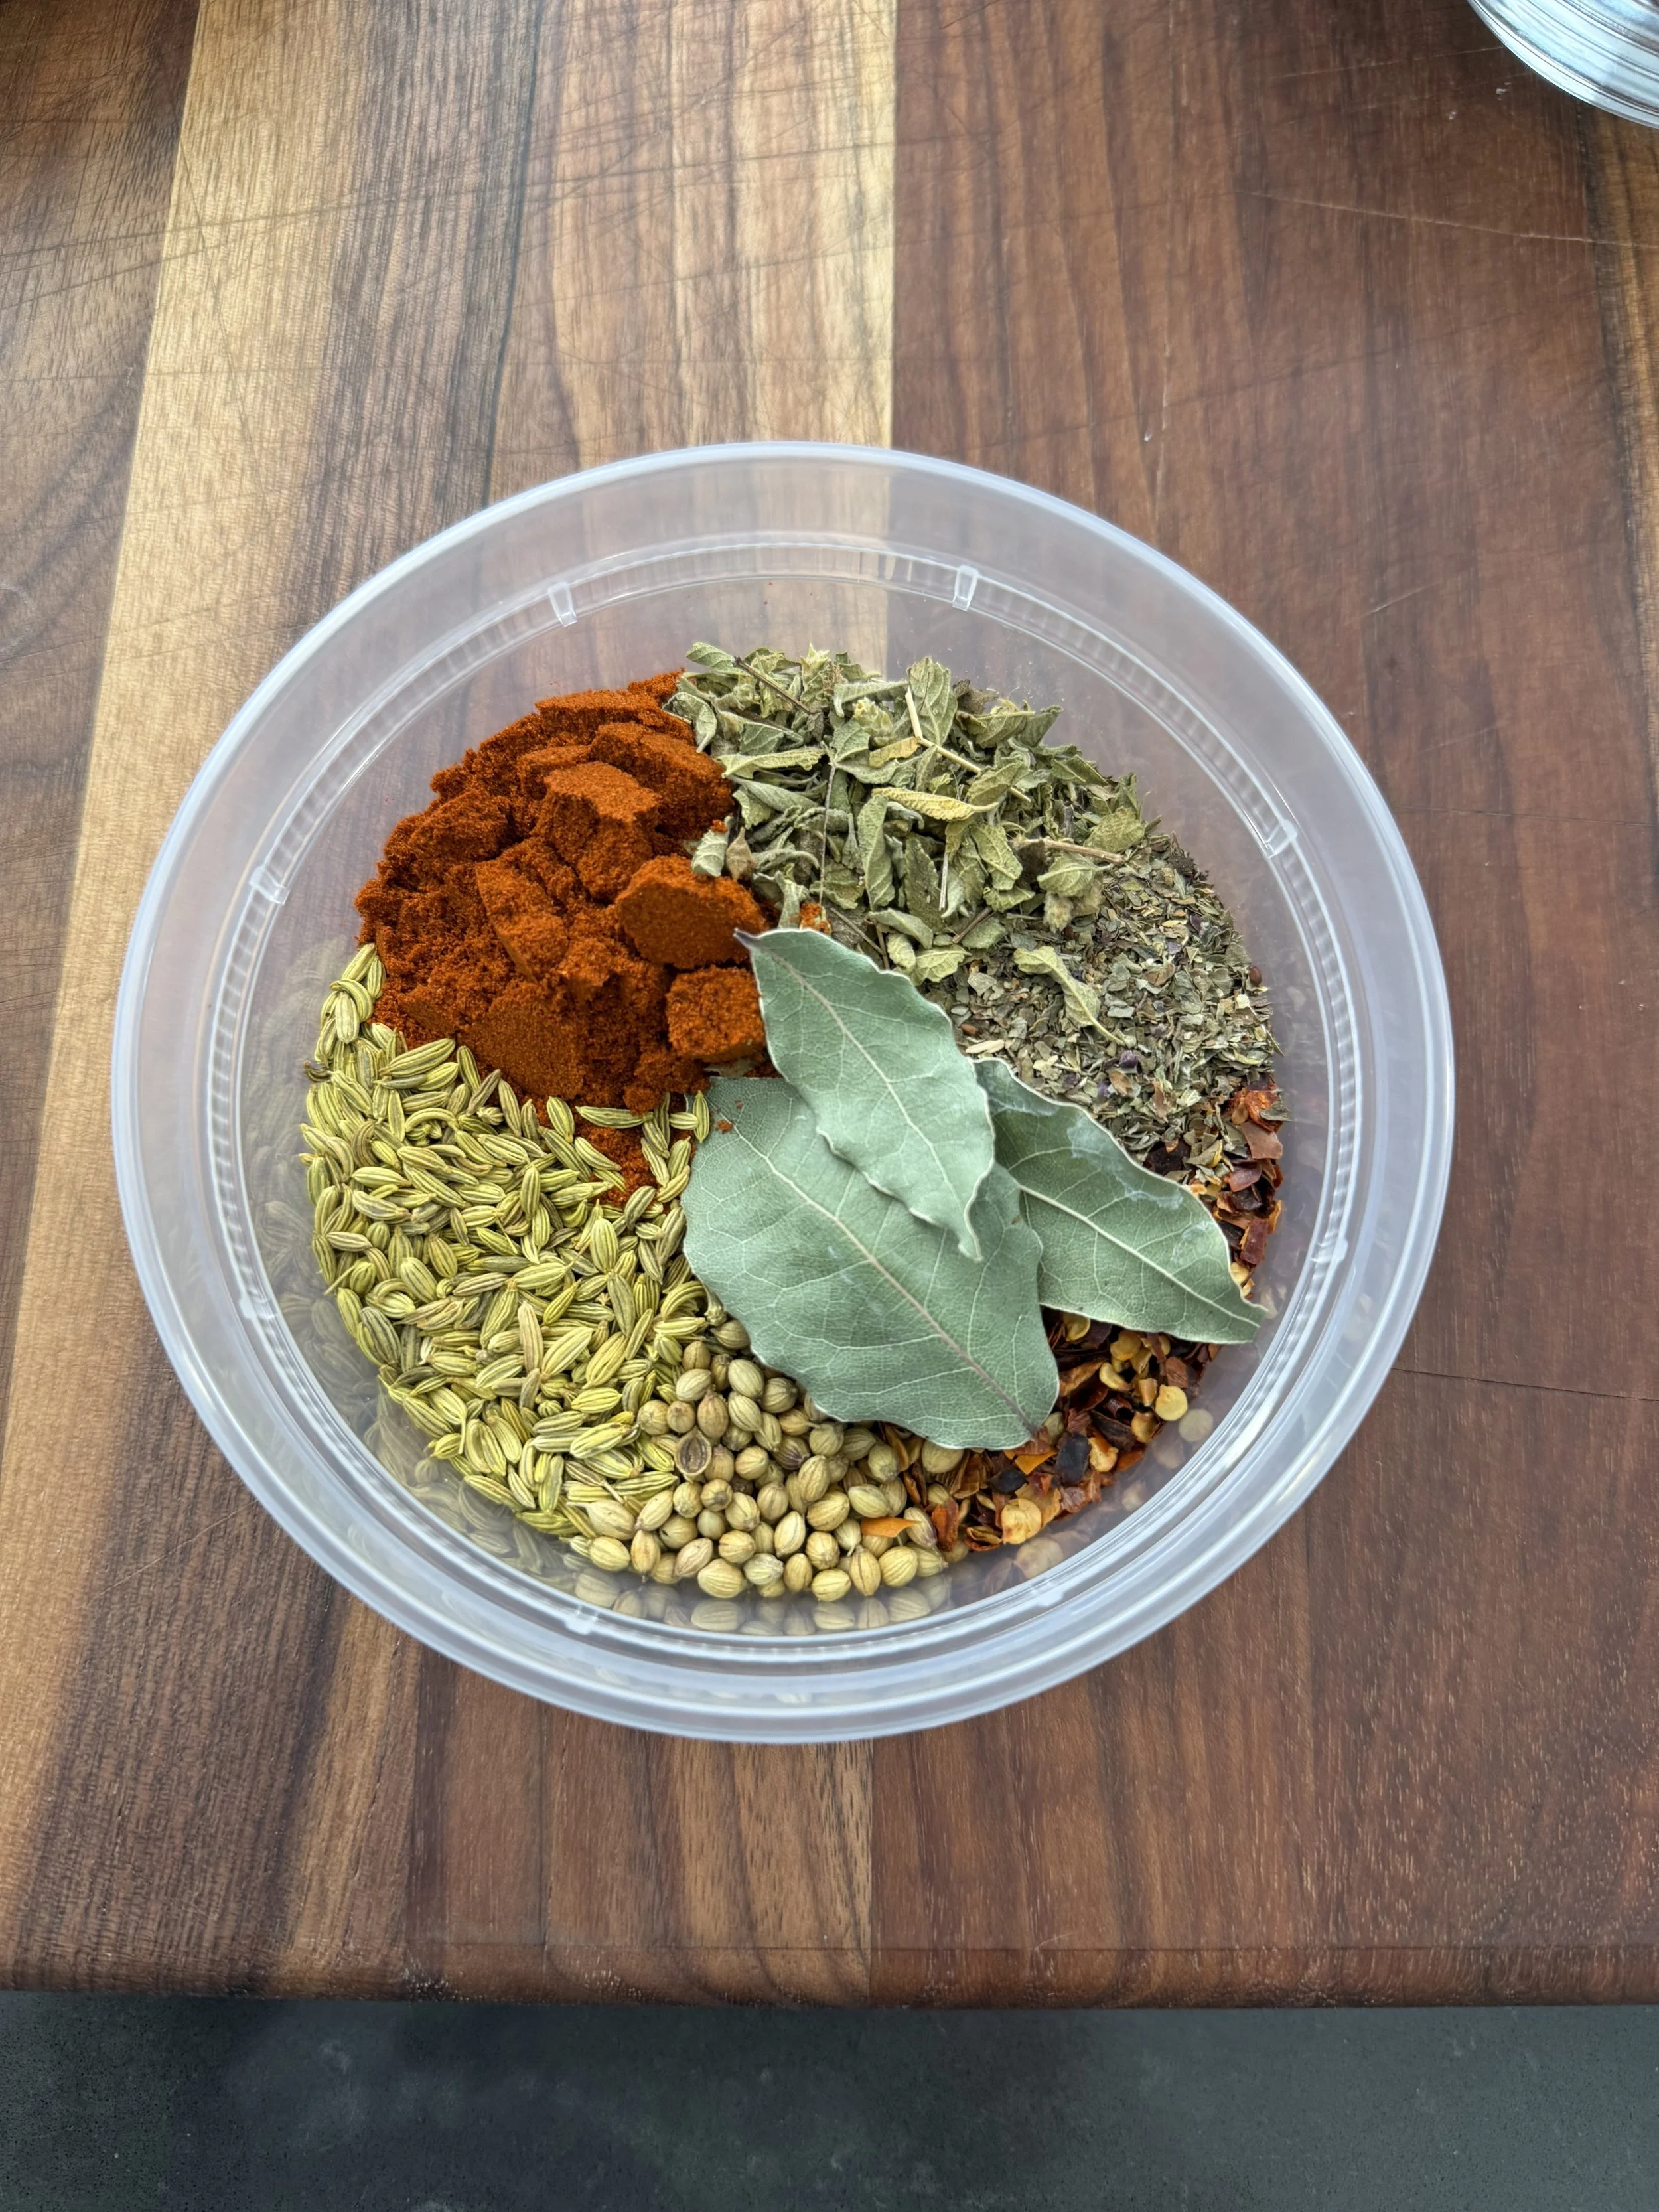
- Toast fennel seed and coriander seed in a dry pan until fragrant, then grind finely and combine with paprika, oregano, basil, and red chili flake to make the spice blend.
- Tie the chuck roast tightly at 1 1/2–2 inch intervals to keep the muscle groups intact. Season generously on all sides with kosher salt and freshly ground black pepper. Place uncovered on a rack and refrigerate overnight to dry the surface.
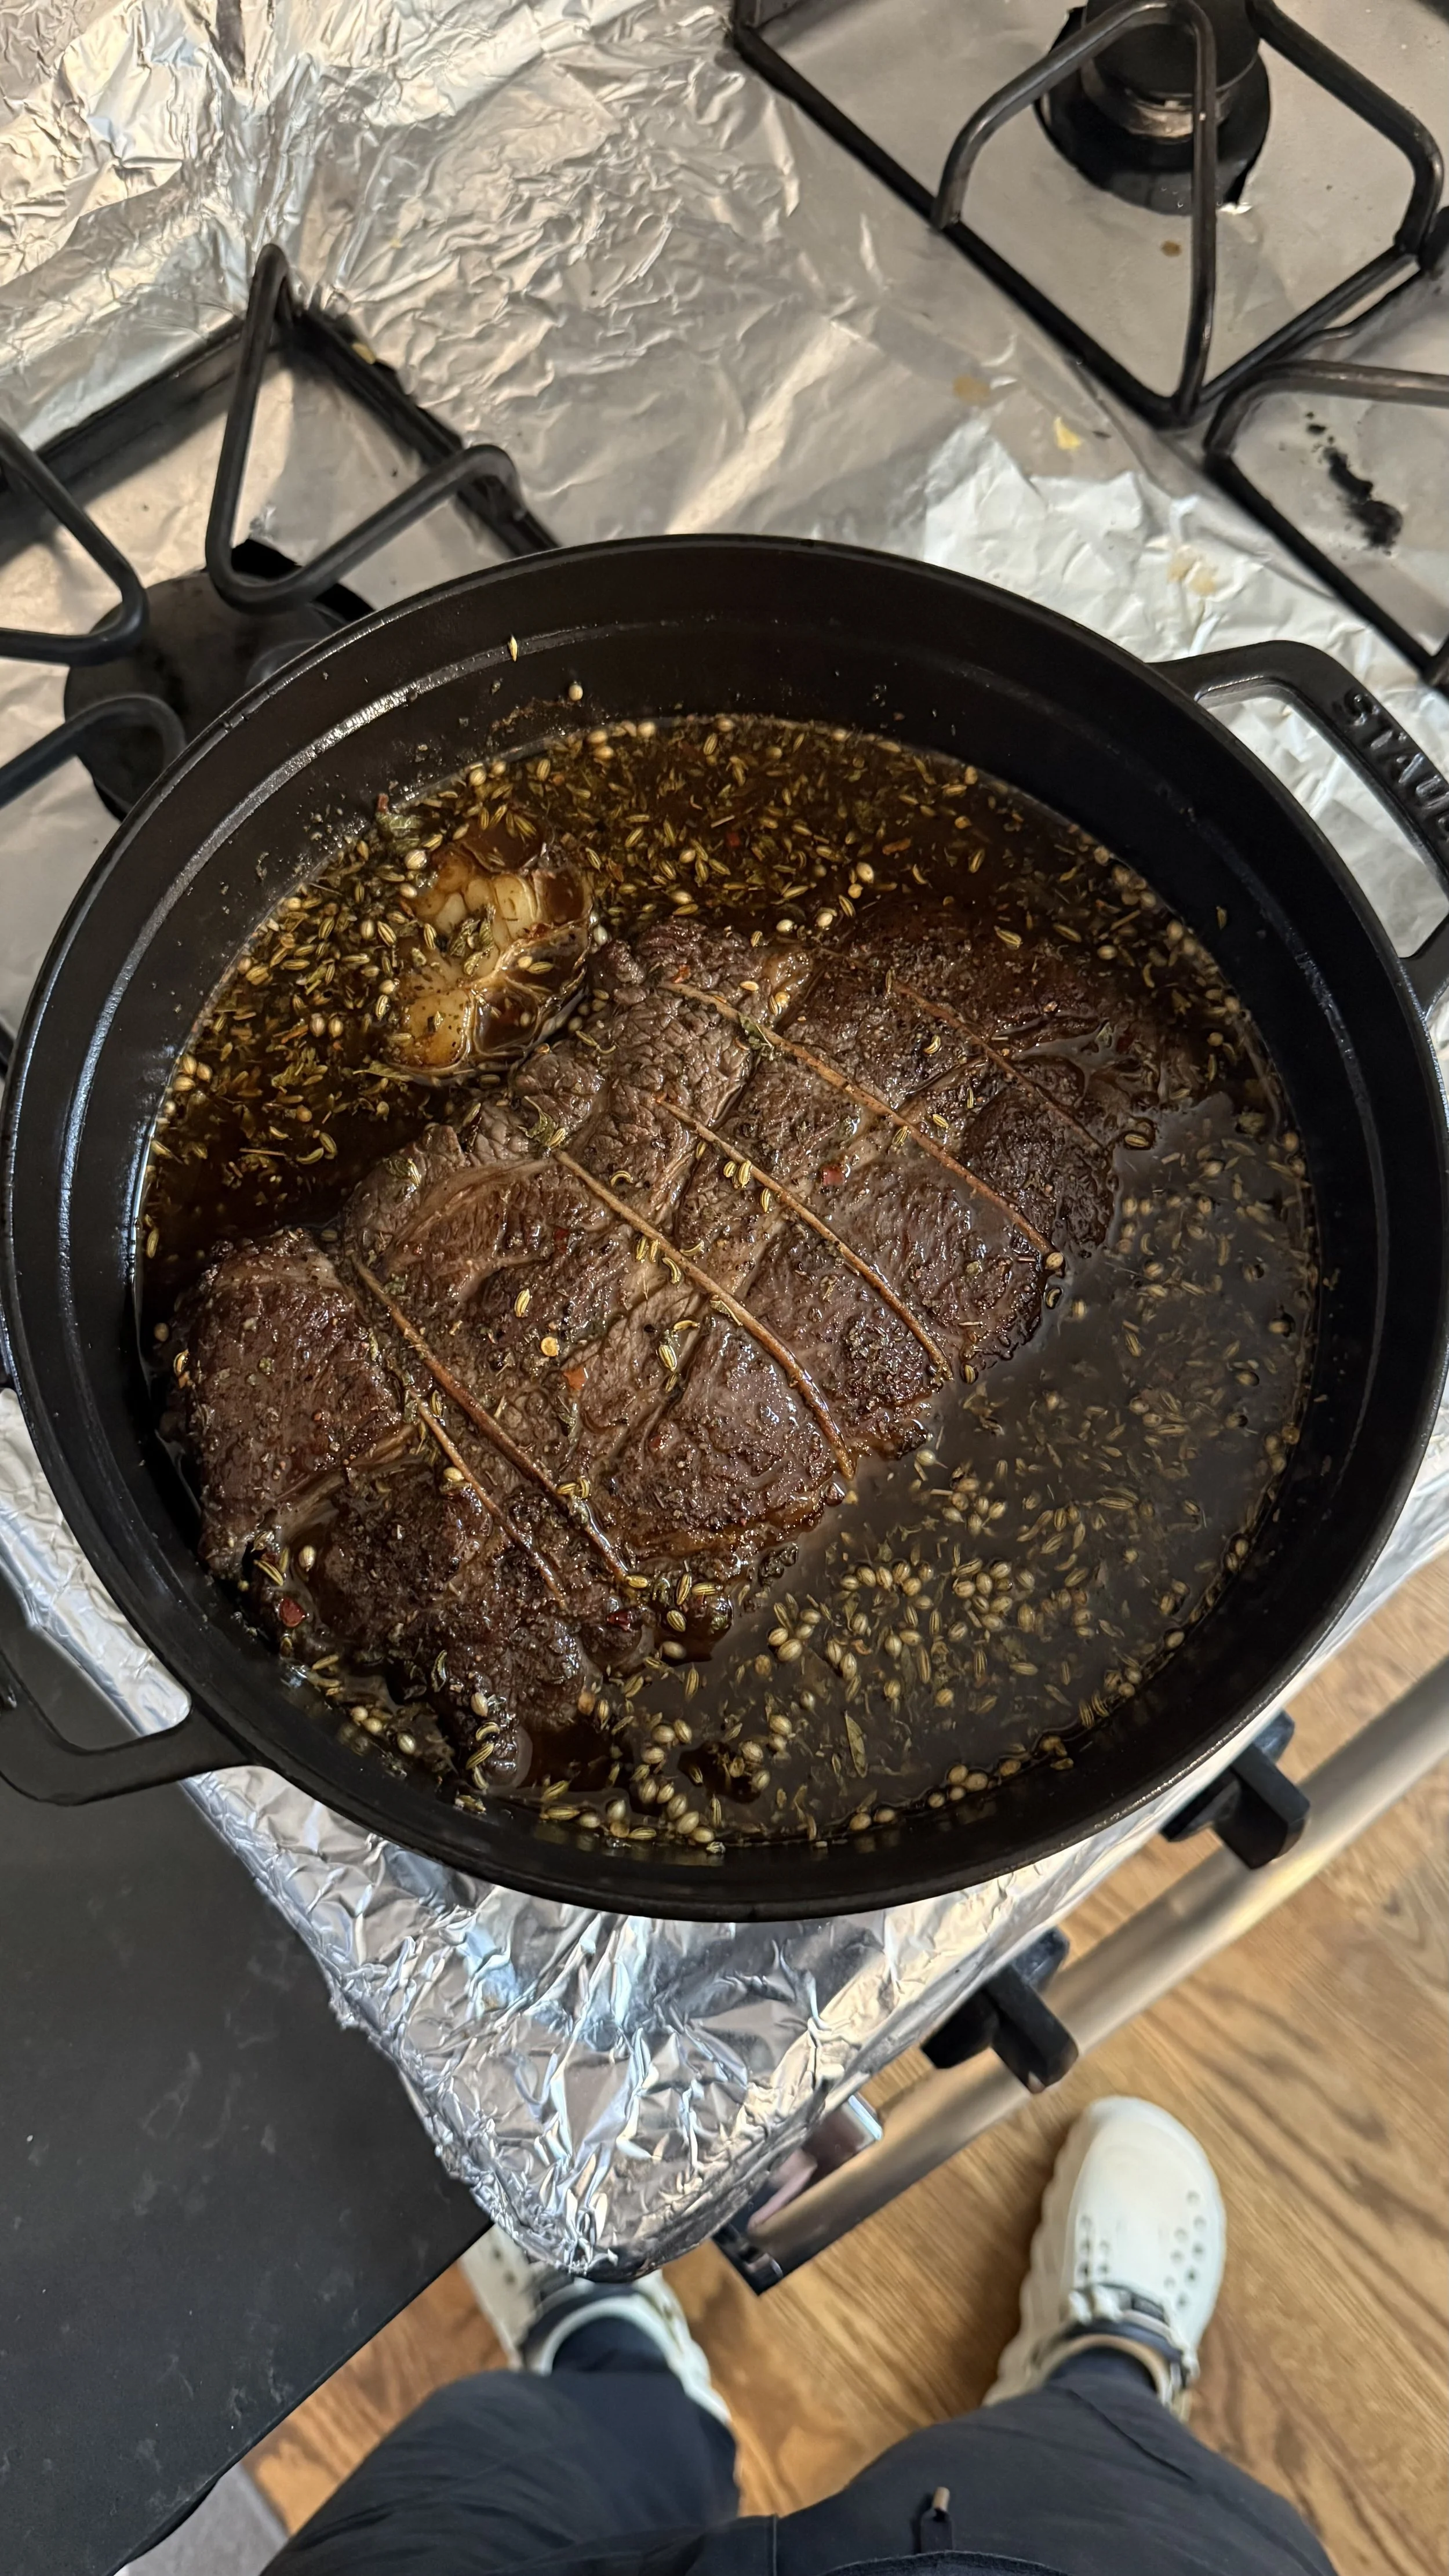
- The next day, heat a large Dutch oven over medium-high heat with a thin layer of neutral oil. Sear the roast deeply on all sides until well browned, then remove and set aside.
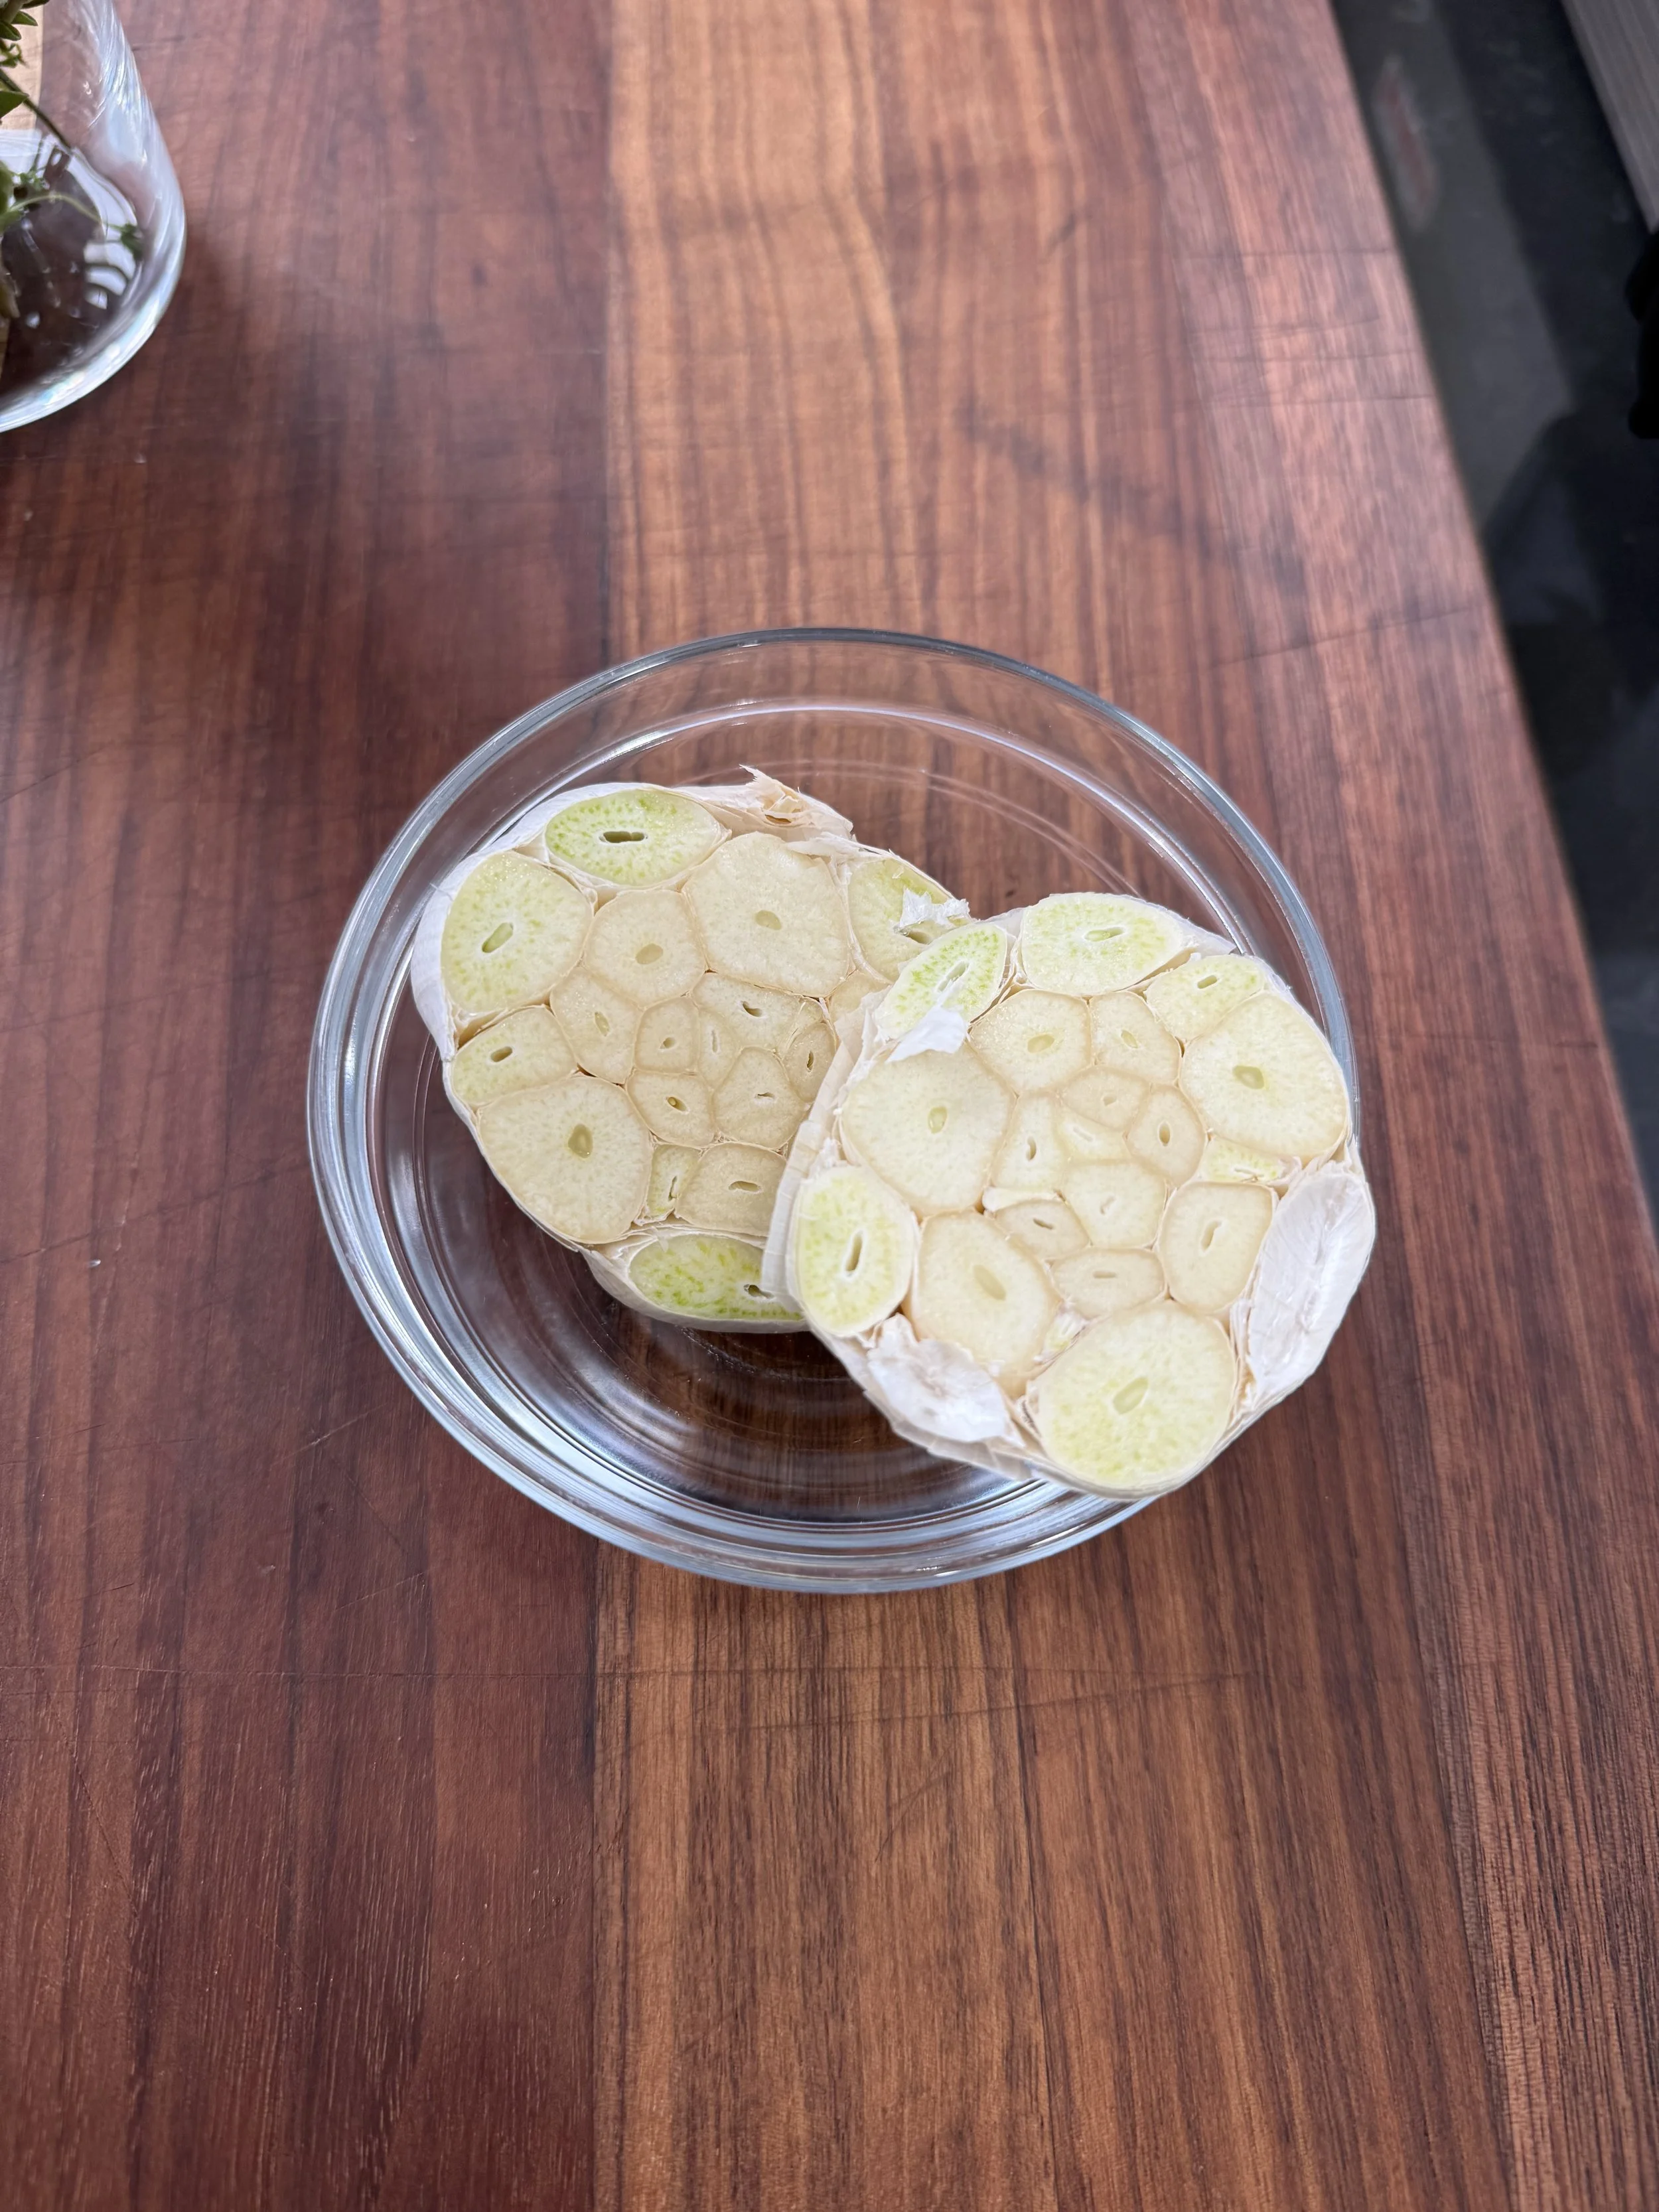
- Lower heat to medium. Add the halved garlic head cut-side down and brown until deeply golden. Deglaze the pot with wine, scraping up any browned bits.
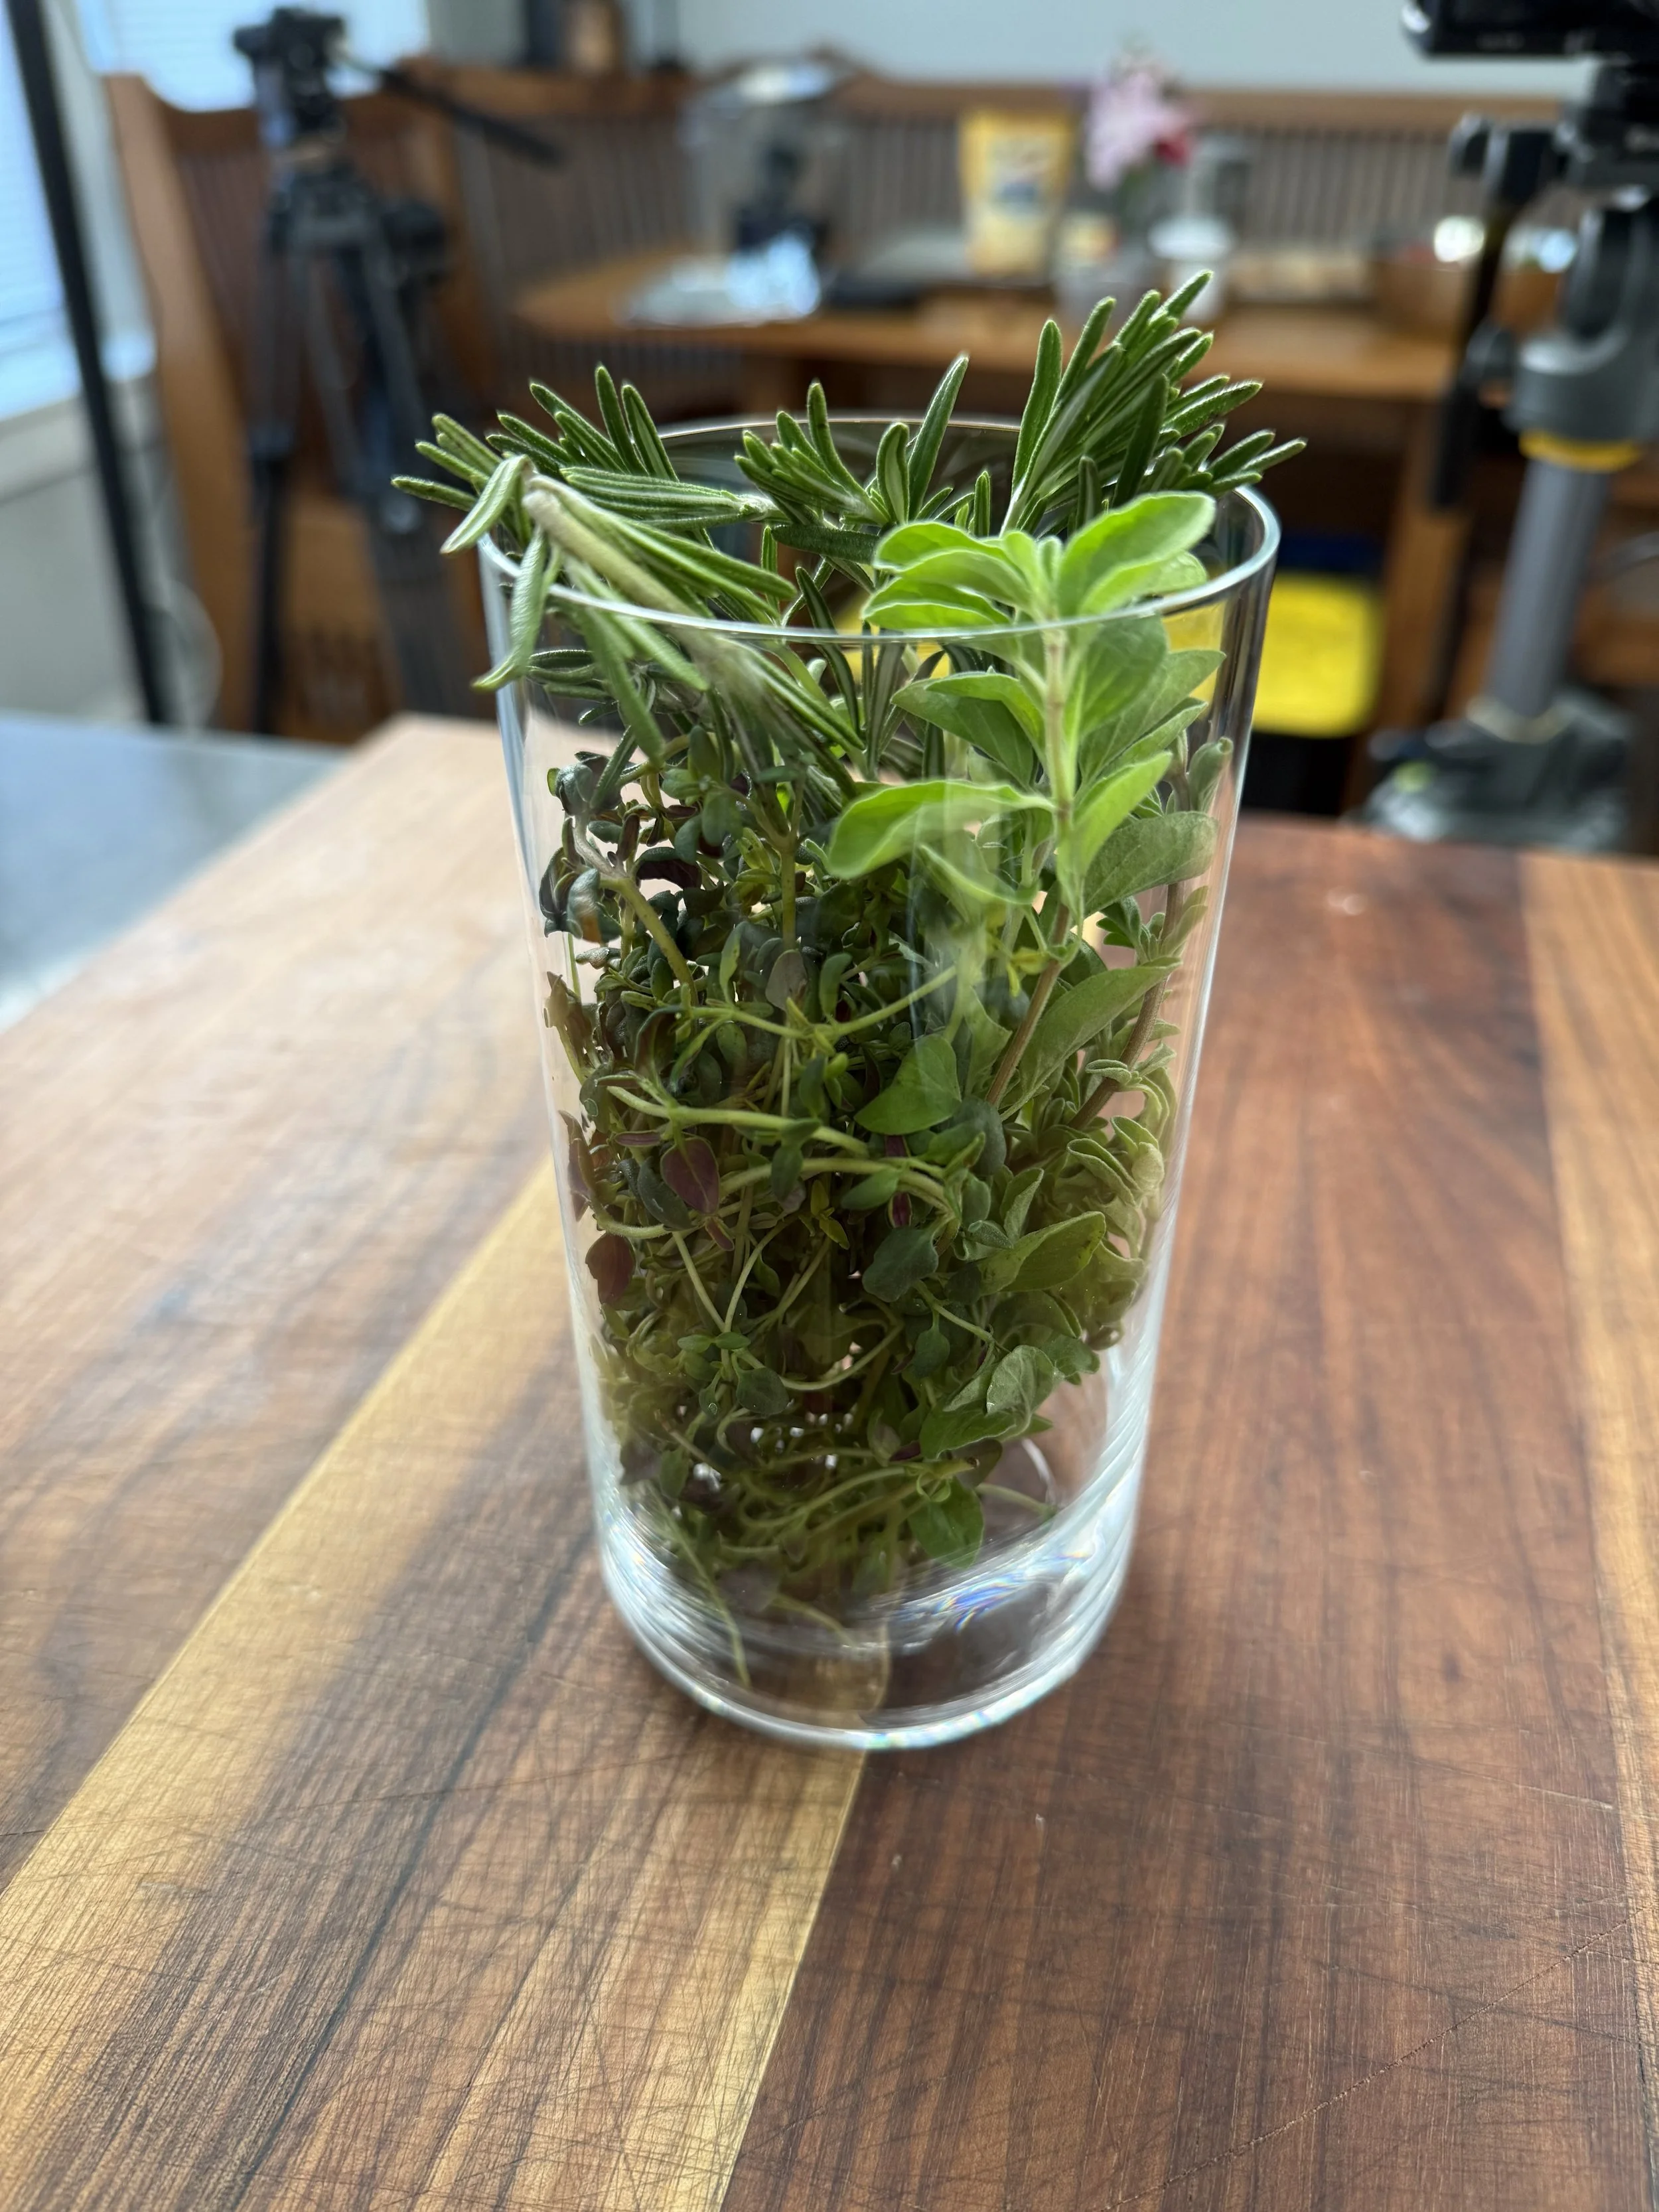
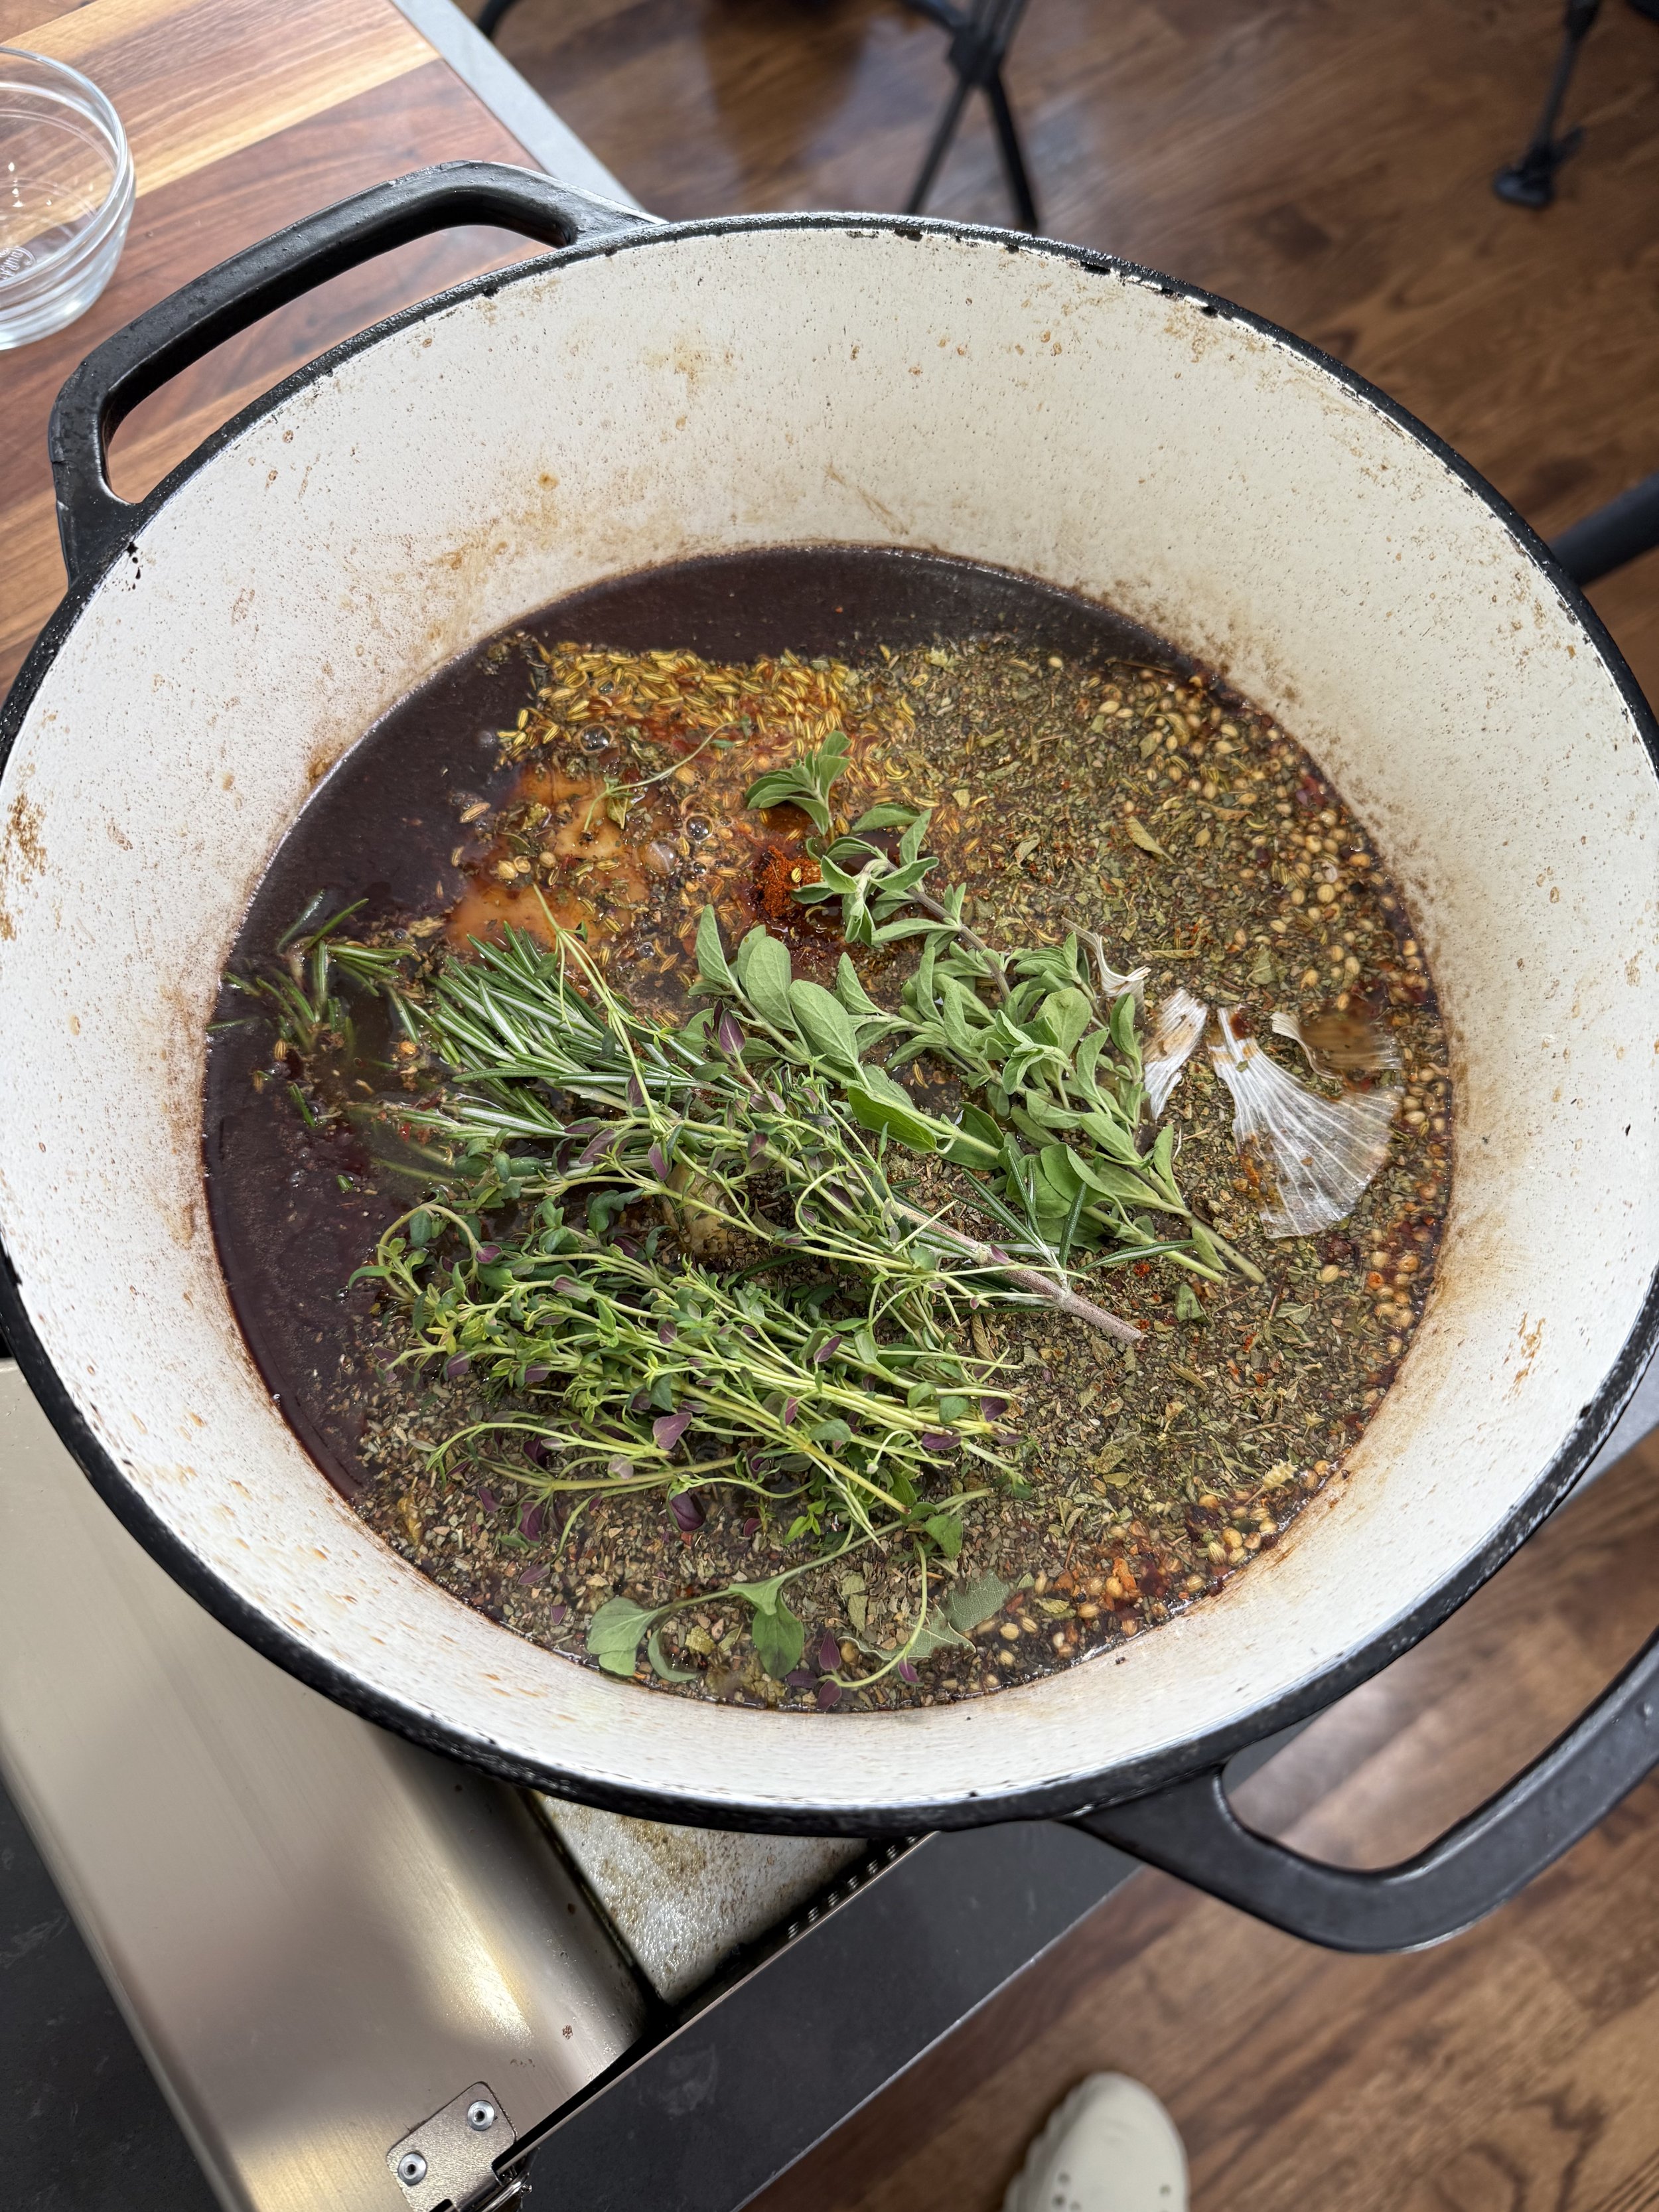
- Add beef stock, the full spice blend, thyme, and rosemary. Stir to combine, then return the beef to the pot.
- Cover and place the pot in a cold oven. Set oven to 275°F and cook for 3 hours, until the beef is tender but still holding its shape.
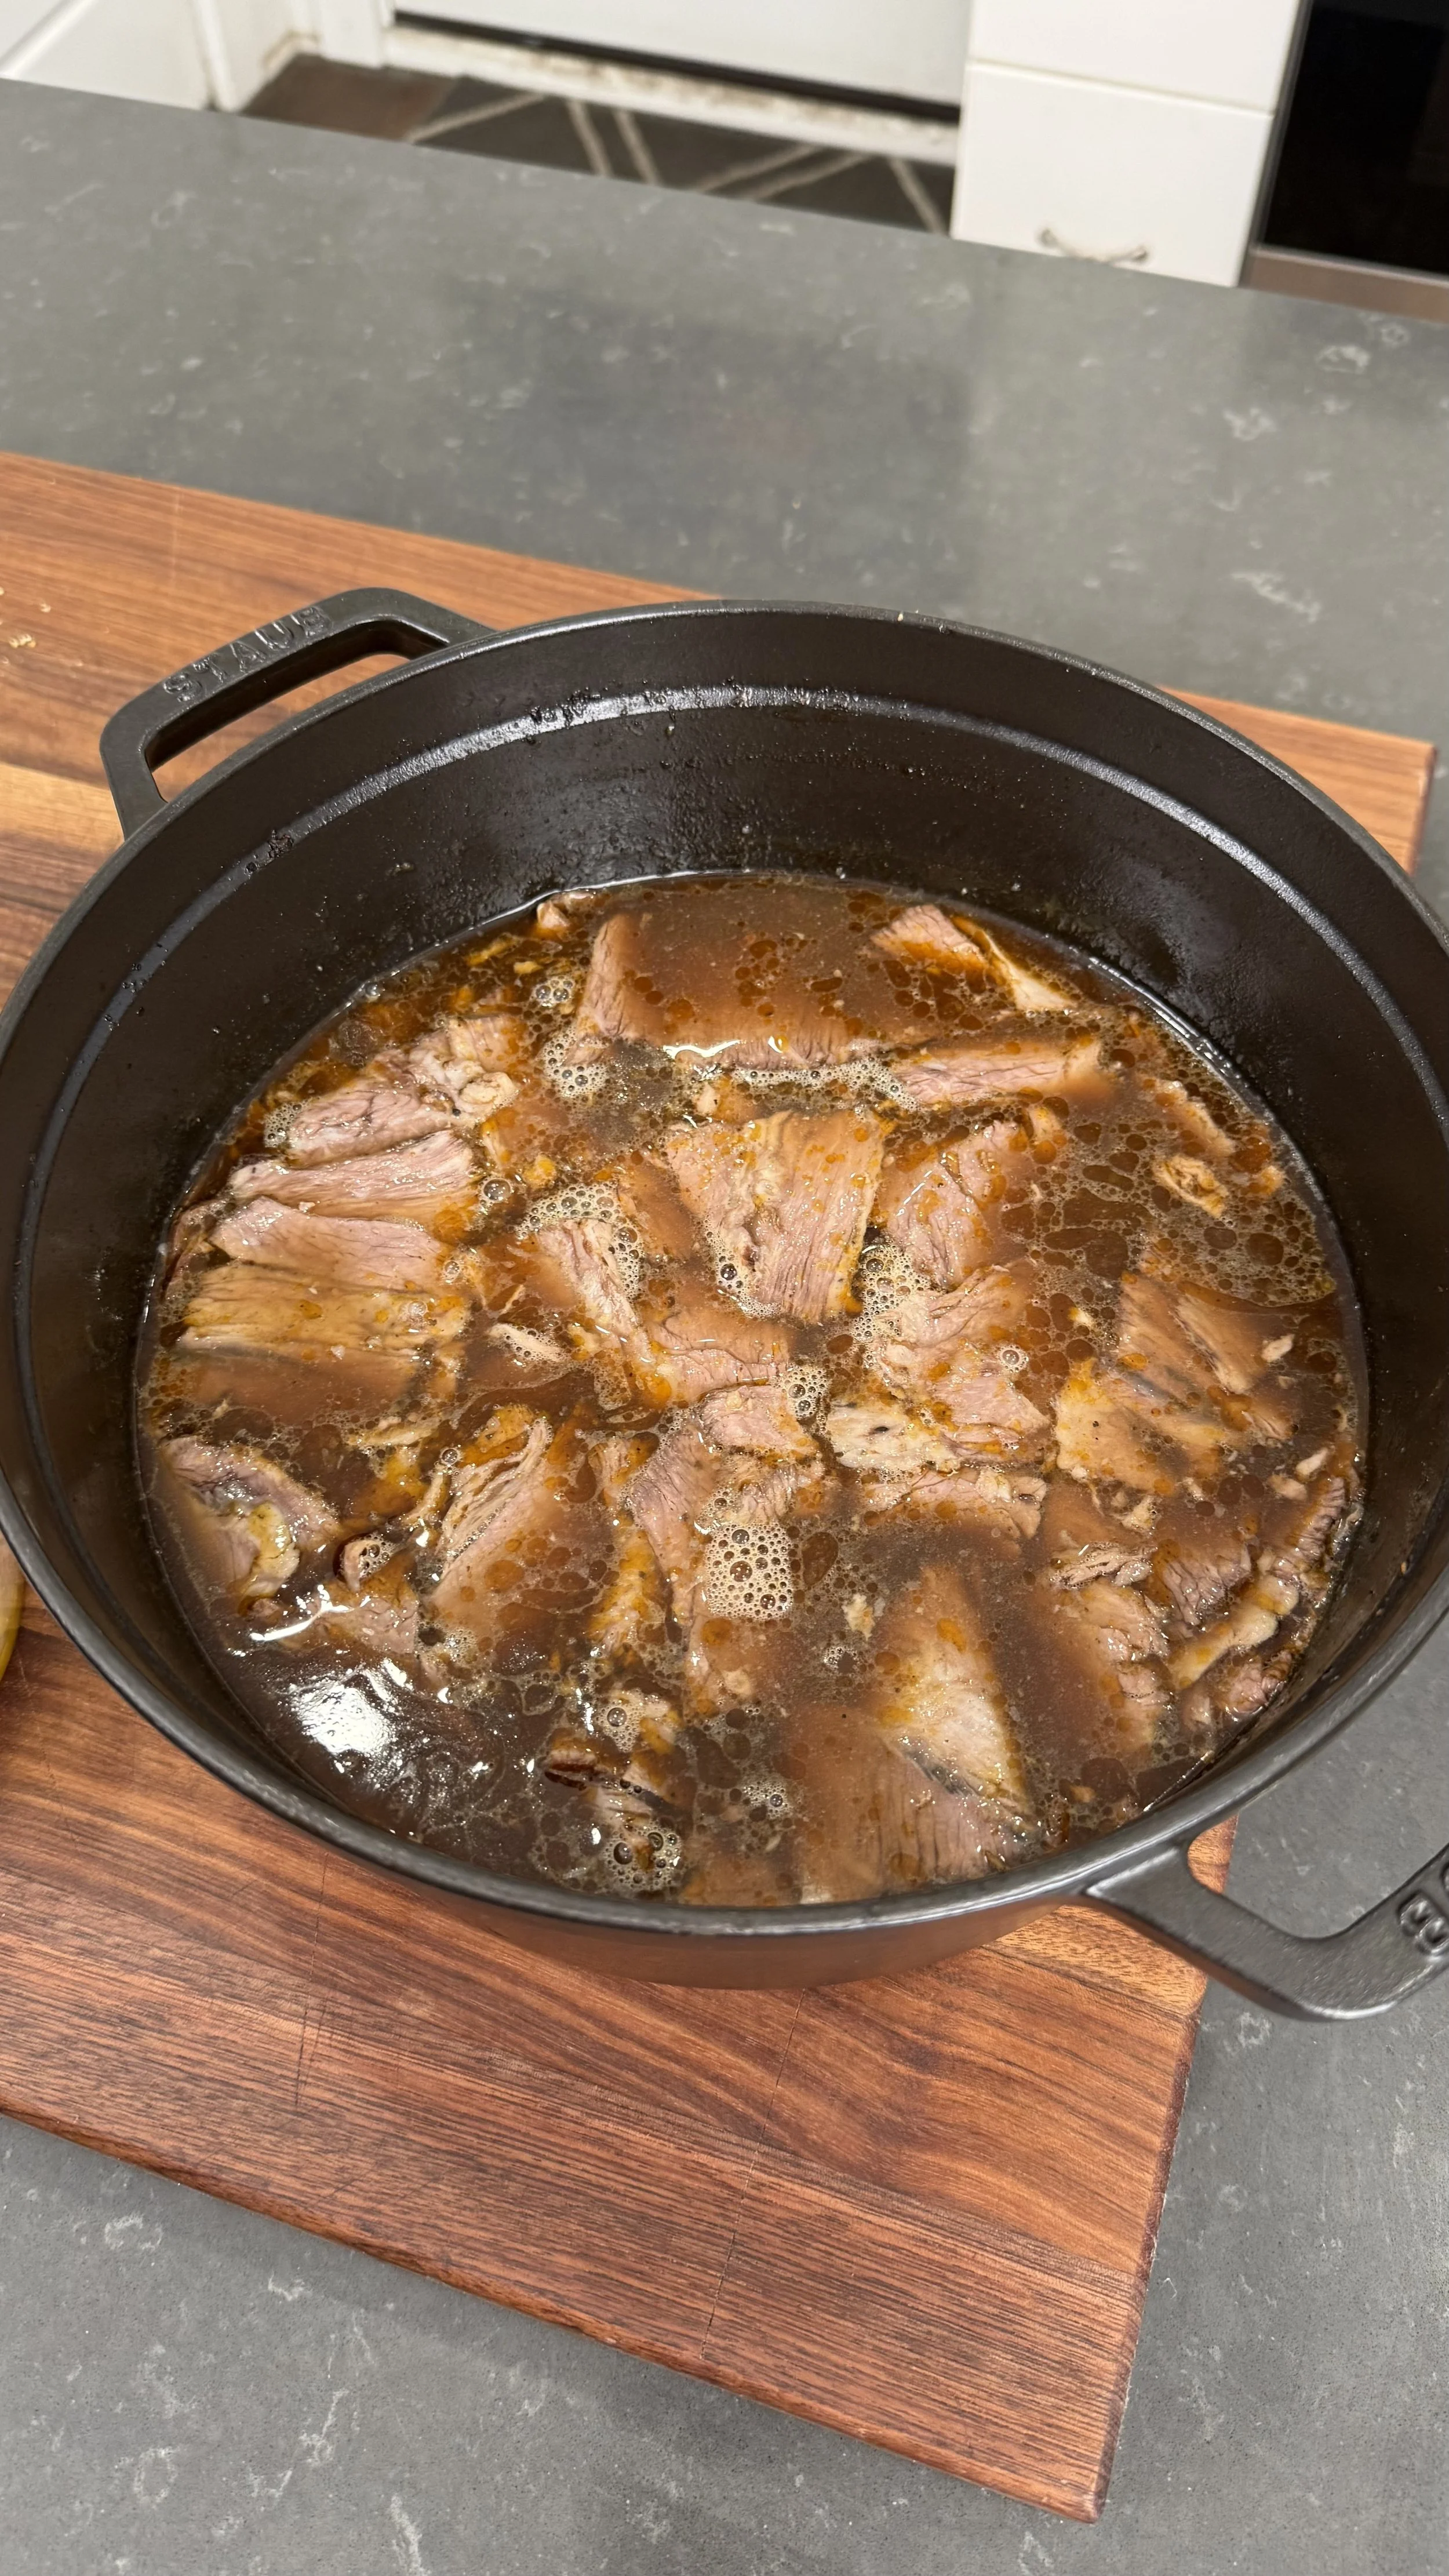
- Let the pot cool to room temperature. Remove the beef, strain the jus through a fine-mesh strainer without forcing solids through, then return only the strained jus and beef to the pot.
- Refrigerate overnight to fully chill and firm the beef.
- Slice the beef only while cold, removing butcher’s twine as needed during slicing to keep the meat intact. Slice paper-thin across the grain using a sharp knife, mandolin, or meat slicer.
- • 10. Gently reheat sliced beef in the jus over medium-low heat until just warmed through. Taste and adjust salt, then pile onto warm French rolls with sweet peppers and giardiniera. Optionally dunk the entire sandwich in jus before serving or serve with a side of jus.
The Right Bread Matters
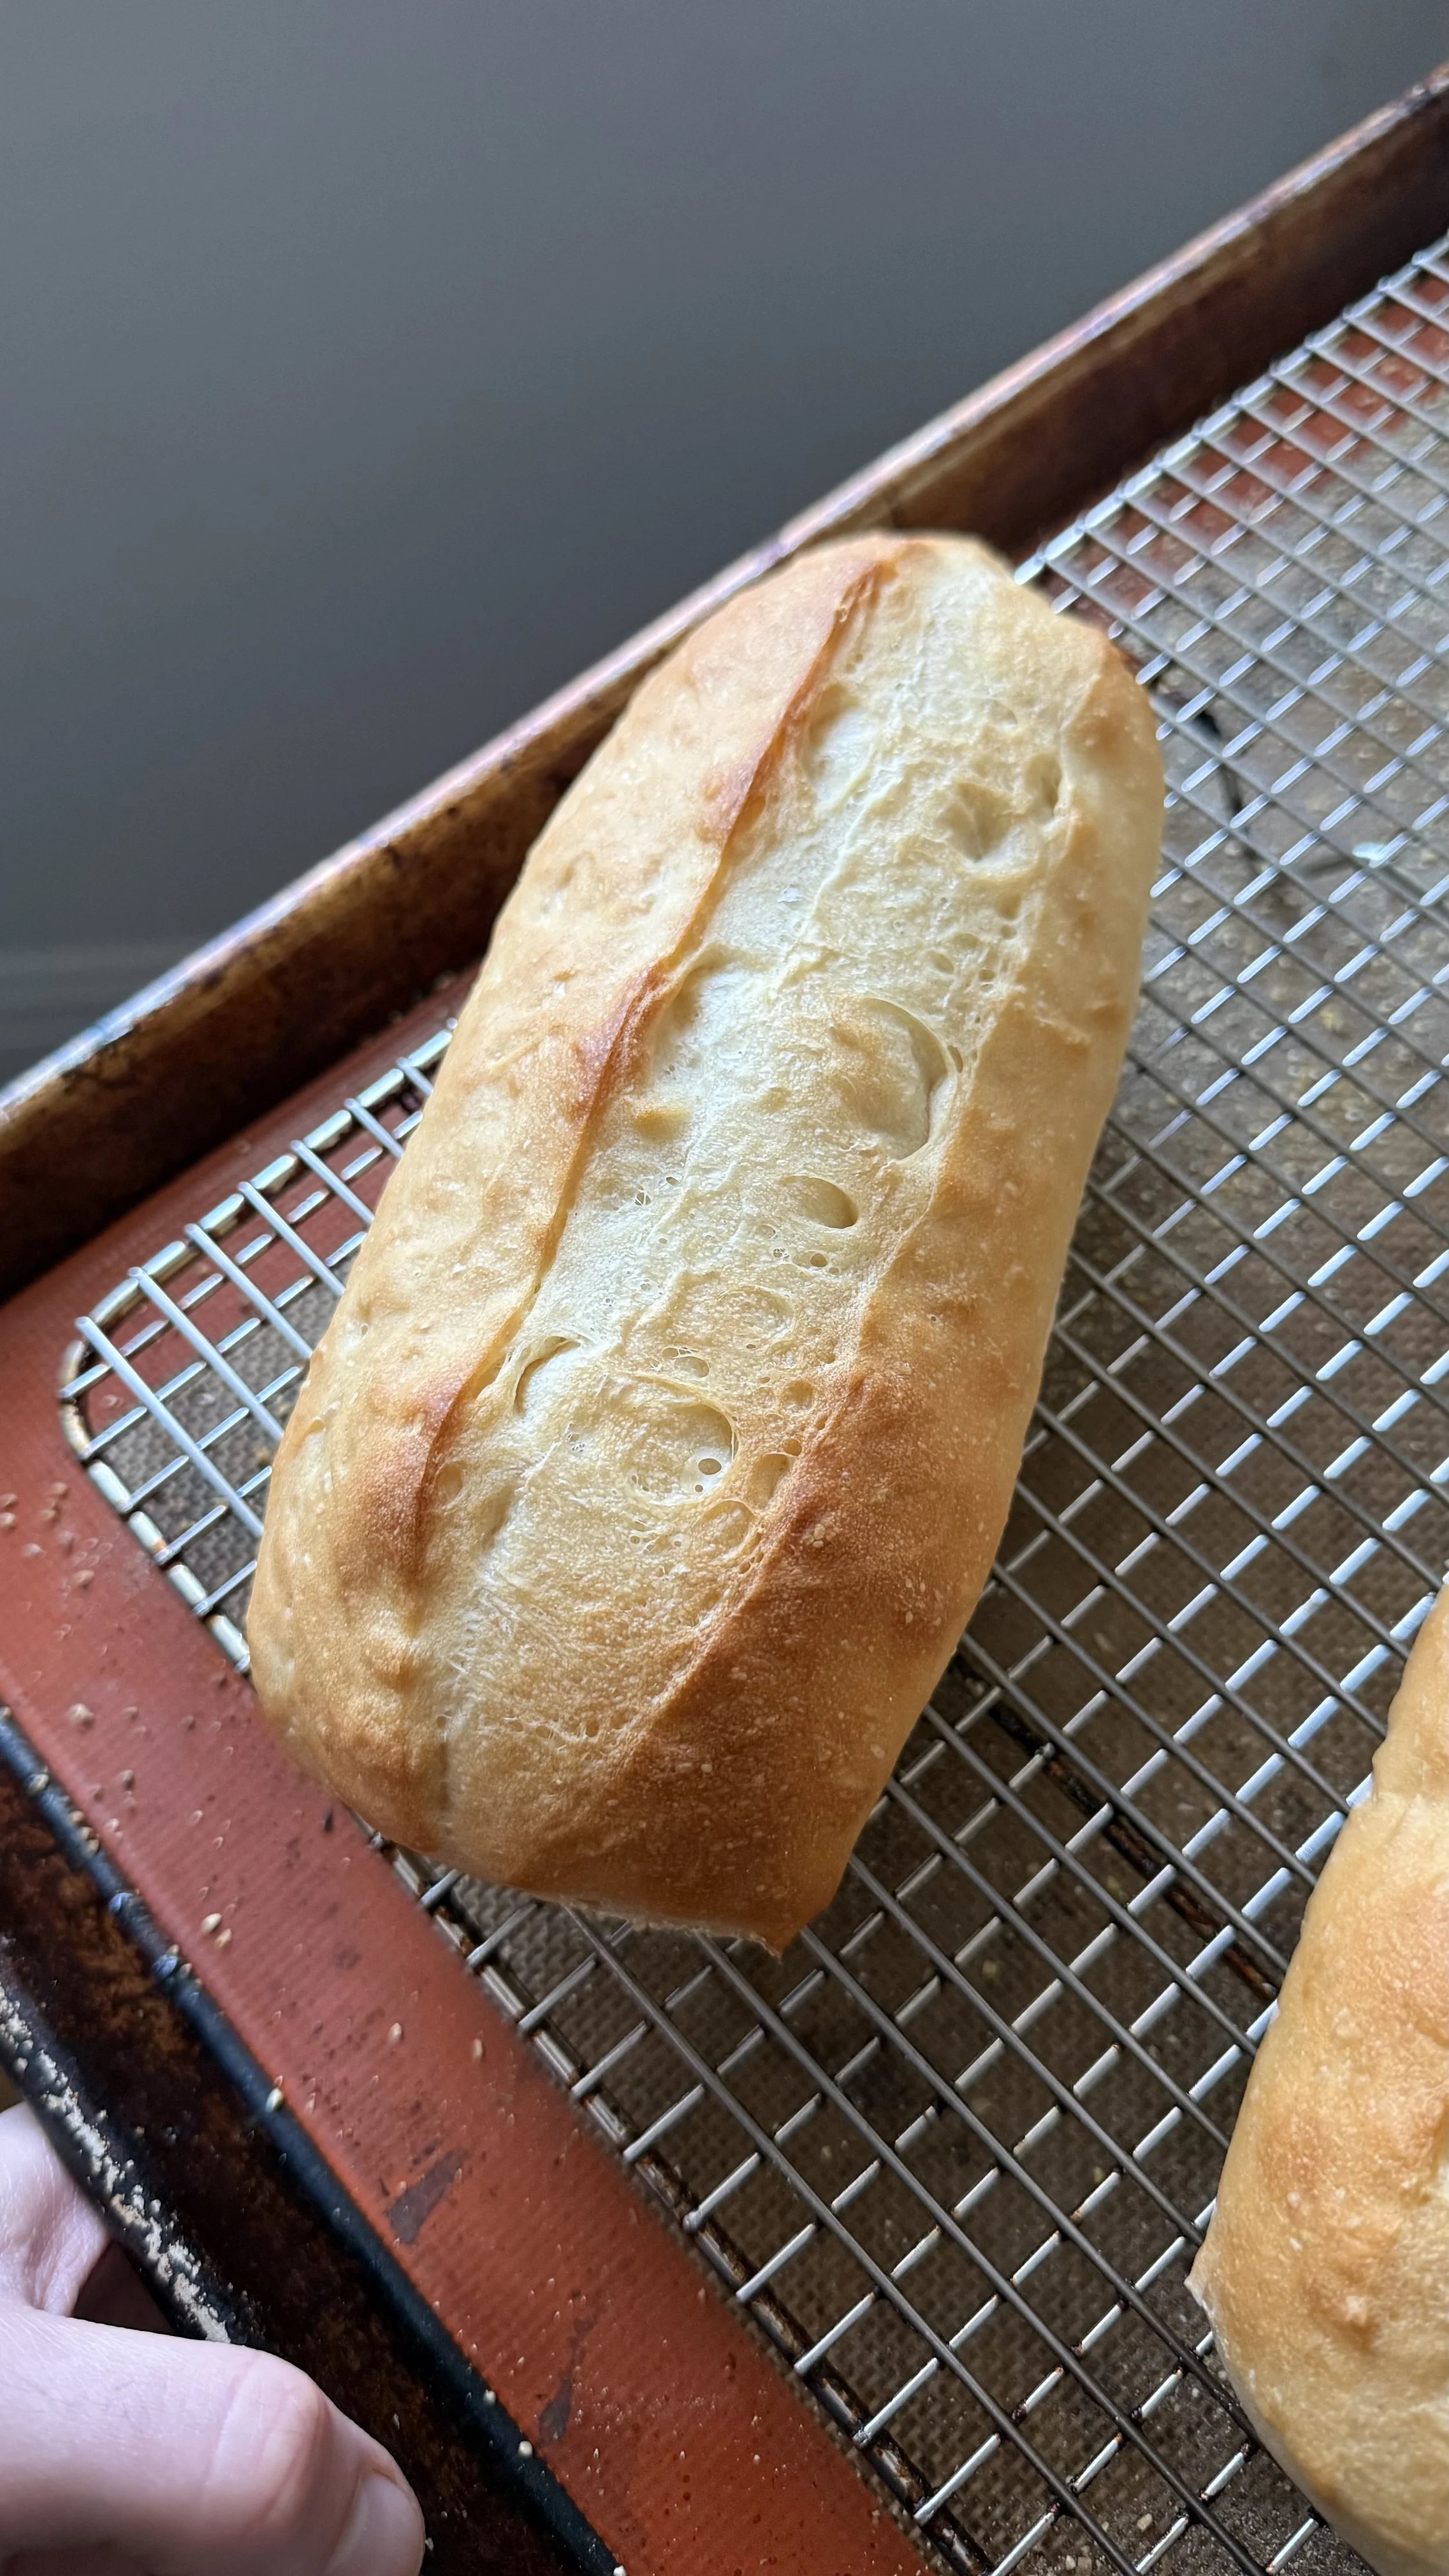
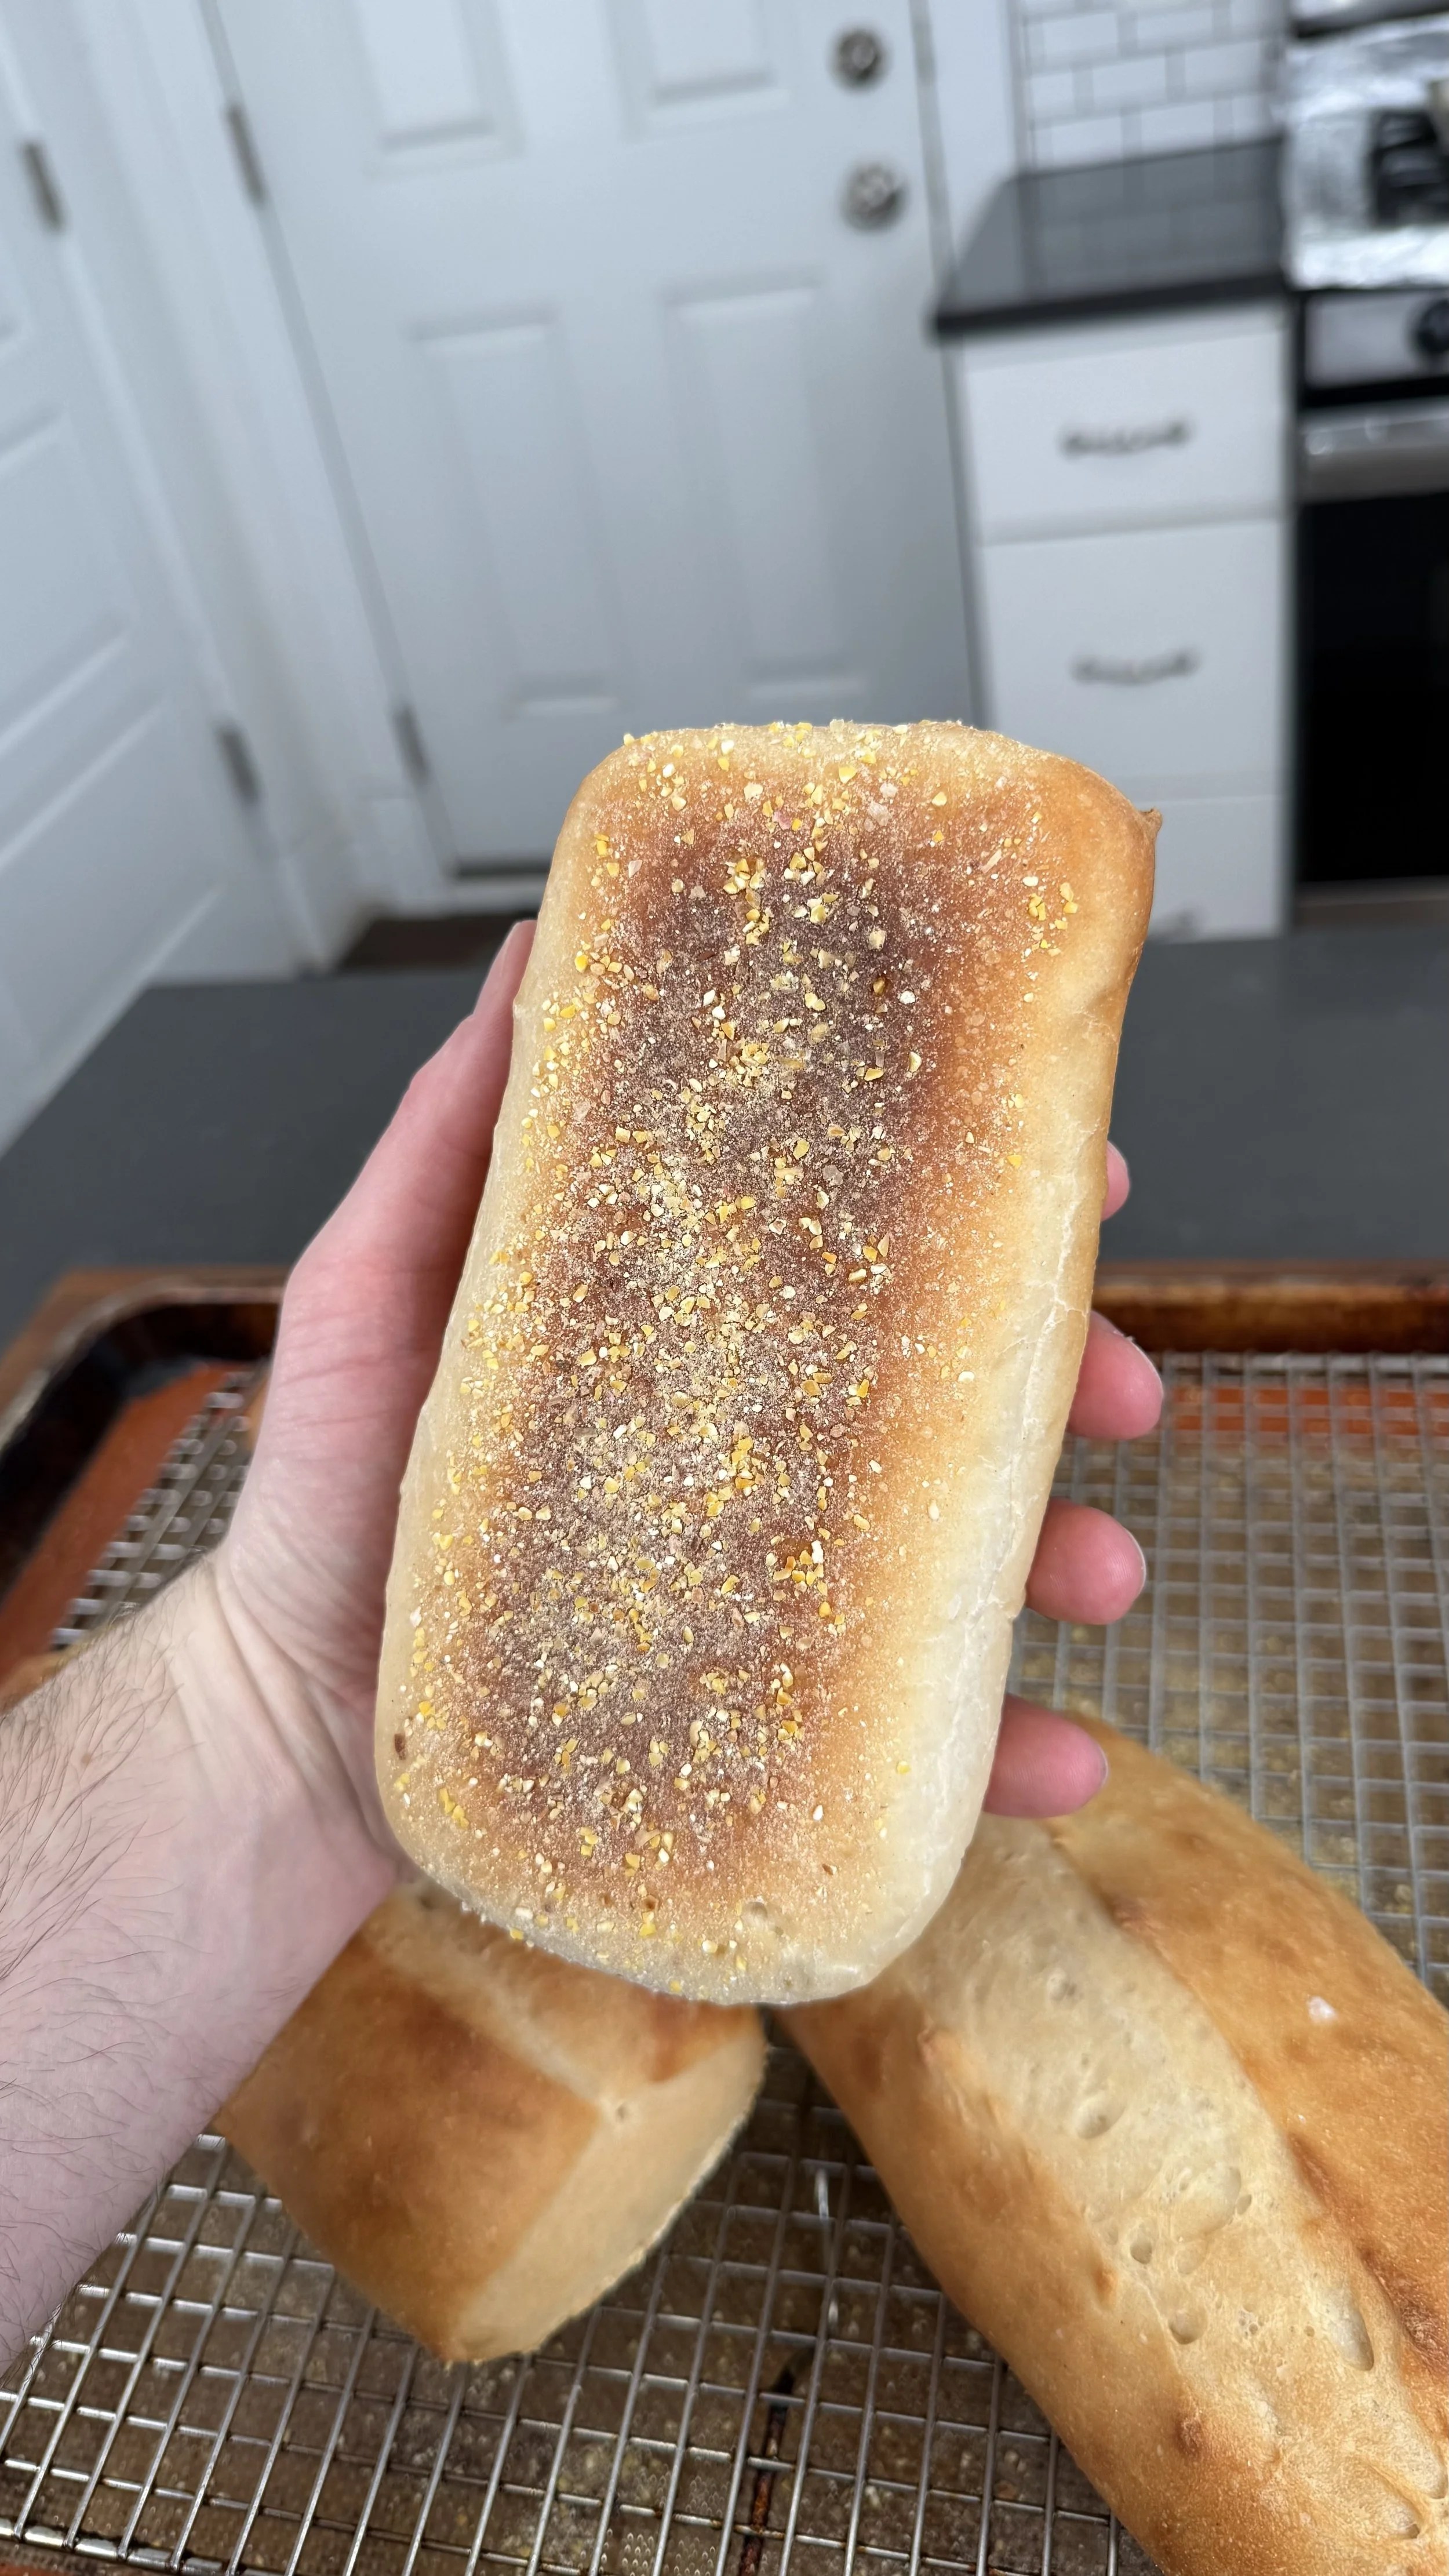
These French rolls are the quiet MVP of the Italian beef. They’re not trying to be pretty or artisanal. No big open crumb. No dramatic blistered crust. This is functional Chicago bread built to do one job extremely well: hold a ridiculous amount of hot beef and juice without turning into mush or fighting you on the bite.
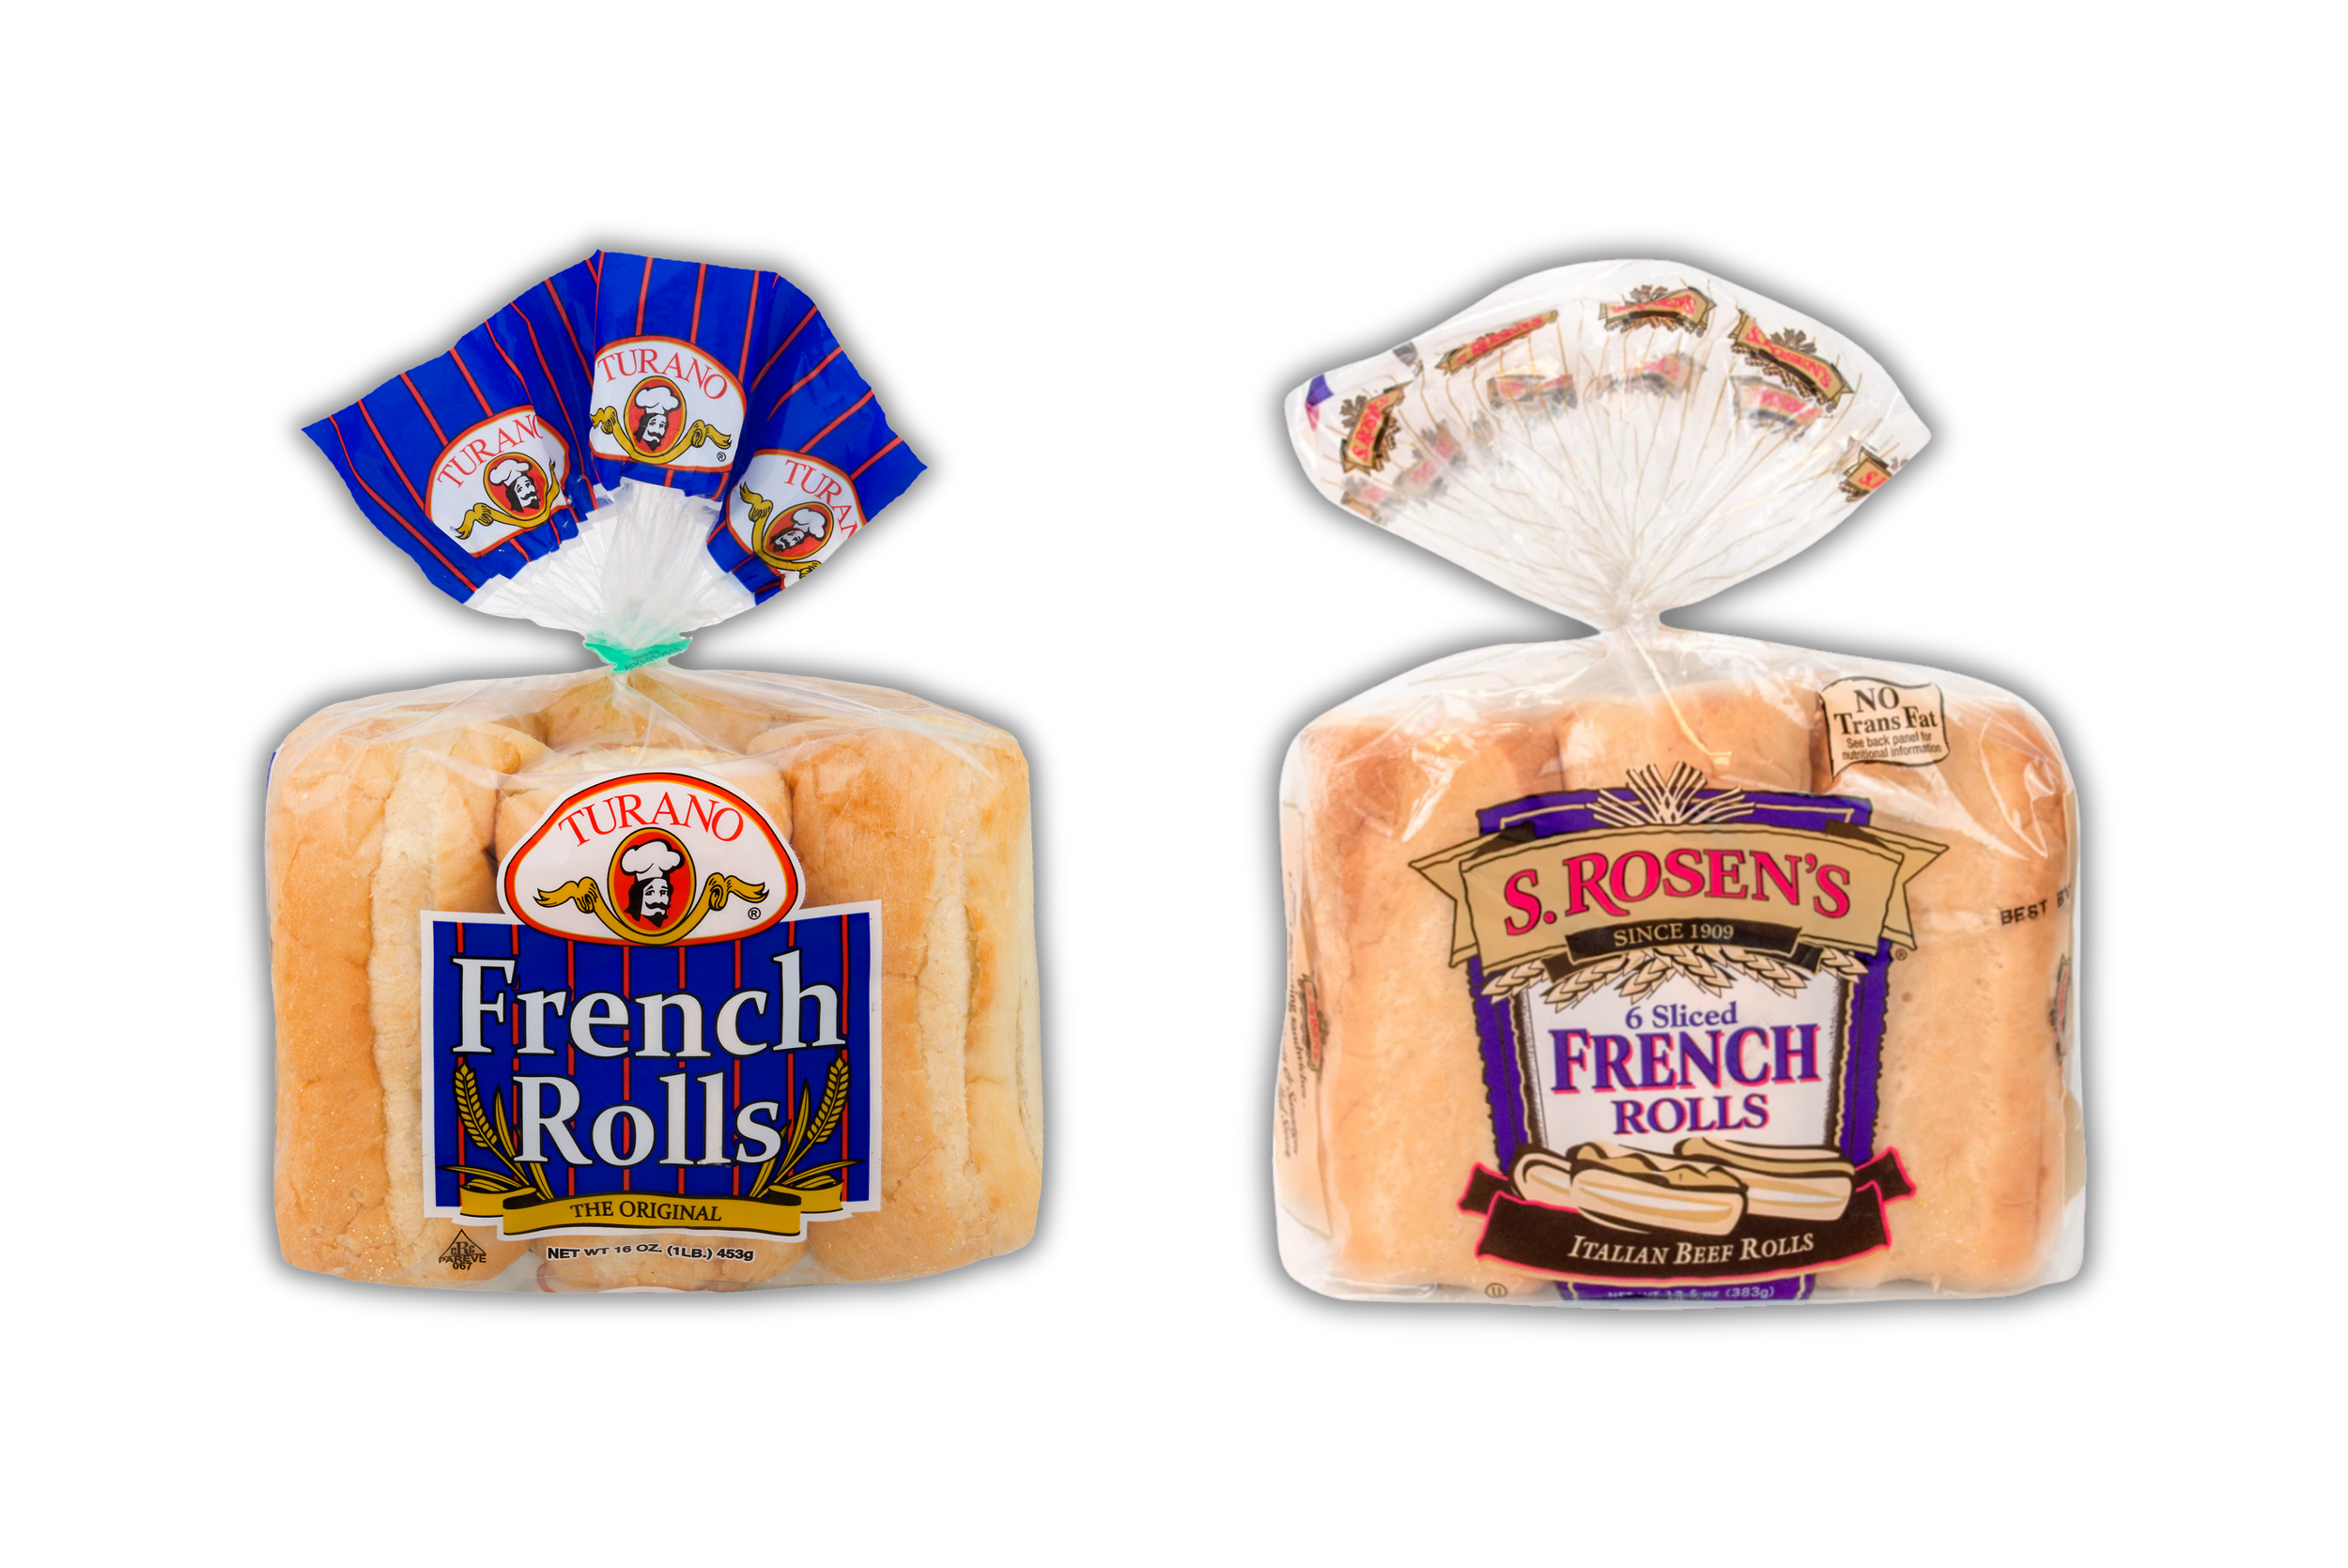
I developed these by studying classic Chicago bakery rolls like S. Rosen’s and Turano and reverse-engineering what actually matters. A tight, pale crumb that compresses instead of shattering. Just enough structure to hold its shape, but soft enough to rebound after a full dip. A thin, tender crust that doesn’t scrape the roof of your mouth or push the beef out the back of the sandwich.
If you’ve ever wondered why Italian beef uses something labeled a “French roll,” this is the answer. It’s not French in spirit. It’s Midwestern, utilitarian, and purpose-built. This roll isn’t here to steal the spotlight. It’s here to disappear the second it hits the jus… and that’s exactly the point.


Homemade French Rolls
Ingredients
Instructions
- Combine bread flour, sugar, yeast, diastatic malt powder, and milk powder. Add water and oil, mix until shaggy. Rest 10 minutes.
- Add salt and knead just until smooth and cohesive, not strong. 5–6 minutes by hand or 3–4 minutes on low speed. Dough should be soft, slightly tacky, and very extensible.
- Cover and ferment at room temperature until just doubled, 60–75 minutes. Do not push past this.
- Divide into 4 even portions. Lightly pre-round and rest uncovered 5–7 minutes.
- Roll each portion into a log ~1.75 inches in diameter and 7–8 inches long. Apply even pressure along the entire length—no tight middles, no skinny ends. Ends should be softly tapered, not sealed shut.
- Place seam-side down on parchment lightly dusted with cornmeal. Proof uncut until clearly puffy and relaxed, 40–50 minutes. When pressed, dough should spring back slowly and incompletely.
- Just before baking: Score one continuous, slightly deeper lengthwise cut, ~¼ inch deep. Keep blade shallow angle (almost parallel), not straight down. Do not trim ends on this test
- Bake at 400°F (205°C) for 20-22 minutes, rotating once. Tent loosely with foil only if color develops early. Target internal temp: 200–205°F (93–96°C).
- Cool at least 20 minutes before slicing to allow crumb to set and tighten.
Da Peppers (Sweet + Hot)
Sweet peppers are the counterweight to giardiniera and a core part of Chicago beef culture, bringing balance where the hot stuff brings chaos. Slow cooked until soft and jammy, usually in oil with garlic and a touch of sweetness, they melt into the sandwich and tie the beef, bread, and jus together. In a city that loves contrast, sweet peppers give you relief from heat, deepen the savoriness of the meat, and add a gentle acidity that keeps each bite from feeling heavy. They are comforting, familiar, and deeply Midwestern, the option for people who want flavor without punishment, and just like giardiniera, a beef with sweet peppers is not an add on, it is a valid and respected way to order the sandwich.
Charring and peeling concentrates the pepper’s natural sweetness while the agrodulce adds controlled acidity, giving you deeper flavor and cleaner balance than the flat, watery sweetness of standard sautéed sweet peppers.
Sweet Peppers (Agrodulce)
Ingredients
Instructions
- Char peppers directly over a gas flame (or under a broiler) until skins are fully blistered and blackened on all sides.
- Transfer peppers to a bowl, cover tightly, and steam for 10–15 minutes.
- Peel off skins, remove stems and seeds, then slice peppers into long strips.
- In a small saucepan, combine vinegar, sugar, olive oil, salt, red pepper flakes, and garlic; bring to a simmer just until the sugar dissolves, then remove from heat.
- Pour warm vinegar marinade over the peppers, toss to coat, and let marinate at least 30 minutes before using.
Giardiniera is essential to Italian beef and just as essential to Chicago itself, born from the city’s Italian American neighborhoods as a way to preserve vegetables and add punch to inexpensive food. In a town built on working class meals, giardiniera became the equalizer, a cheap jar of oil soaked heat and crunch that could turn a simple beef sandwich into something craveable and unforgettable. It cuts through richness, wakes up your palate, and reflects the Chicago mindset of food that is bold, unapologetic, and built for people who want flavor without ceremony. Around here, ordering a beef without giardiniera is like ordering it unfinished, because the sandwich is not complete until that spicy oily crunch hits.
By choice, I didn’t make giardiniera in this video, but I have an entire video dedicated to it here.
Giardinera (Spicy Pickled Vegetables)
Ingredients
Instructions
- Day 1: Add the cut vegetables to a large container and cover with water. Record the weight of the water and veg in grams then multiply by (.08) to get your salt measurement. Add the kosher salt (8% weight of water/veg) to the water and stir to incorporate. Set out covered at room temperature overnight.
- Day 2: Place a large bowl on a scale and zero it out. Drain the salty brine into the bowl, record the weight, then discard the salty brine. To a medium sauce pan, add 50% of the weight of the liquid in water and the other 50% in white distilled vinegar. Add the spices and garlic to the pickling liquid, bring to a light boil and simmer for 5 minutes Pour the pickling liquid over the vegetables in the large container, let cool to room temperature then refrigerate. Let the vegetables sit in the fridge for 3 days before using.
- Day 5: Strain the vegetables and discard the pickling liquid. Add the pickled vegetables to a food processor and pulse to make a minced, “relish-like”, consistency. Transfer the minced pickled vegetables to a sealable container then pour enough olive oil to cover. The giardiniera will last refrigerated for at least 2-3 months in a sealed container.
Adam's Notes
- To get the amount of water and vinegar needed in step 2, record the weight of the brine in grams then divide it by two and use that measurement to move onto step 3.
- To make the giardiniera last longer be sure to use a clean utensil when serving.
Disclaimer: I earn commission income with qualifying purchases made through Amazon’s Affiliate program and other affiliate links in this description.