

Homemade Tater Tots
Nobody set out to invent the tater tot. In 1953, two brothers named F. Nephi and Golden Grigg were running a frozen food plant on the Oregon and Idaho border, which is exactly where the name Ore-Ida comes from, and their money was in frozen french fries. The problem was the leftovers, because every fry left behind slivers of potato too small to sell, and those scraps had been going to the family cattle. So the men who invented tater tots did the cheapest possible thing with their garbage. They smashed the slivers together, blanched them, formed them into little logs, cooked them in oil and froze them.
Nephi hauled a fifteen pound bag to the National Potato Convention in Miami Beach in 1954 and talked the hotel kitchen into serving them at breakfast, where, in his words, they got gobbled up faster than a dead cat could wag its tail. Then Tater Tots hit grocery stores in 1956 and nobody bought them, because the Griggs priced them like the scraps they were and shoppers assumed anything that cheap was junk. Ore-Ida raised the price, America changed its mind, and the trash became the most beloved thing in the freezer aisle.
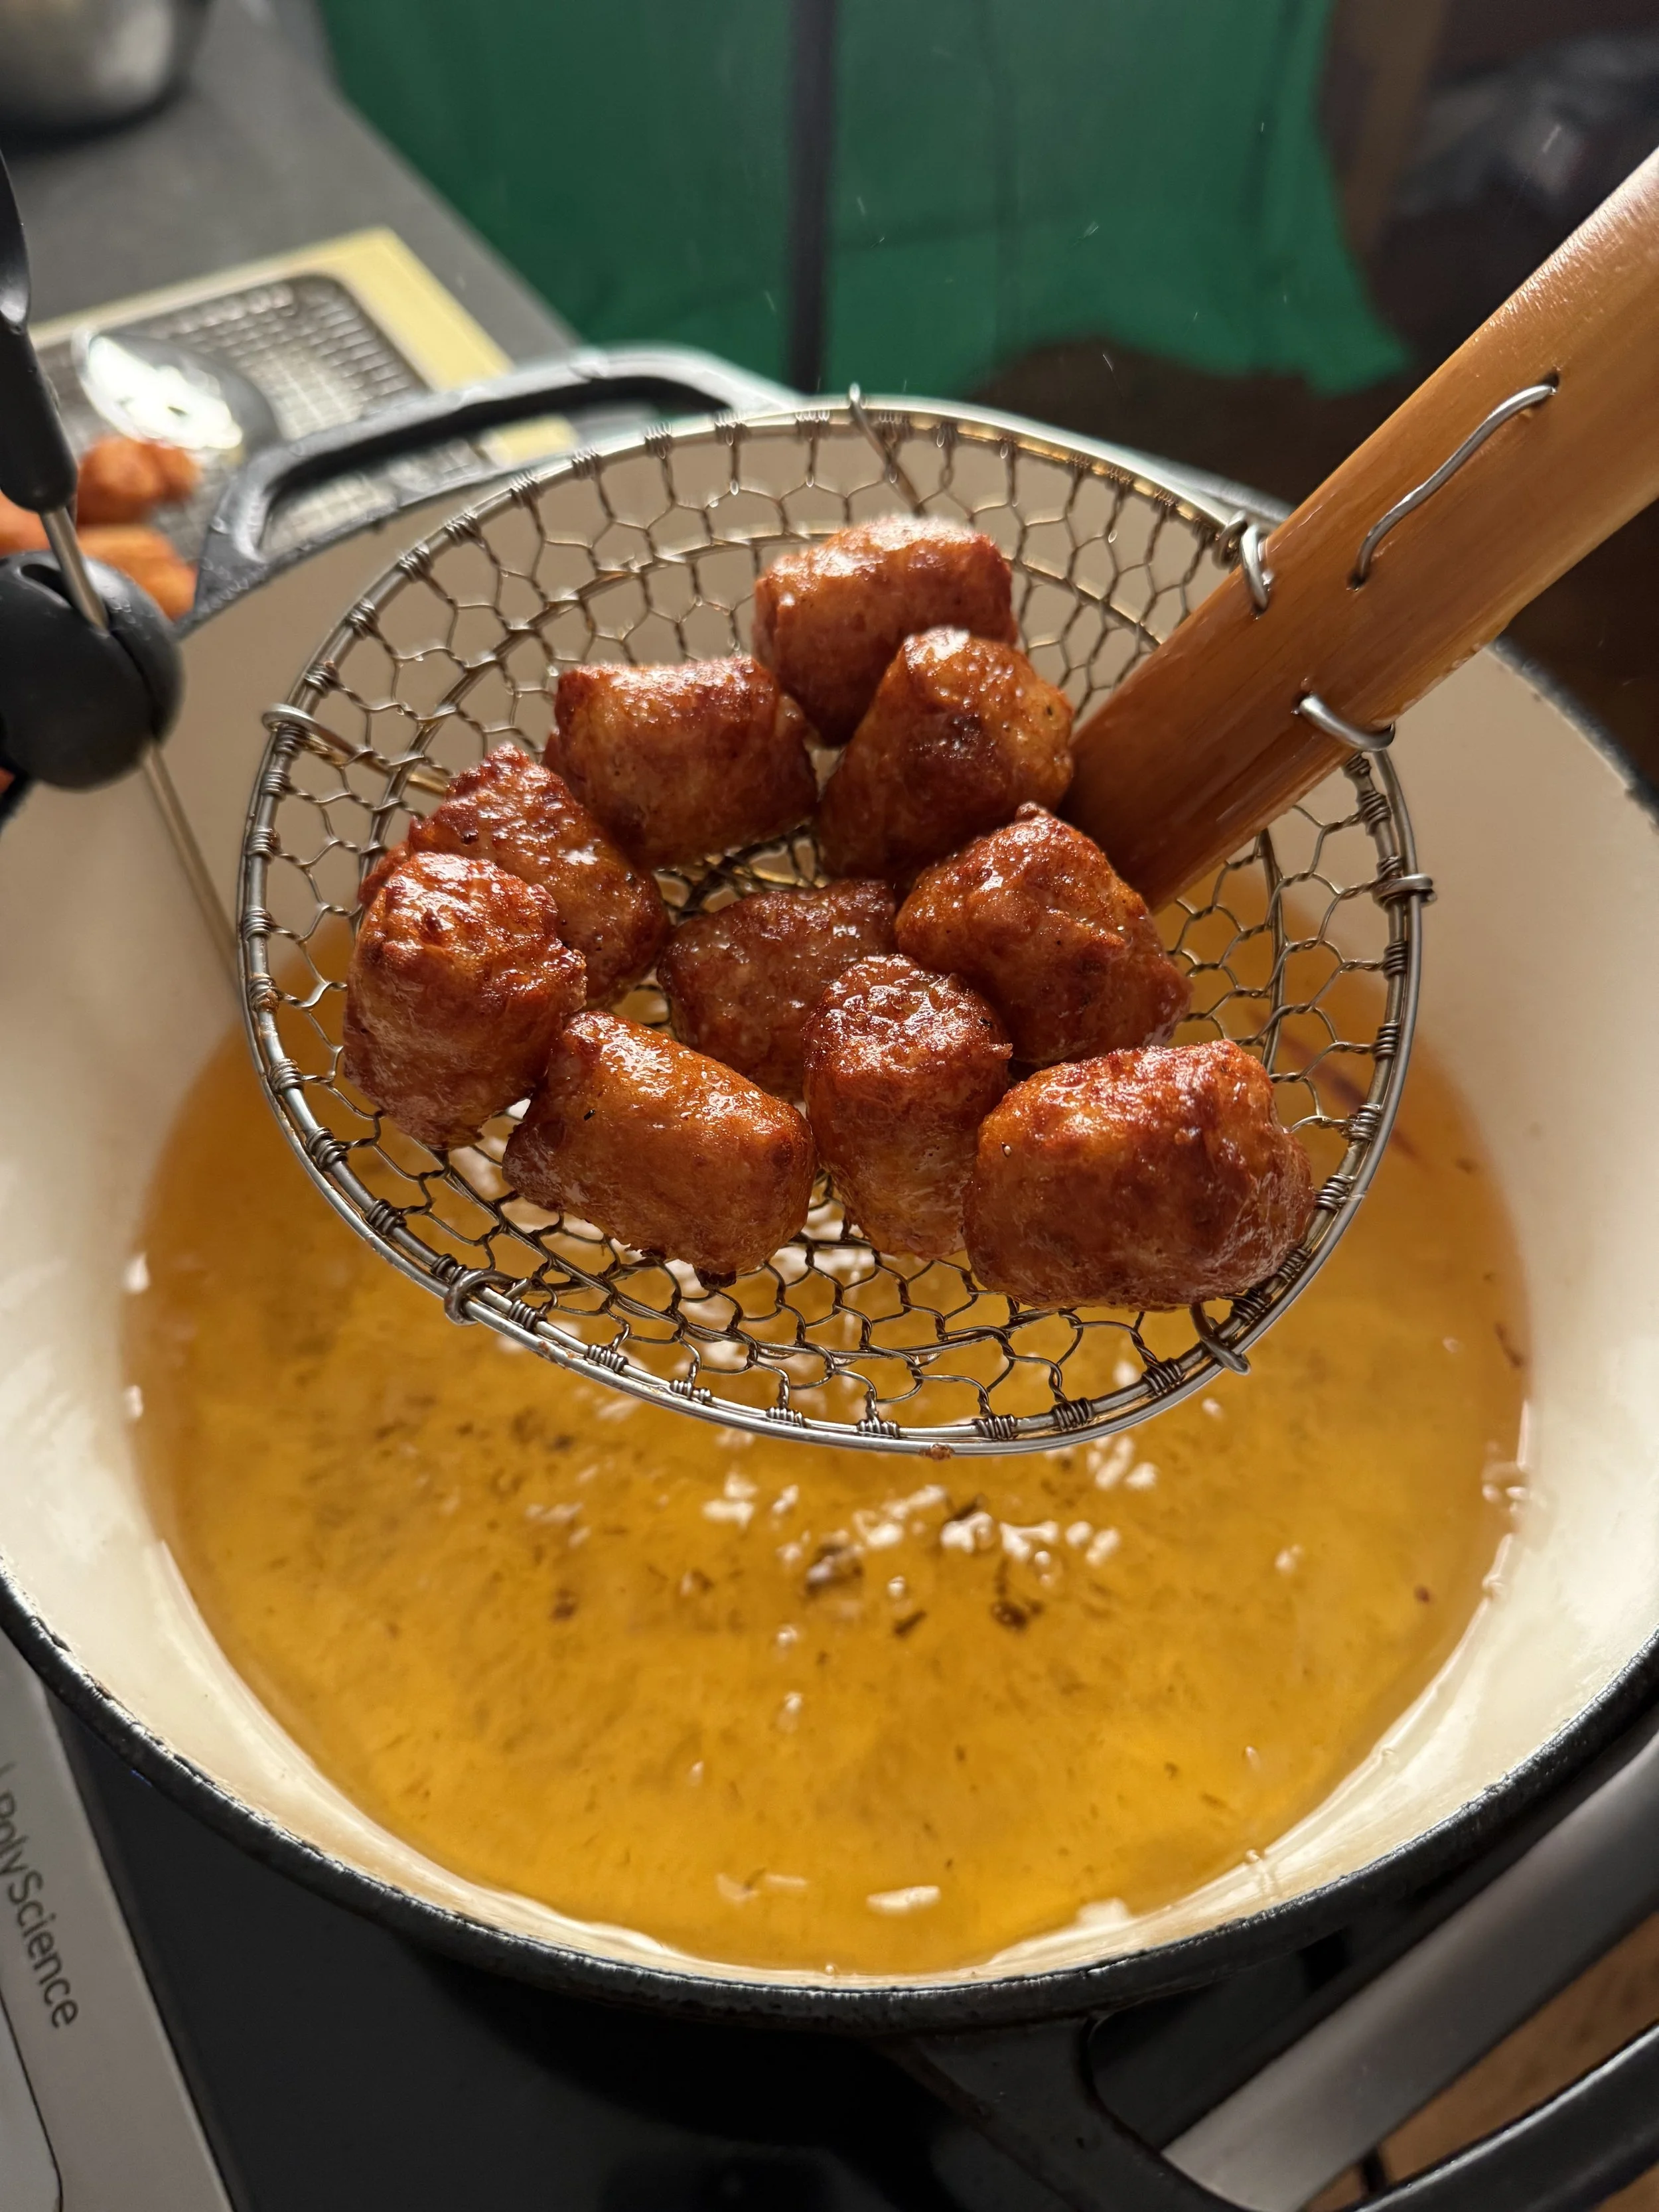
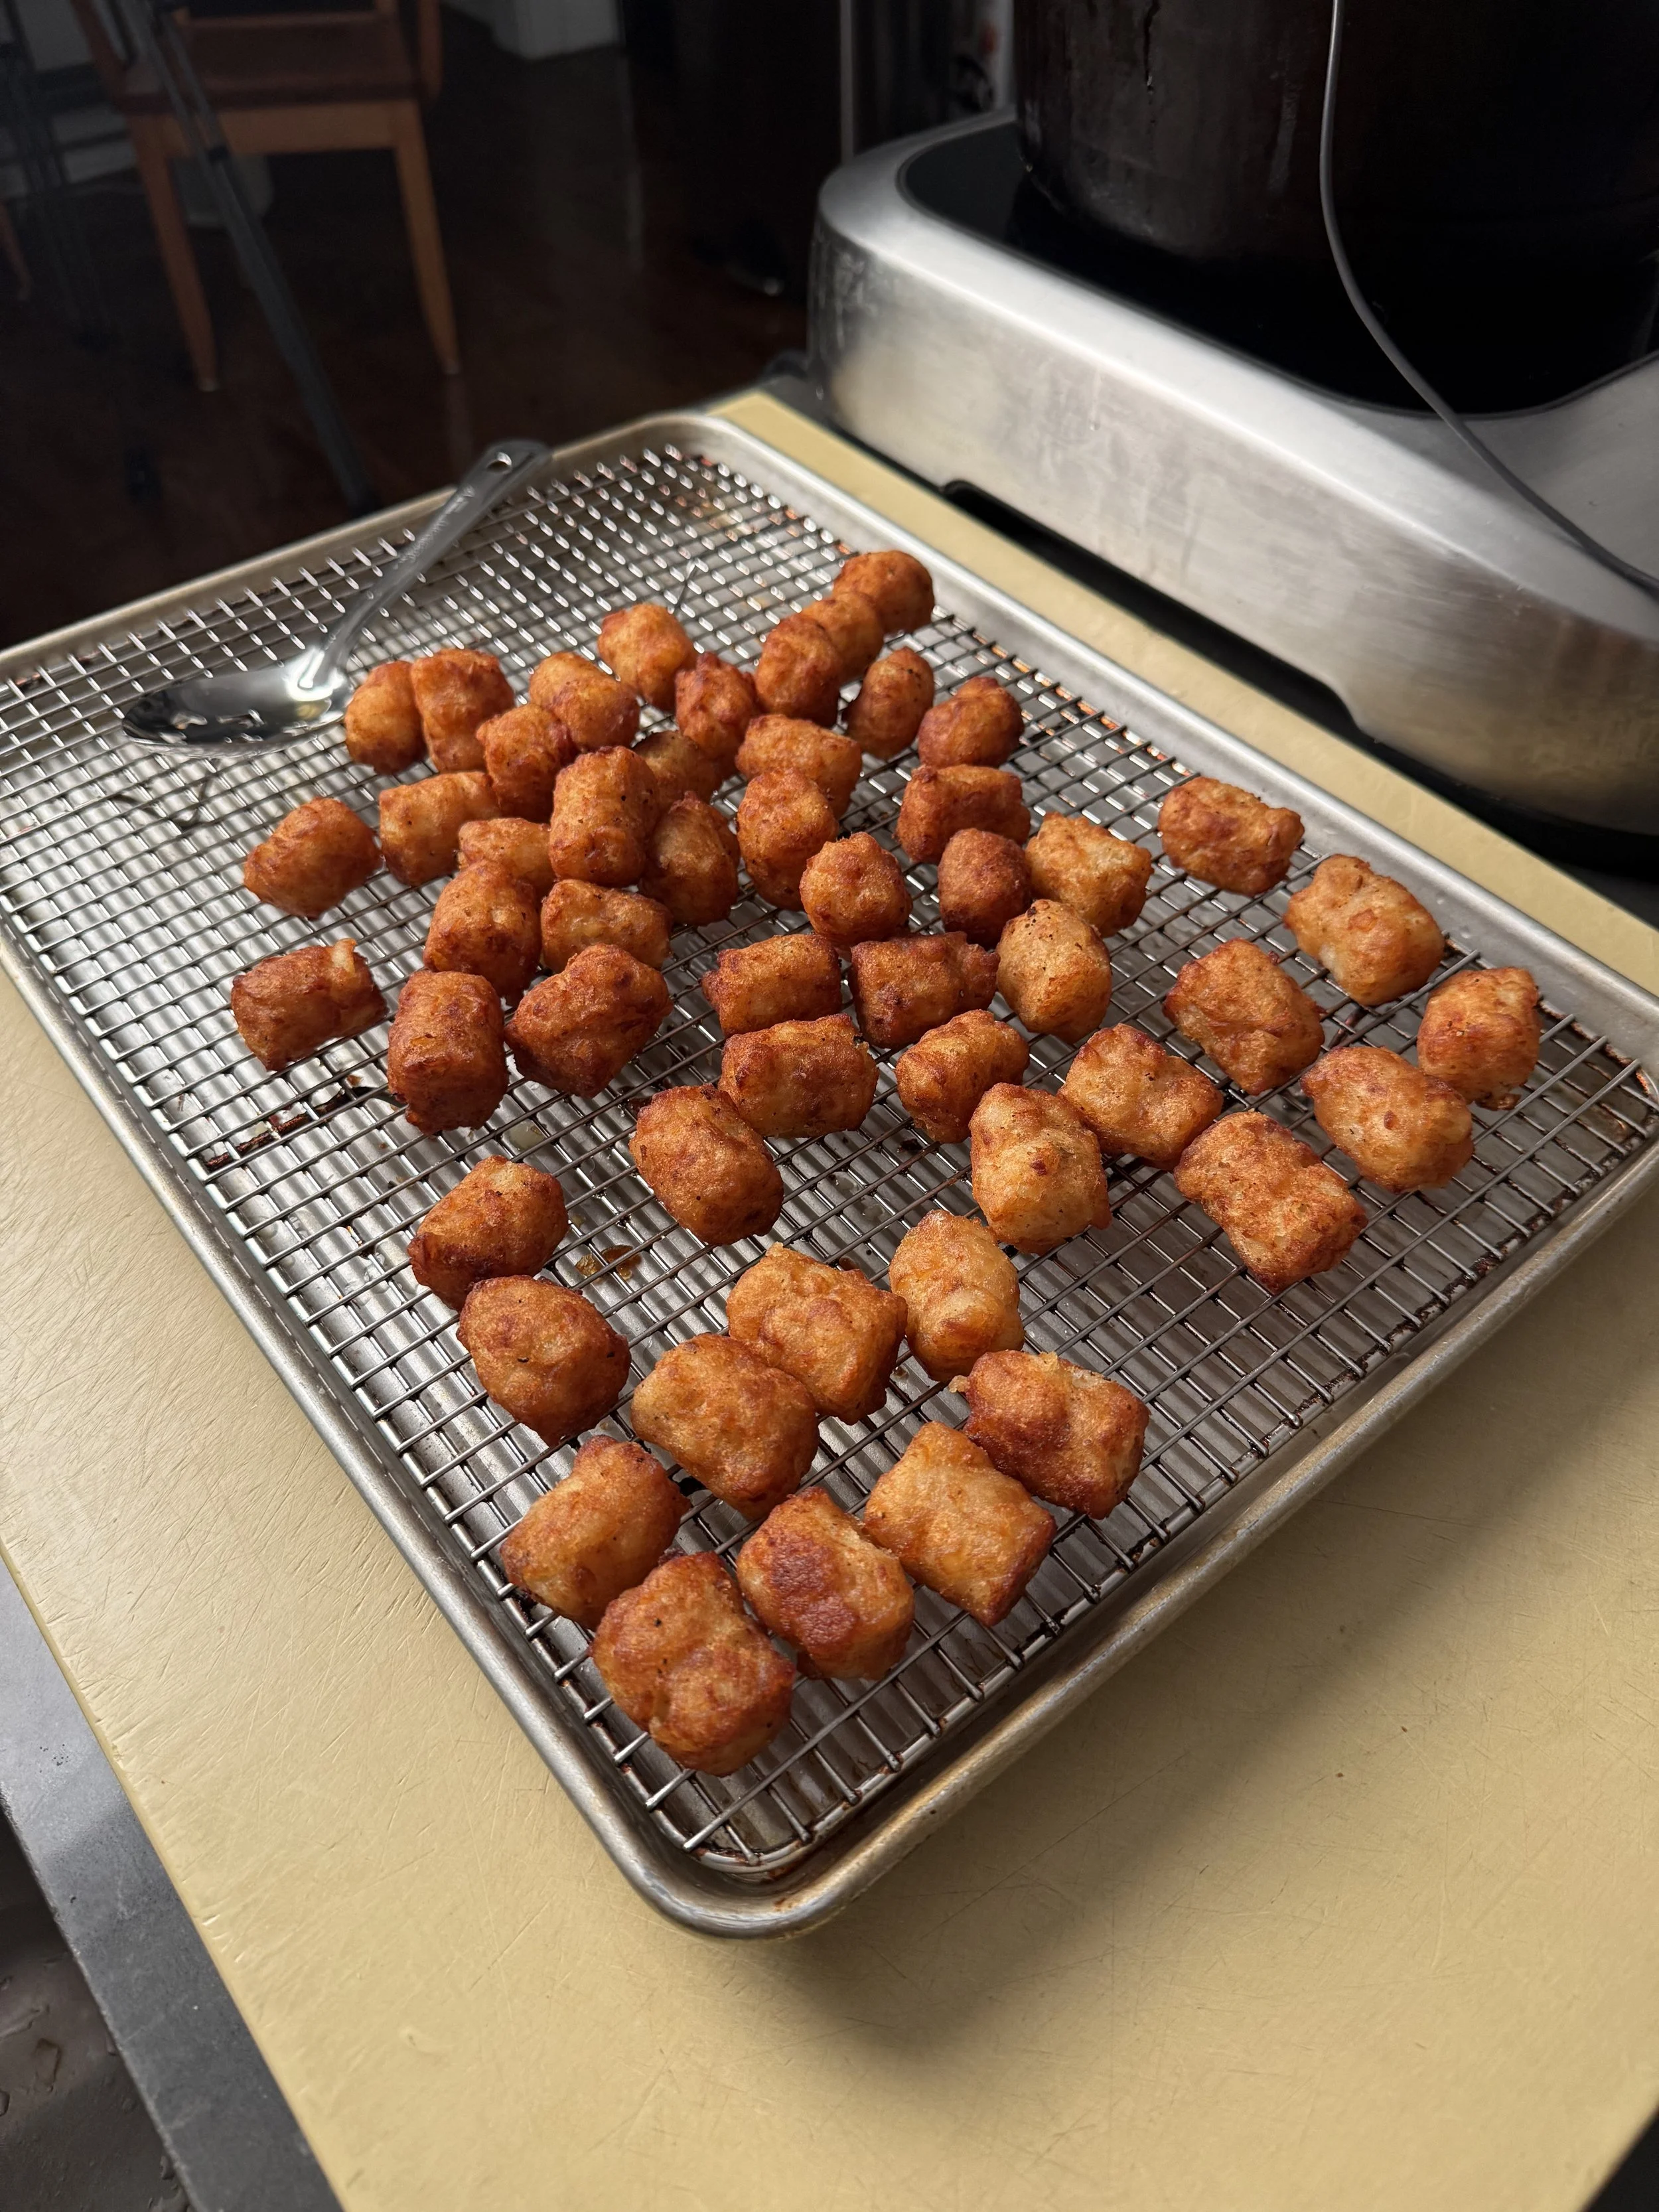
So this video makes homemade tater tots from scratch, and once you eat one you are finished with the bag forever. The method picks up where J. Kenji López-Alt left off, starting with russet potatoes fried once in beef tallow before they are ever shaped, because cooking the potato in fat first is the entire reason a tot comes out fluffy instead of gummy. From there the potatoes get pulsed in a food processor, seasoned with kosher salt, sugar, potato starch and MSG, shaped by hand like tiny nigiri, dusted for extra crunch, par fried and frozen solid. That freeze is not storage, it is technique, and the final fry from frozen is what gives you the craggy, shattering crust and the steaming interior that no oven tray has ever produced. Hot out of the oil they get tossed in Tot Dust, a homemade tater tot seasoning of salt, sugar, MSG and vinegar powder, then dragged through a lemon pepper aioli built on Kewpie mayo with freshly toasted black peppercorns, lemon zest and grated garlic. Full recipe below.
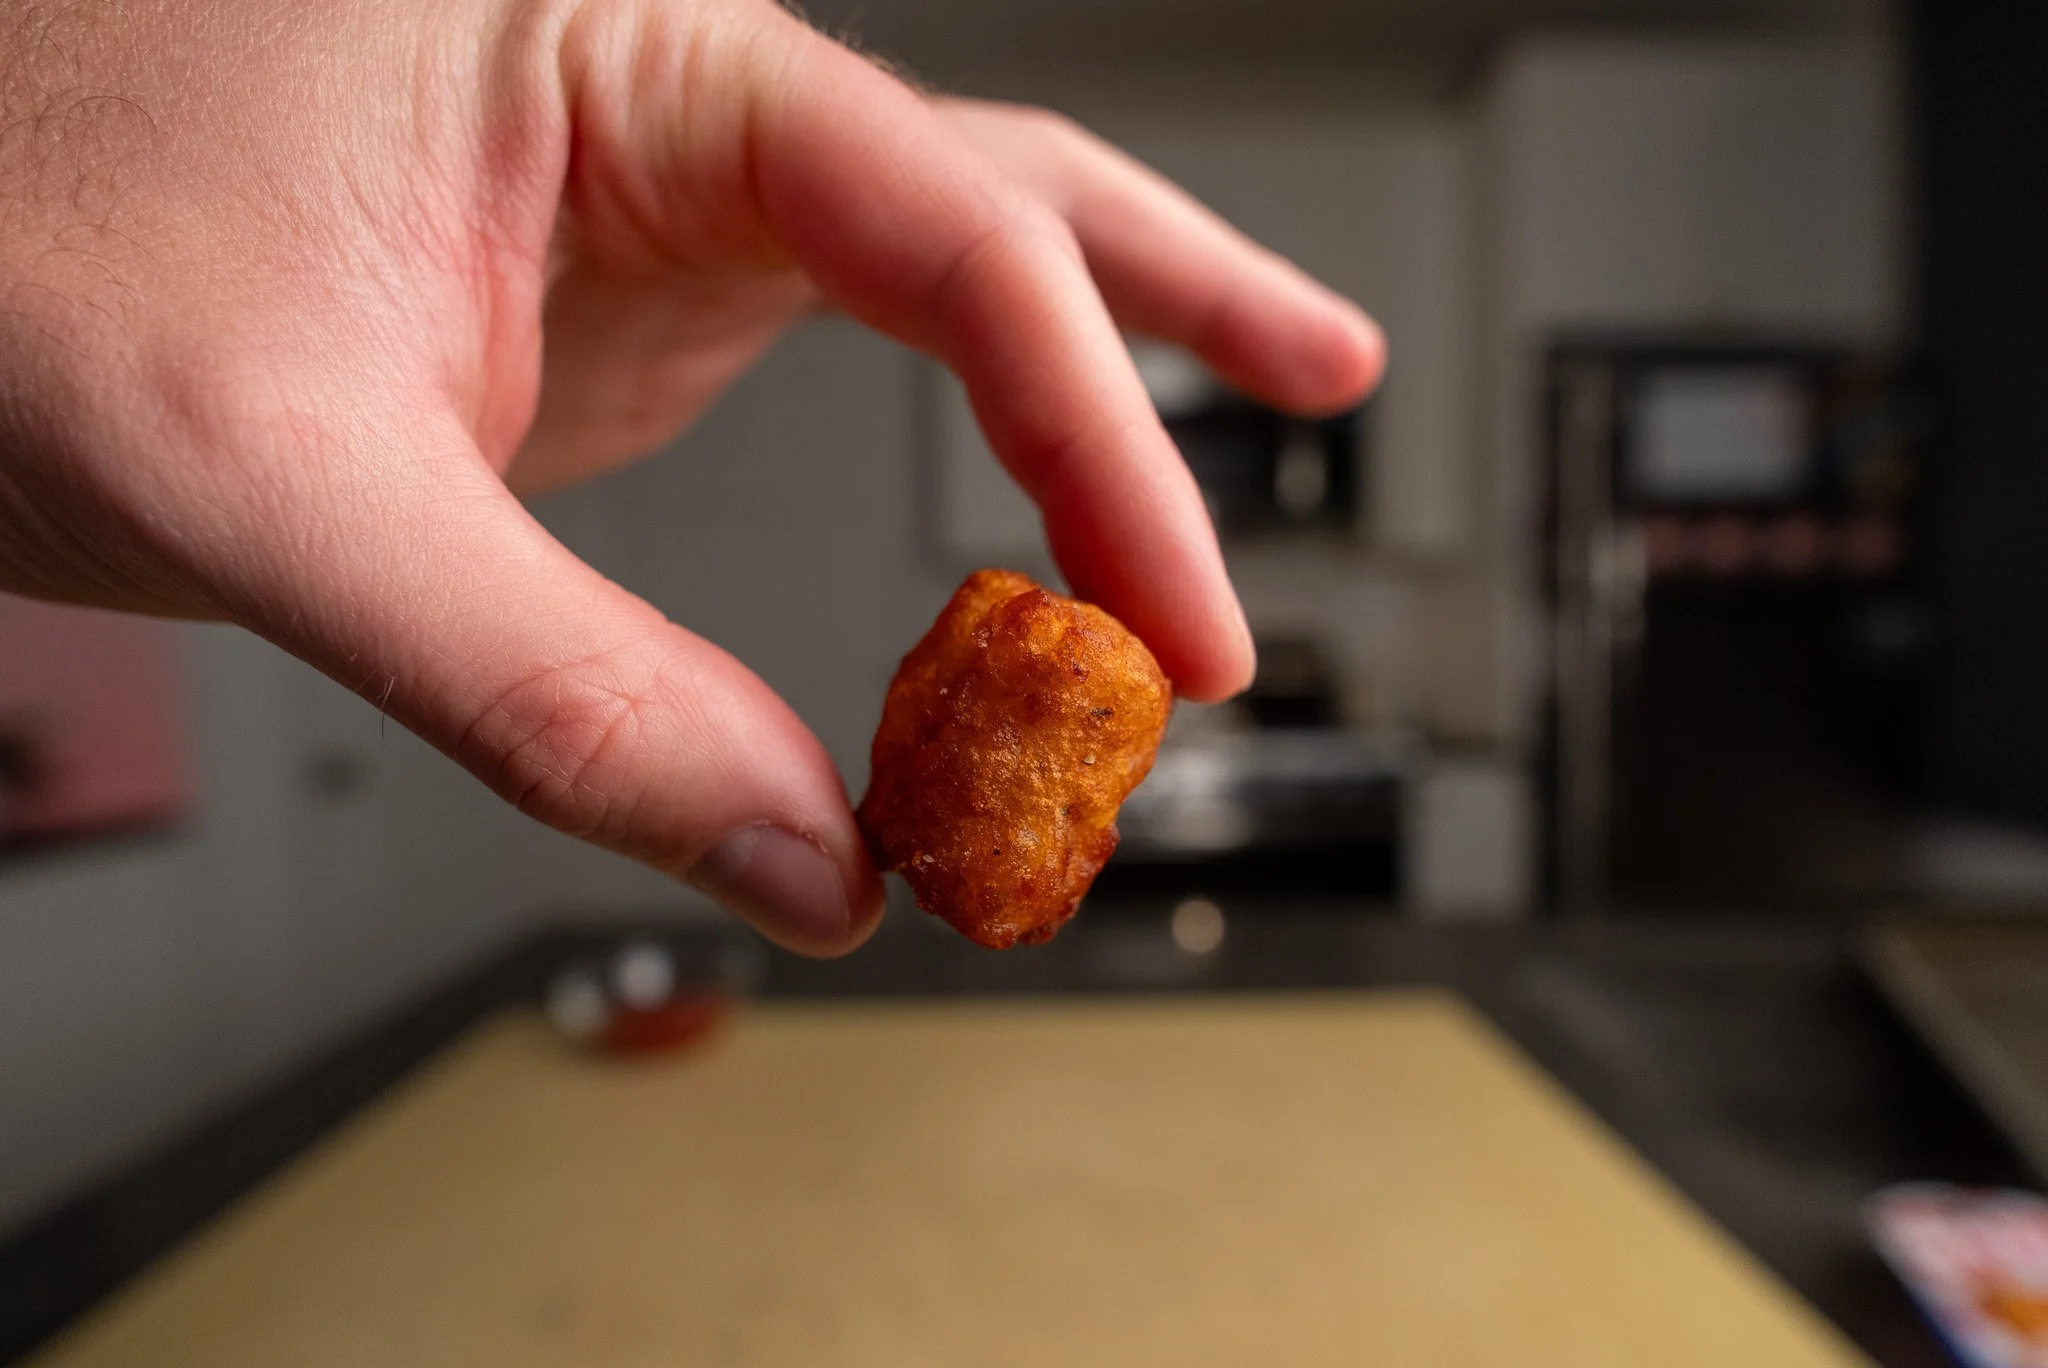
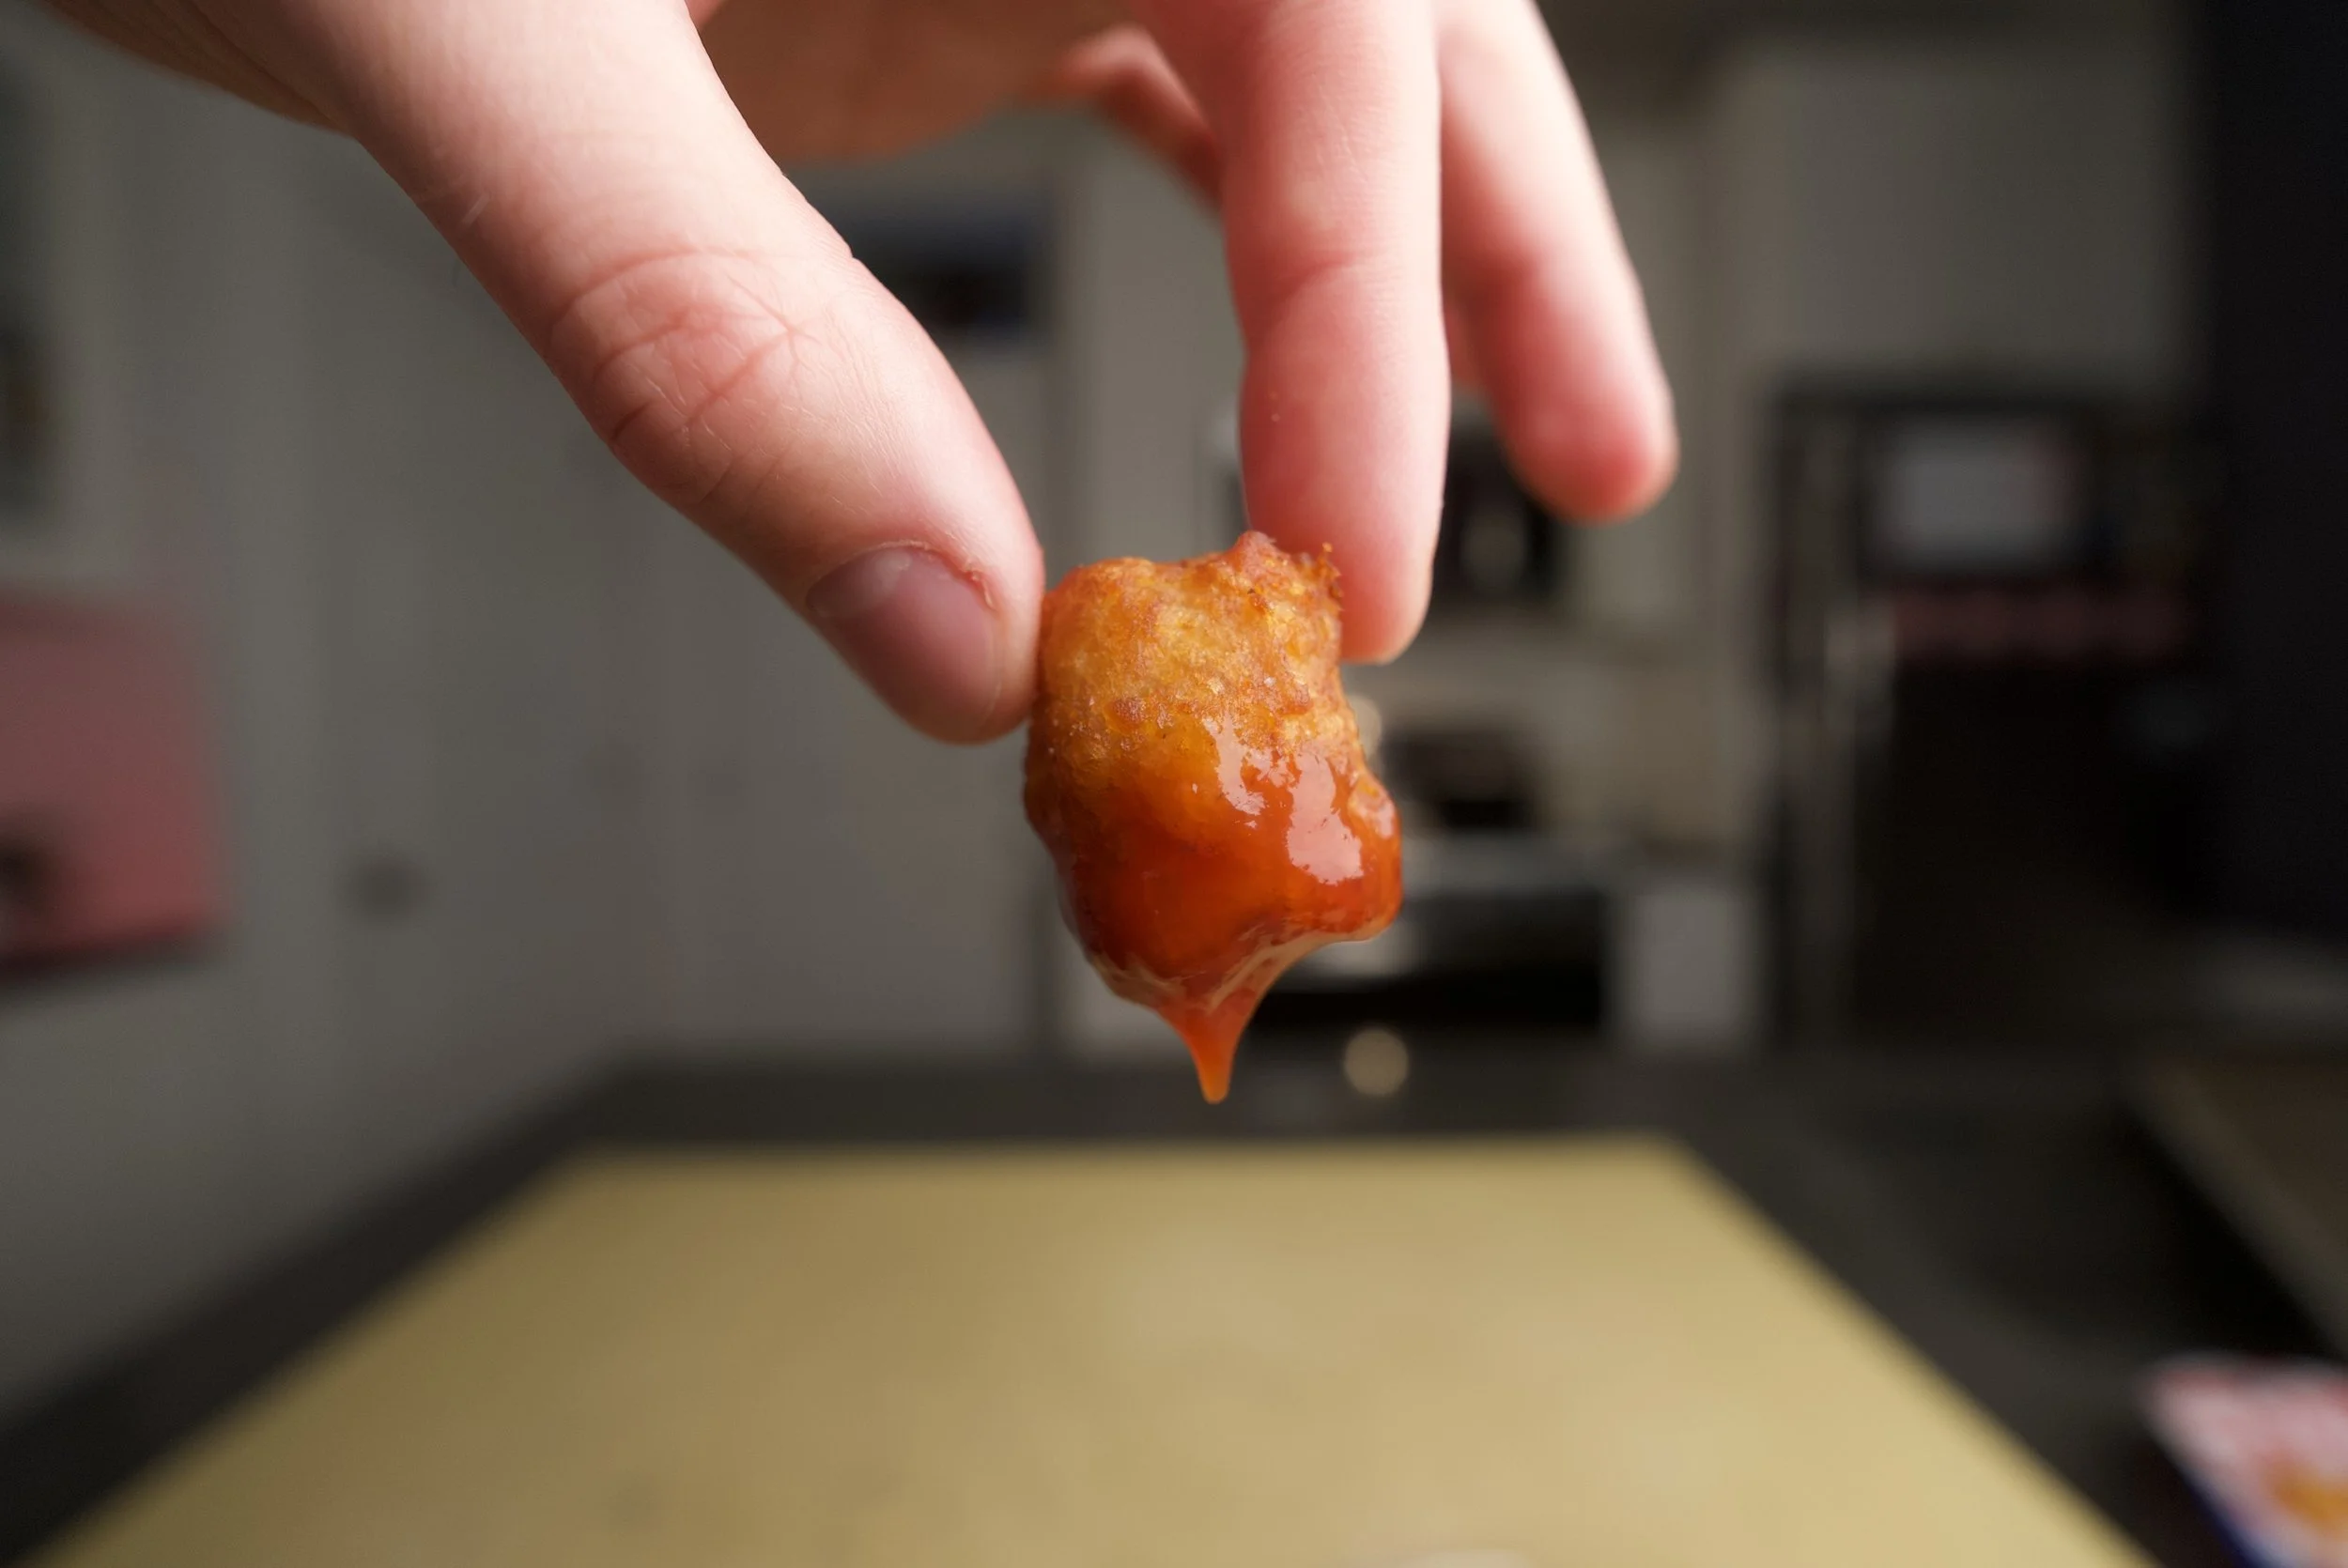
Again, shoutout to Kenji Lopez-Alt for putting in the work on this tot recipe. Kenji, you’re an American hero. Here’s his recipe.
Stuff I Use...
Here is all of the stuff that I use that’s from this recipe video. If what you’re looking for isn’t listed then you can check my Amazon storefront to see if you can find it there. If you’re still having trouble, shoot me a DM on Instagram, comment on the YouTube video or ask in Discord and I’ll do my best to get back to you.
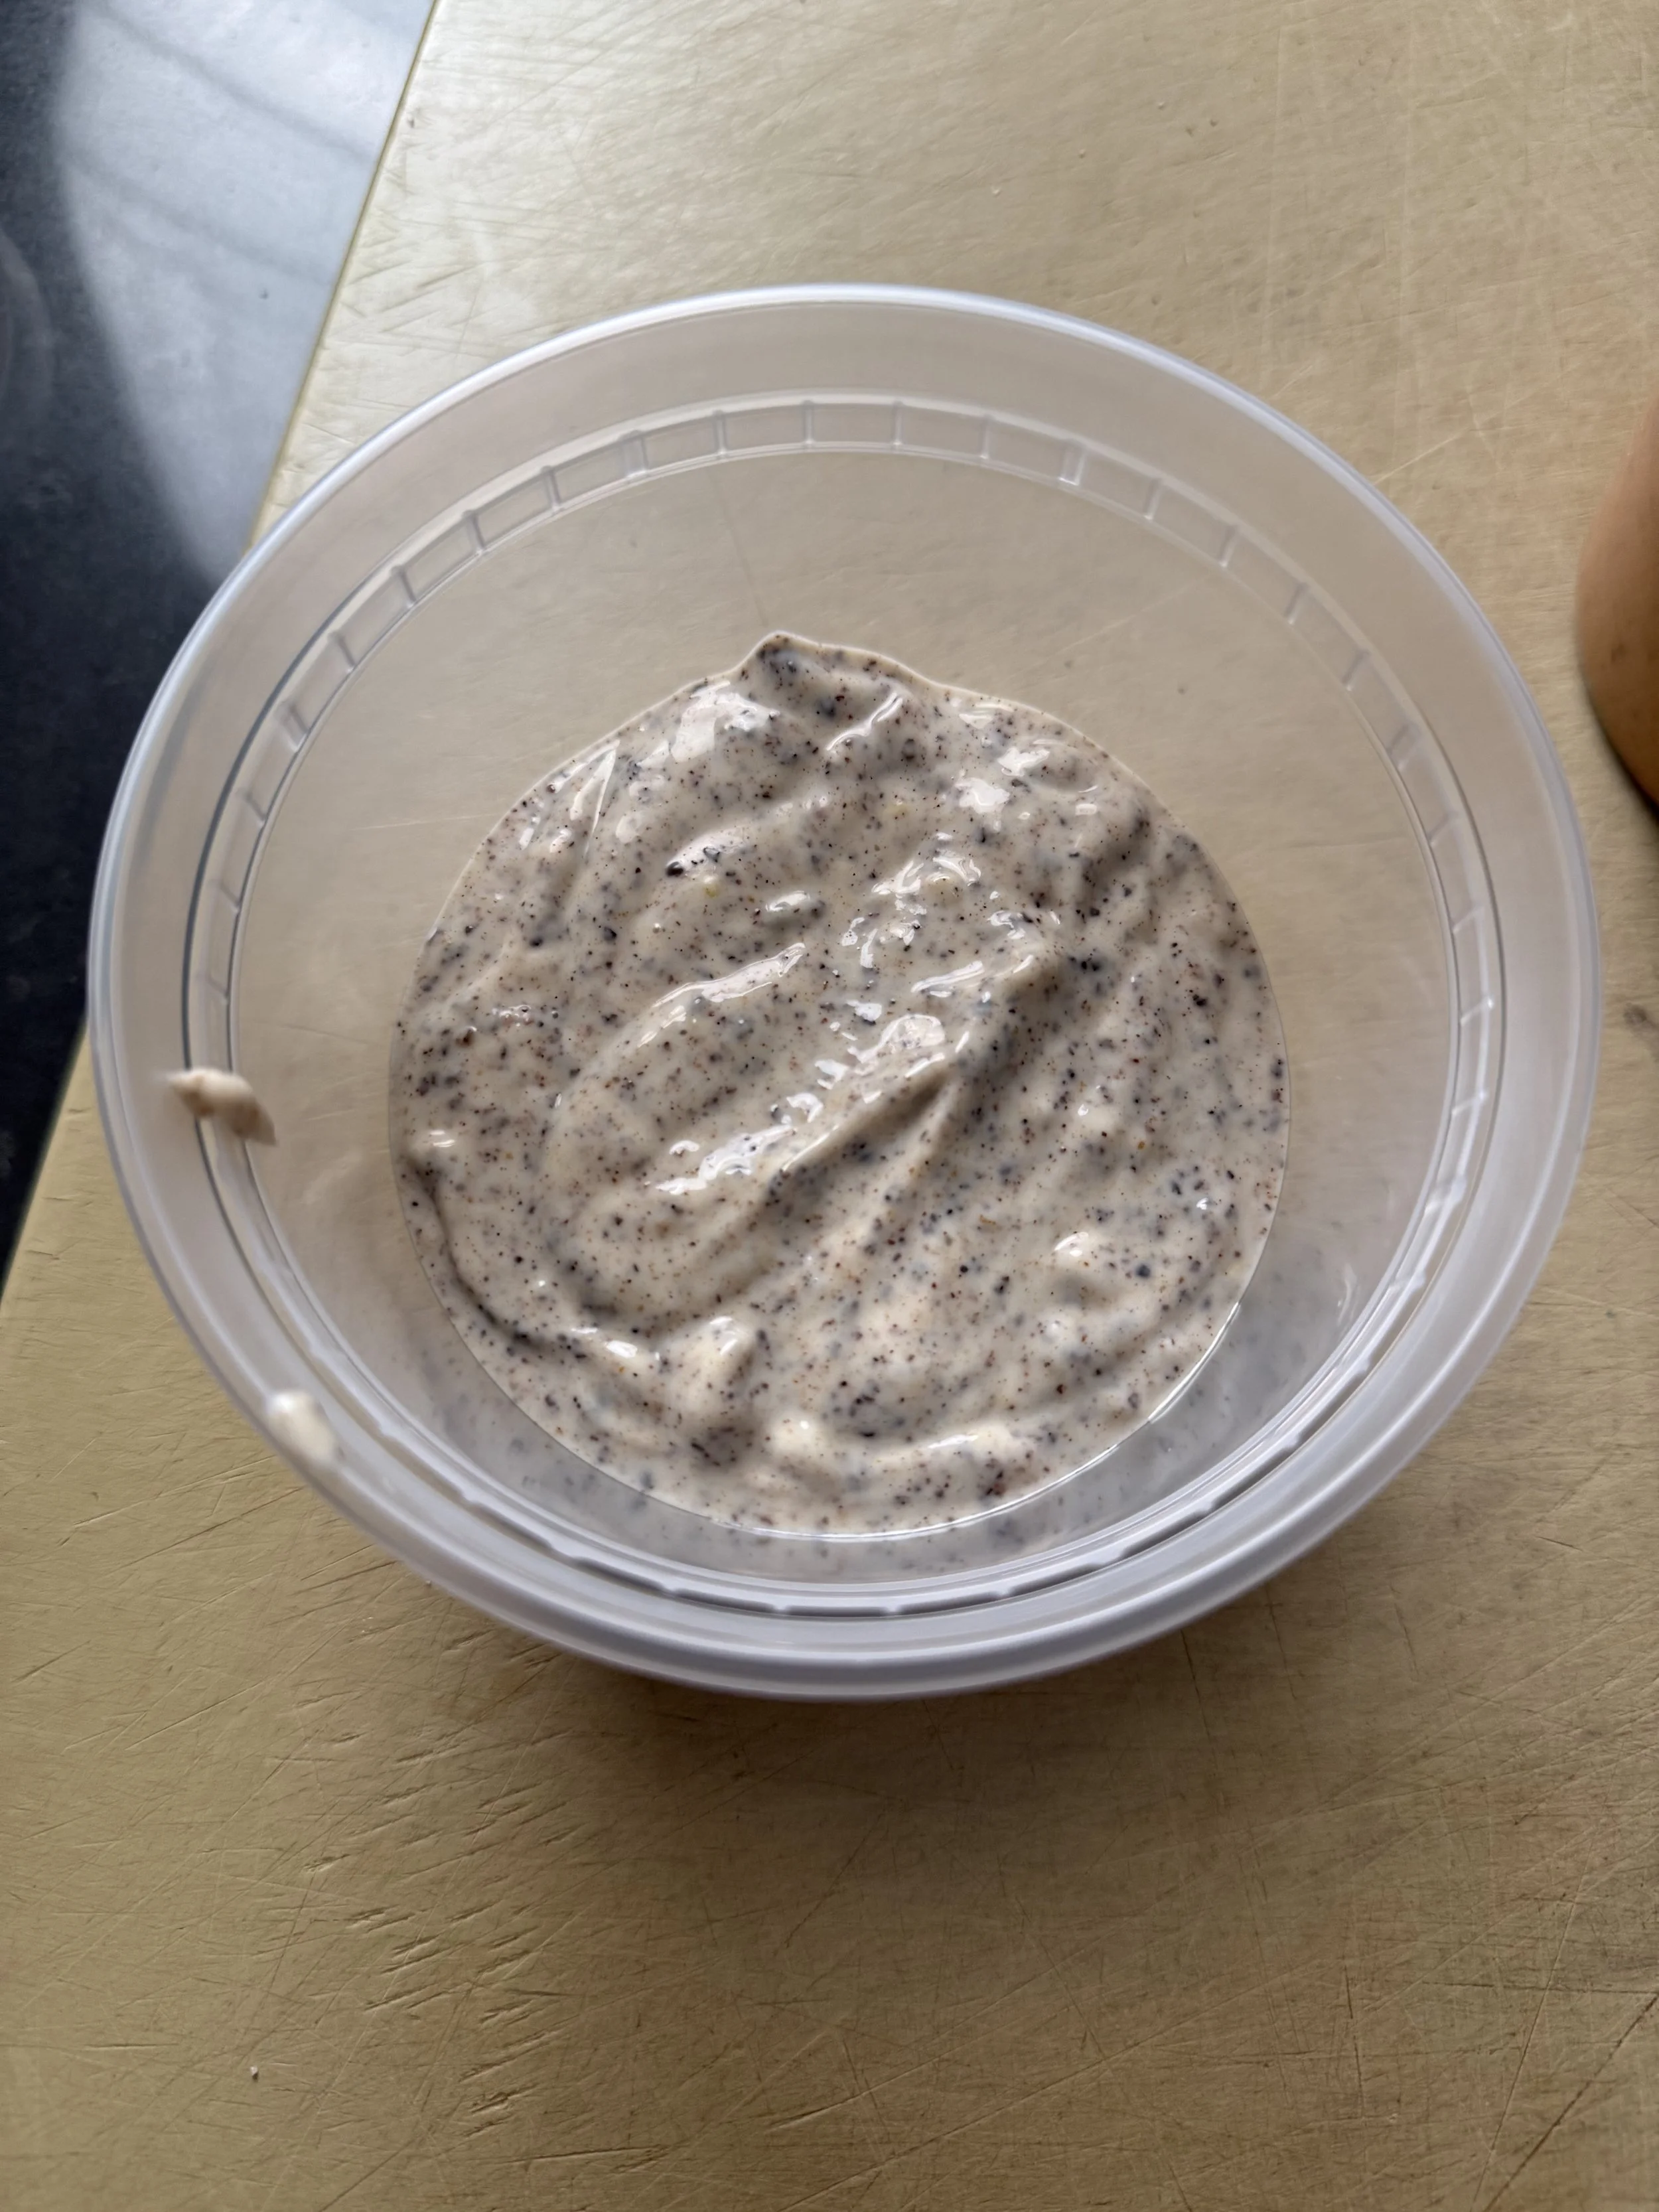
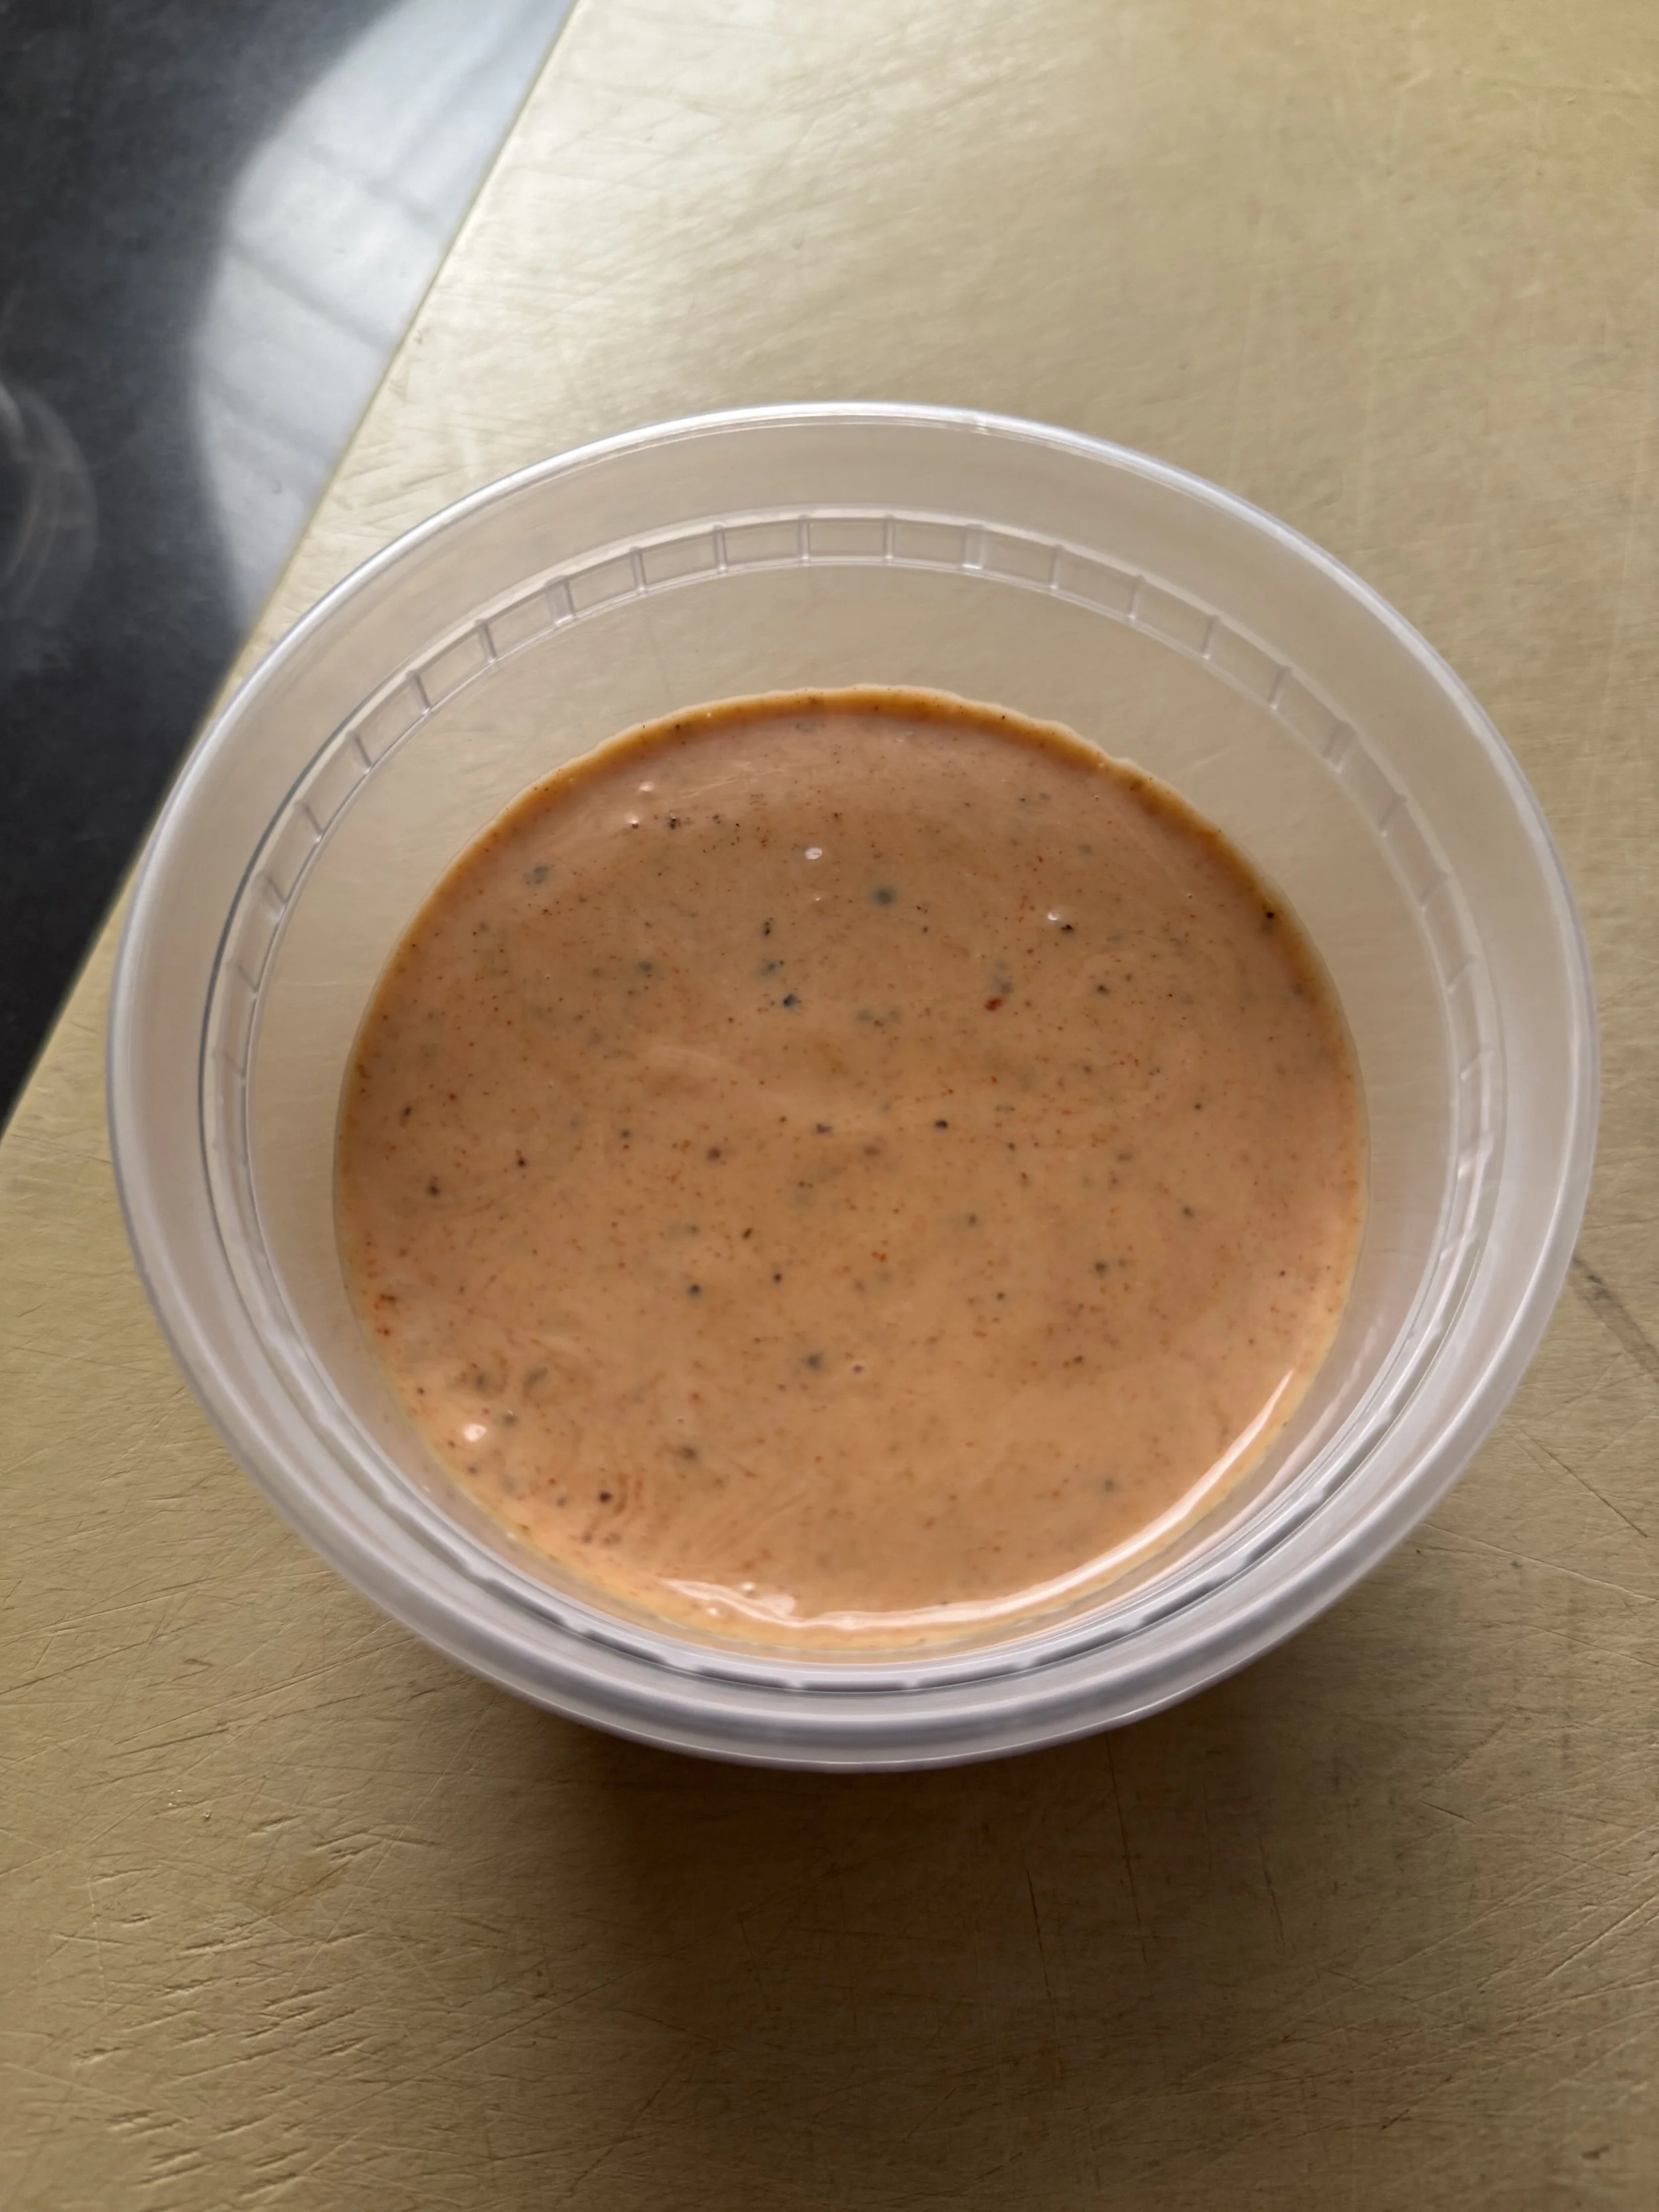
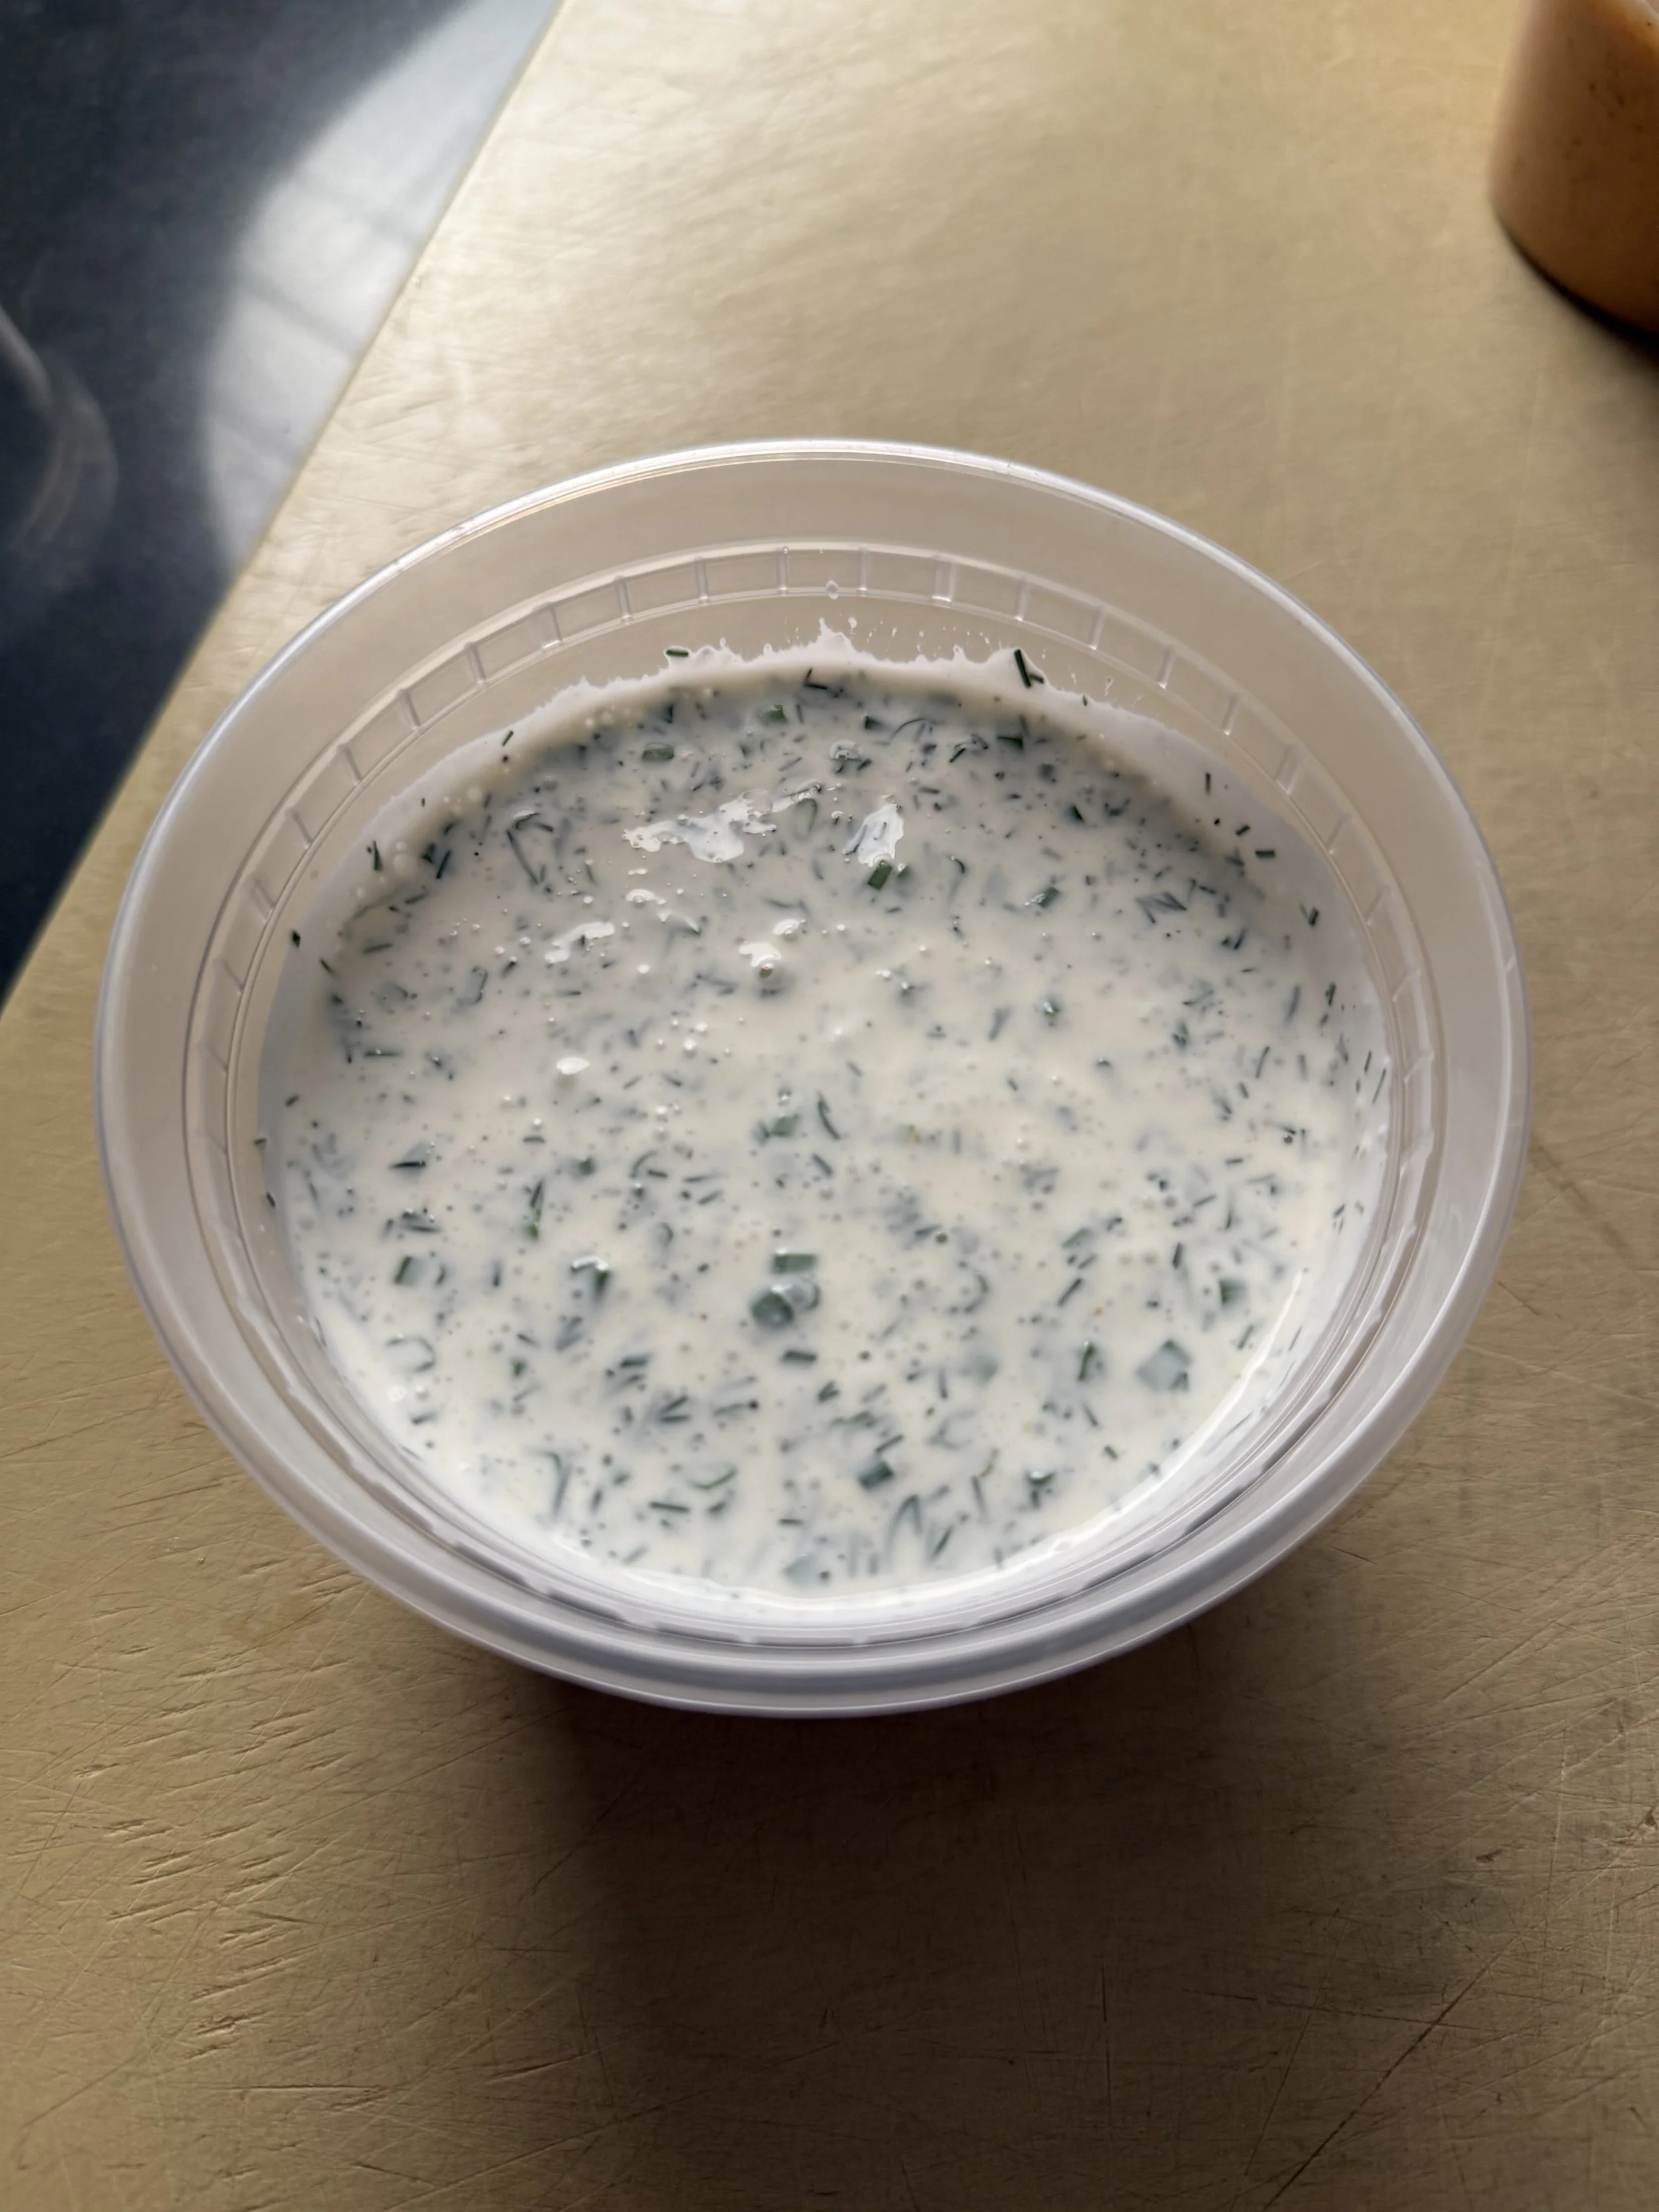
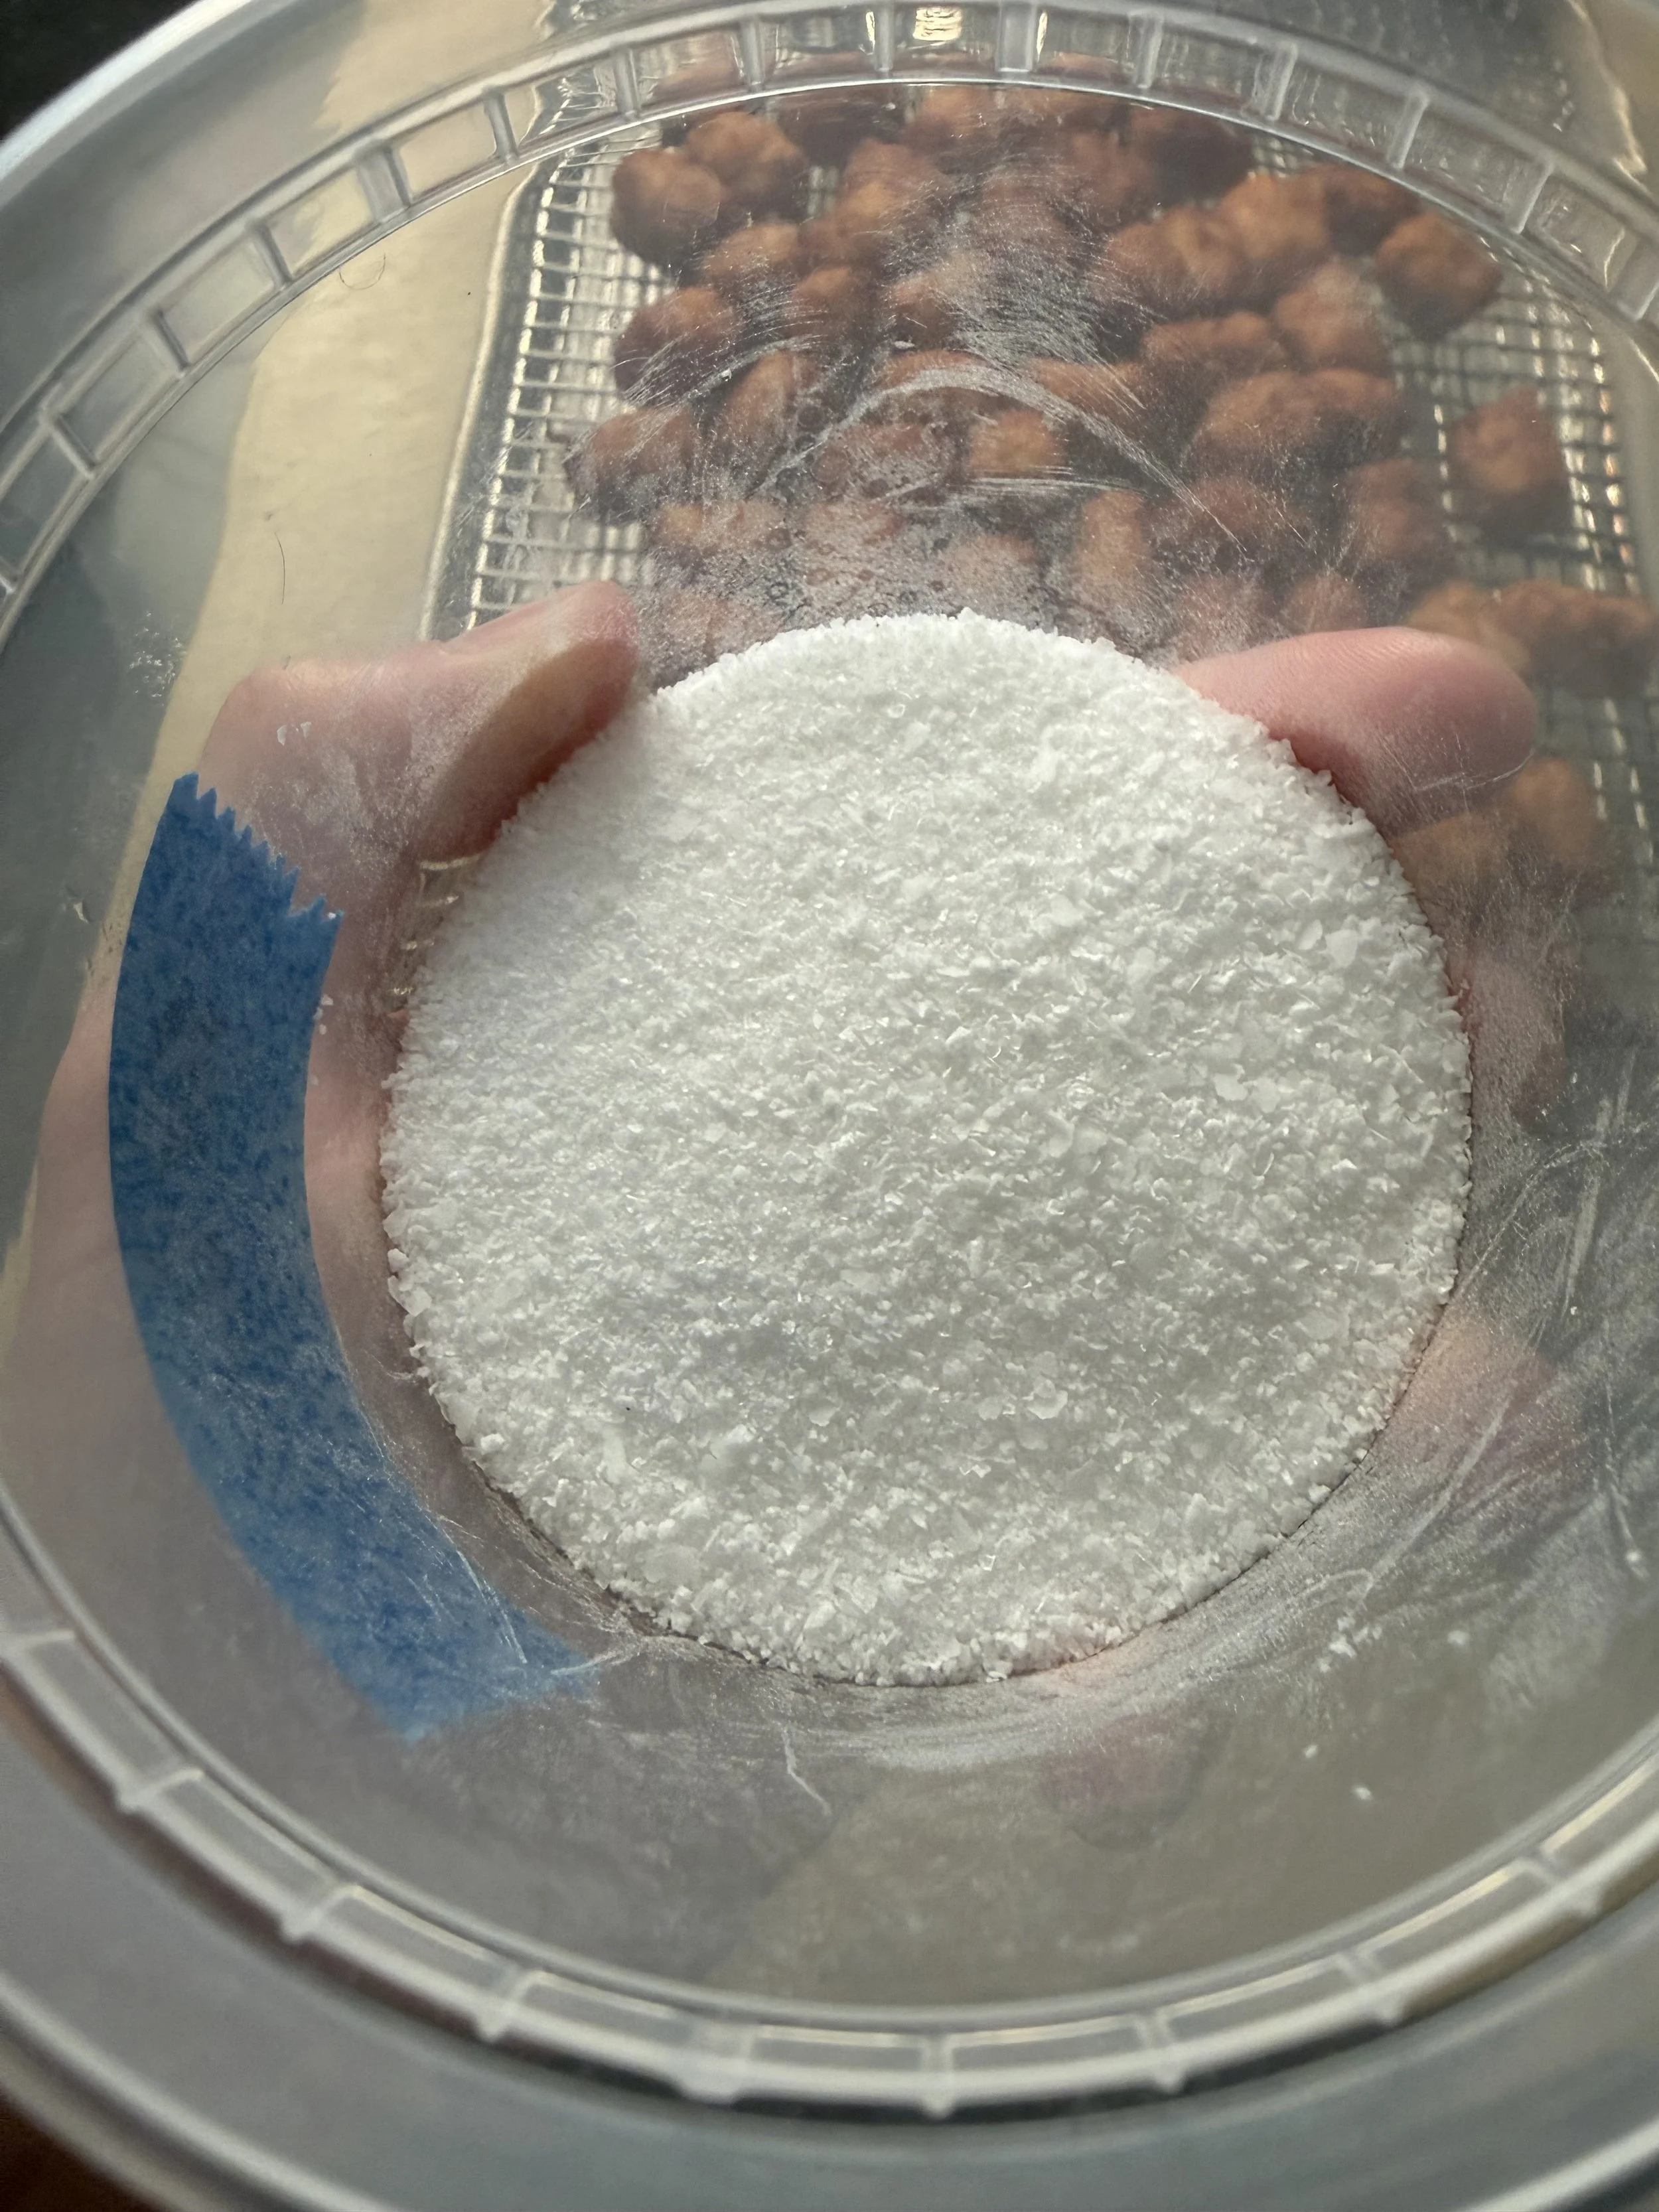
(Left) Lemon-Pepper “Aioli”, Fry Sauce, Ranch Dressing, (Right) Tot Dust ™️
Homemade Tater Tots
Ingredients
Instructions
- Drop the potato chunks into a bowl of cold water and swish them around for about 10 seconds, then move them to a fine mesh strainer and let them drain for 5 minutes. While they drain, heat the oil in a large wok or Dutch oven over high heat until it hits 350 degrees.
- Fry the potatoes, stirring them around with a spider, until they are tender all the way through and just barely blonde, 6 to 8 minutes. Ride the flame to hold the temperature. This is not a browning fry, it is a cooking fry, so pull them while they are still pale. Transfer to a paper towel lined bowl and let them cool for 10 minutes, then drop the heat under the oil to low.
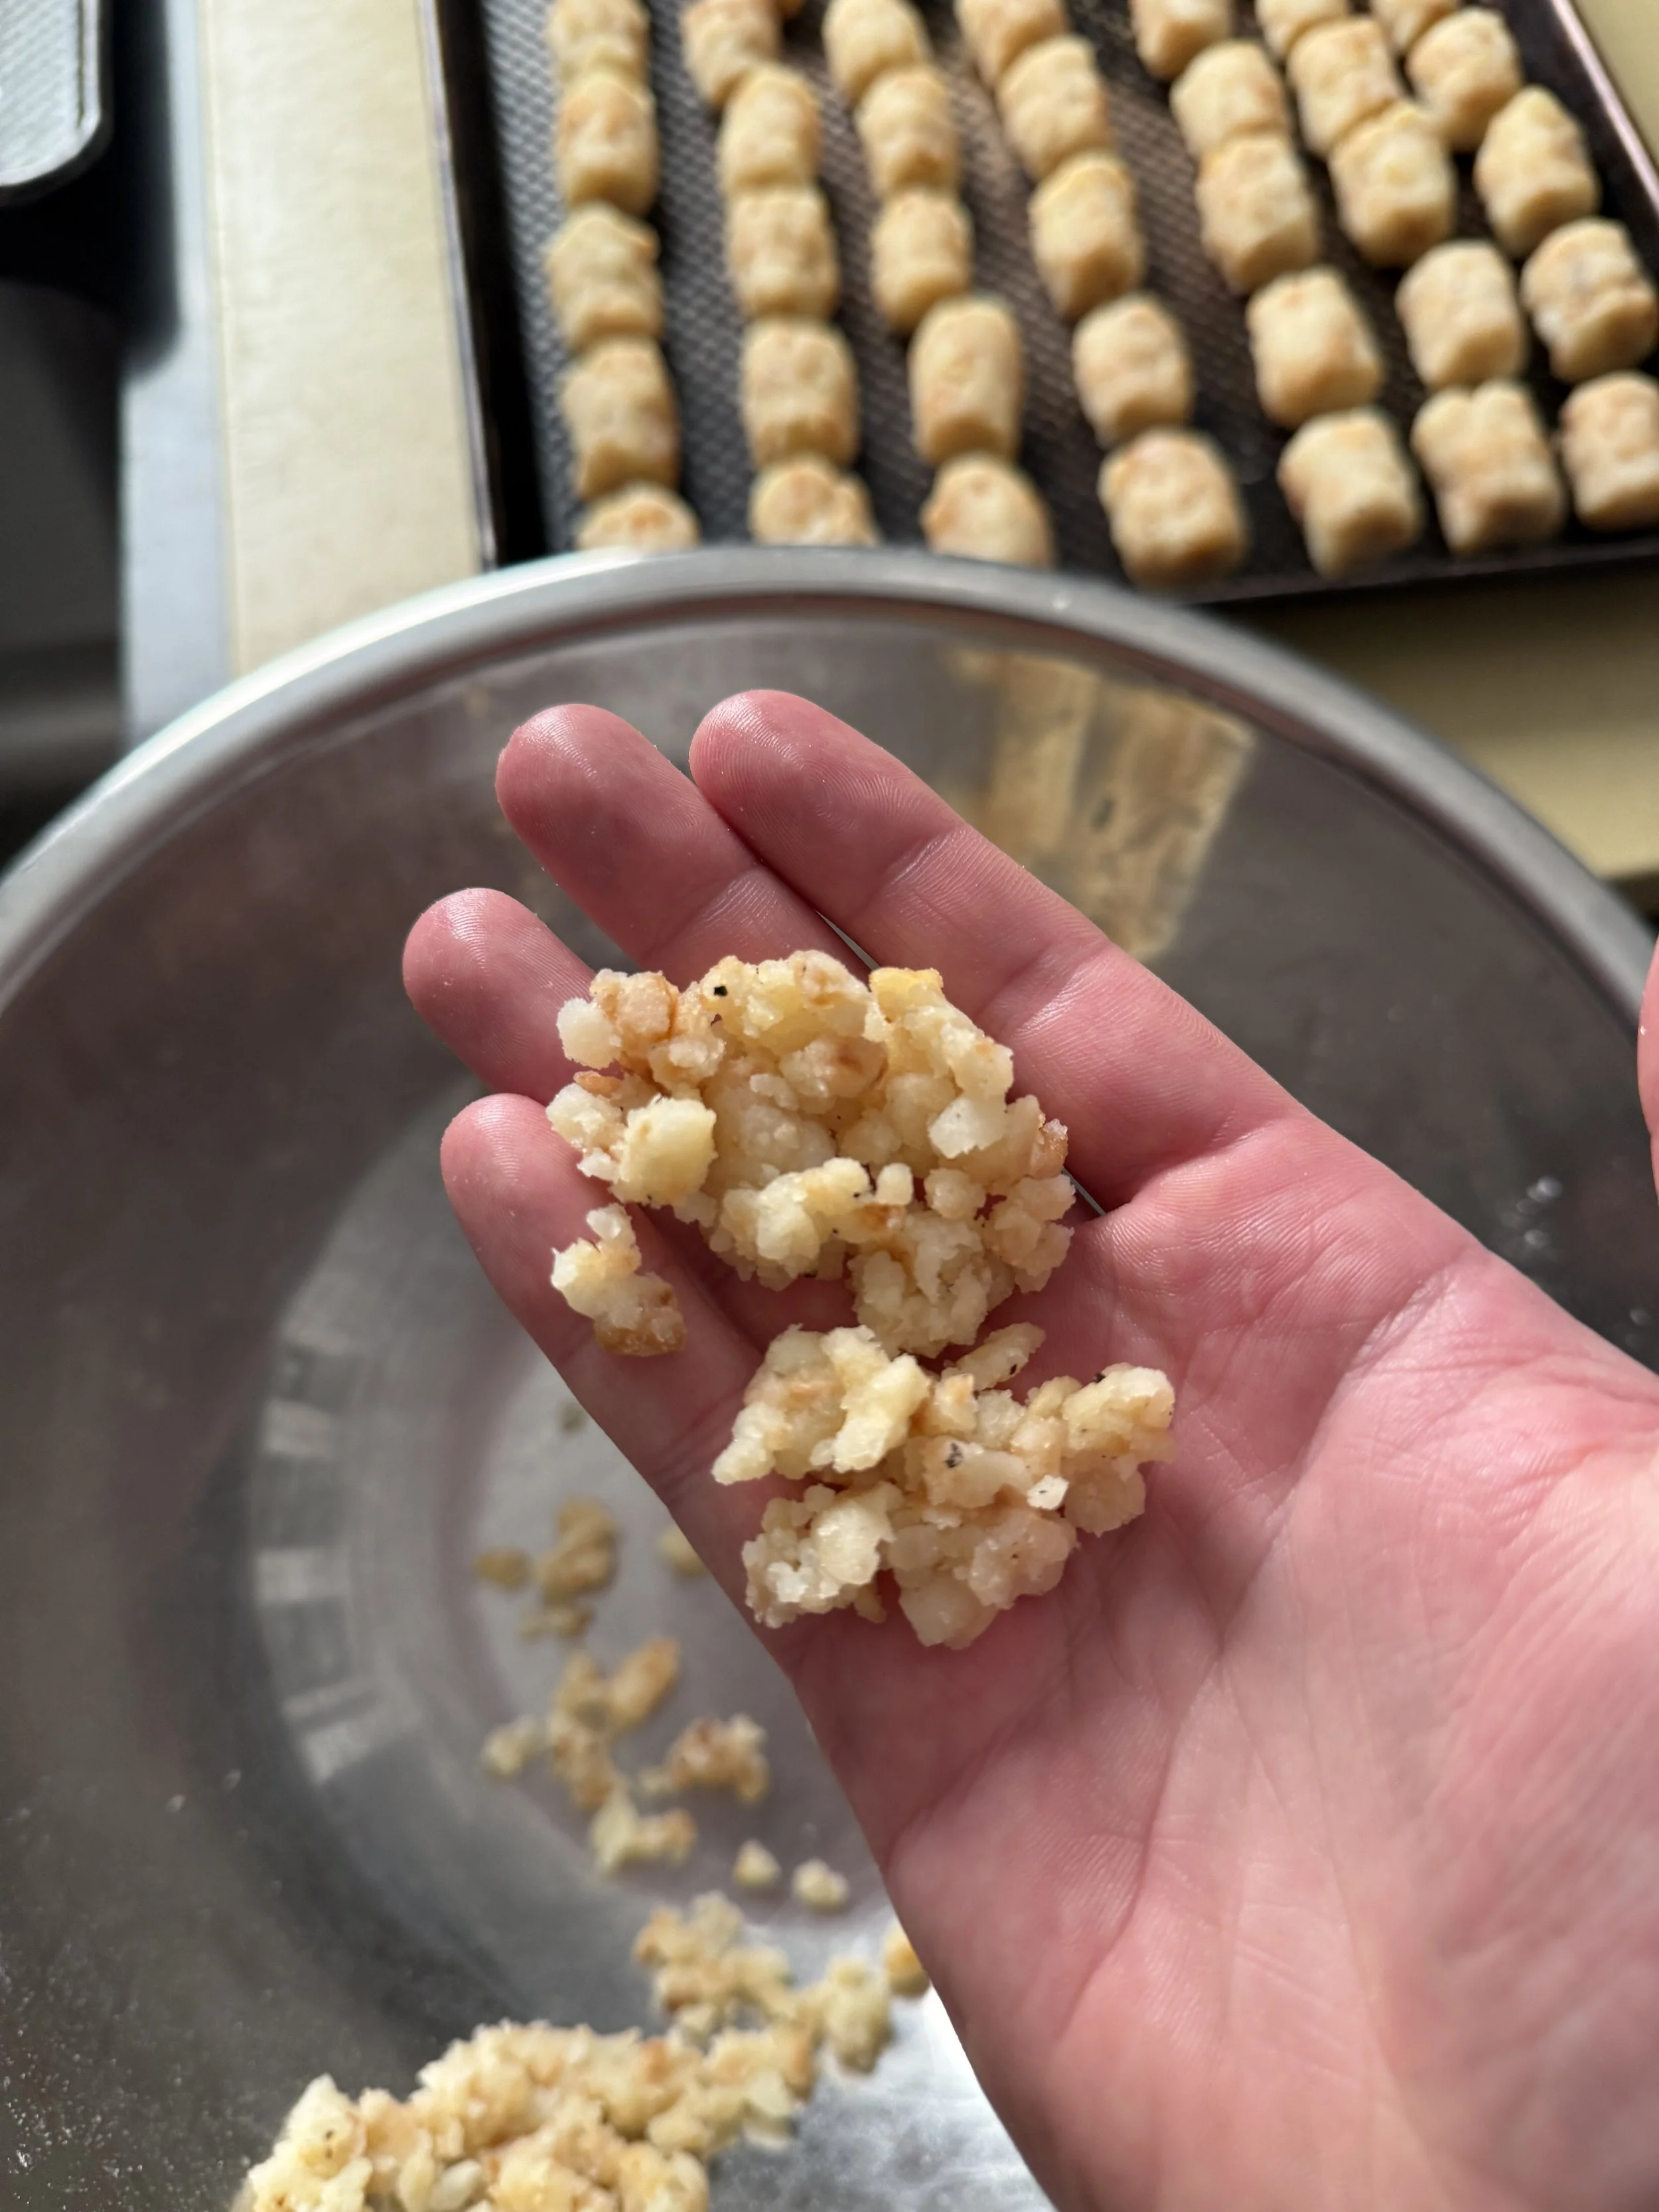
- Move a quarter of the cooled potatoes to a food processor and pulse until they break down into rough 1/4 to 1/8 inch pieces, roughly 8 one second pulses. Dump into a mixing bowl and repeat with the rest in three more batches. Do not run the machine, pulse it. Overprocessed potato turns to paste and there is no coming back from that.
- Add the salt, starch, sugar, and a few grinds of black pepper to the bowl, along with any flavorings you are using. Mix gently with your hands until just combined. Any stubborn big pieces can be broken up with your fingers as you go.
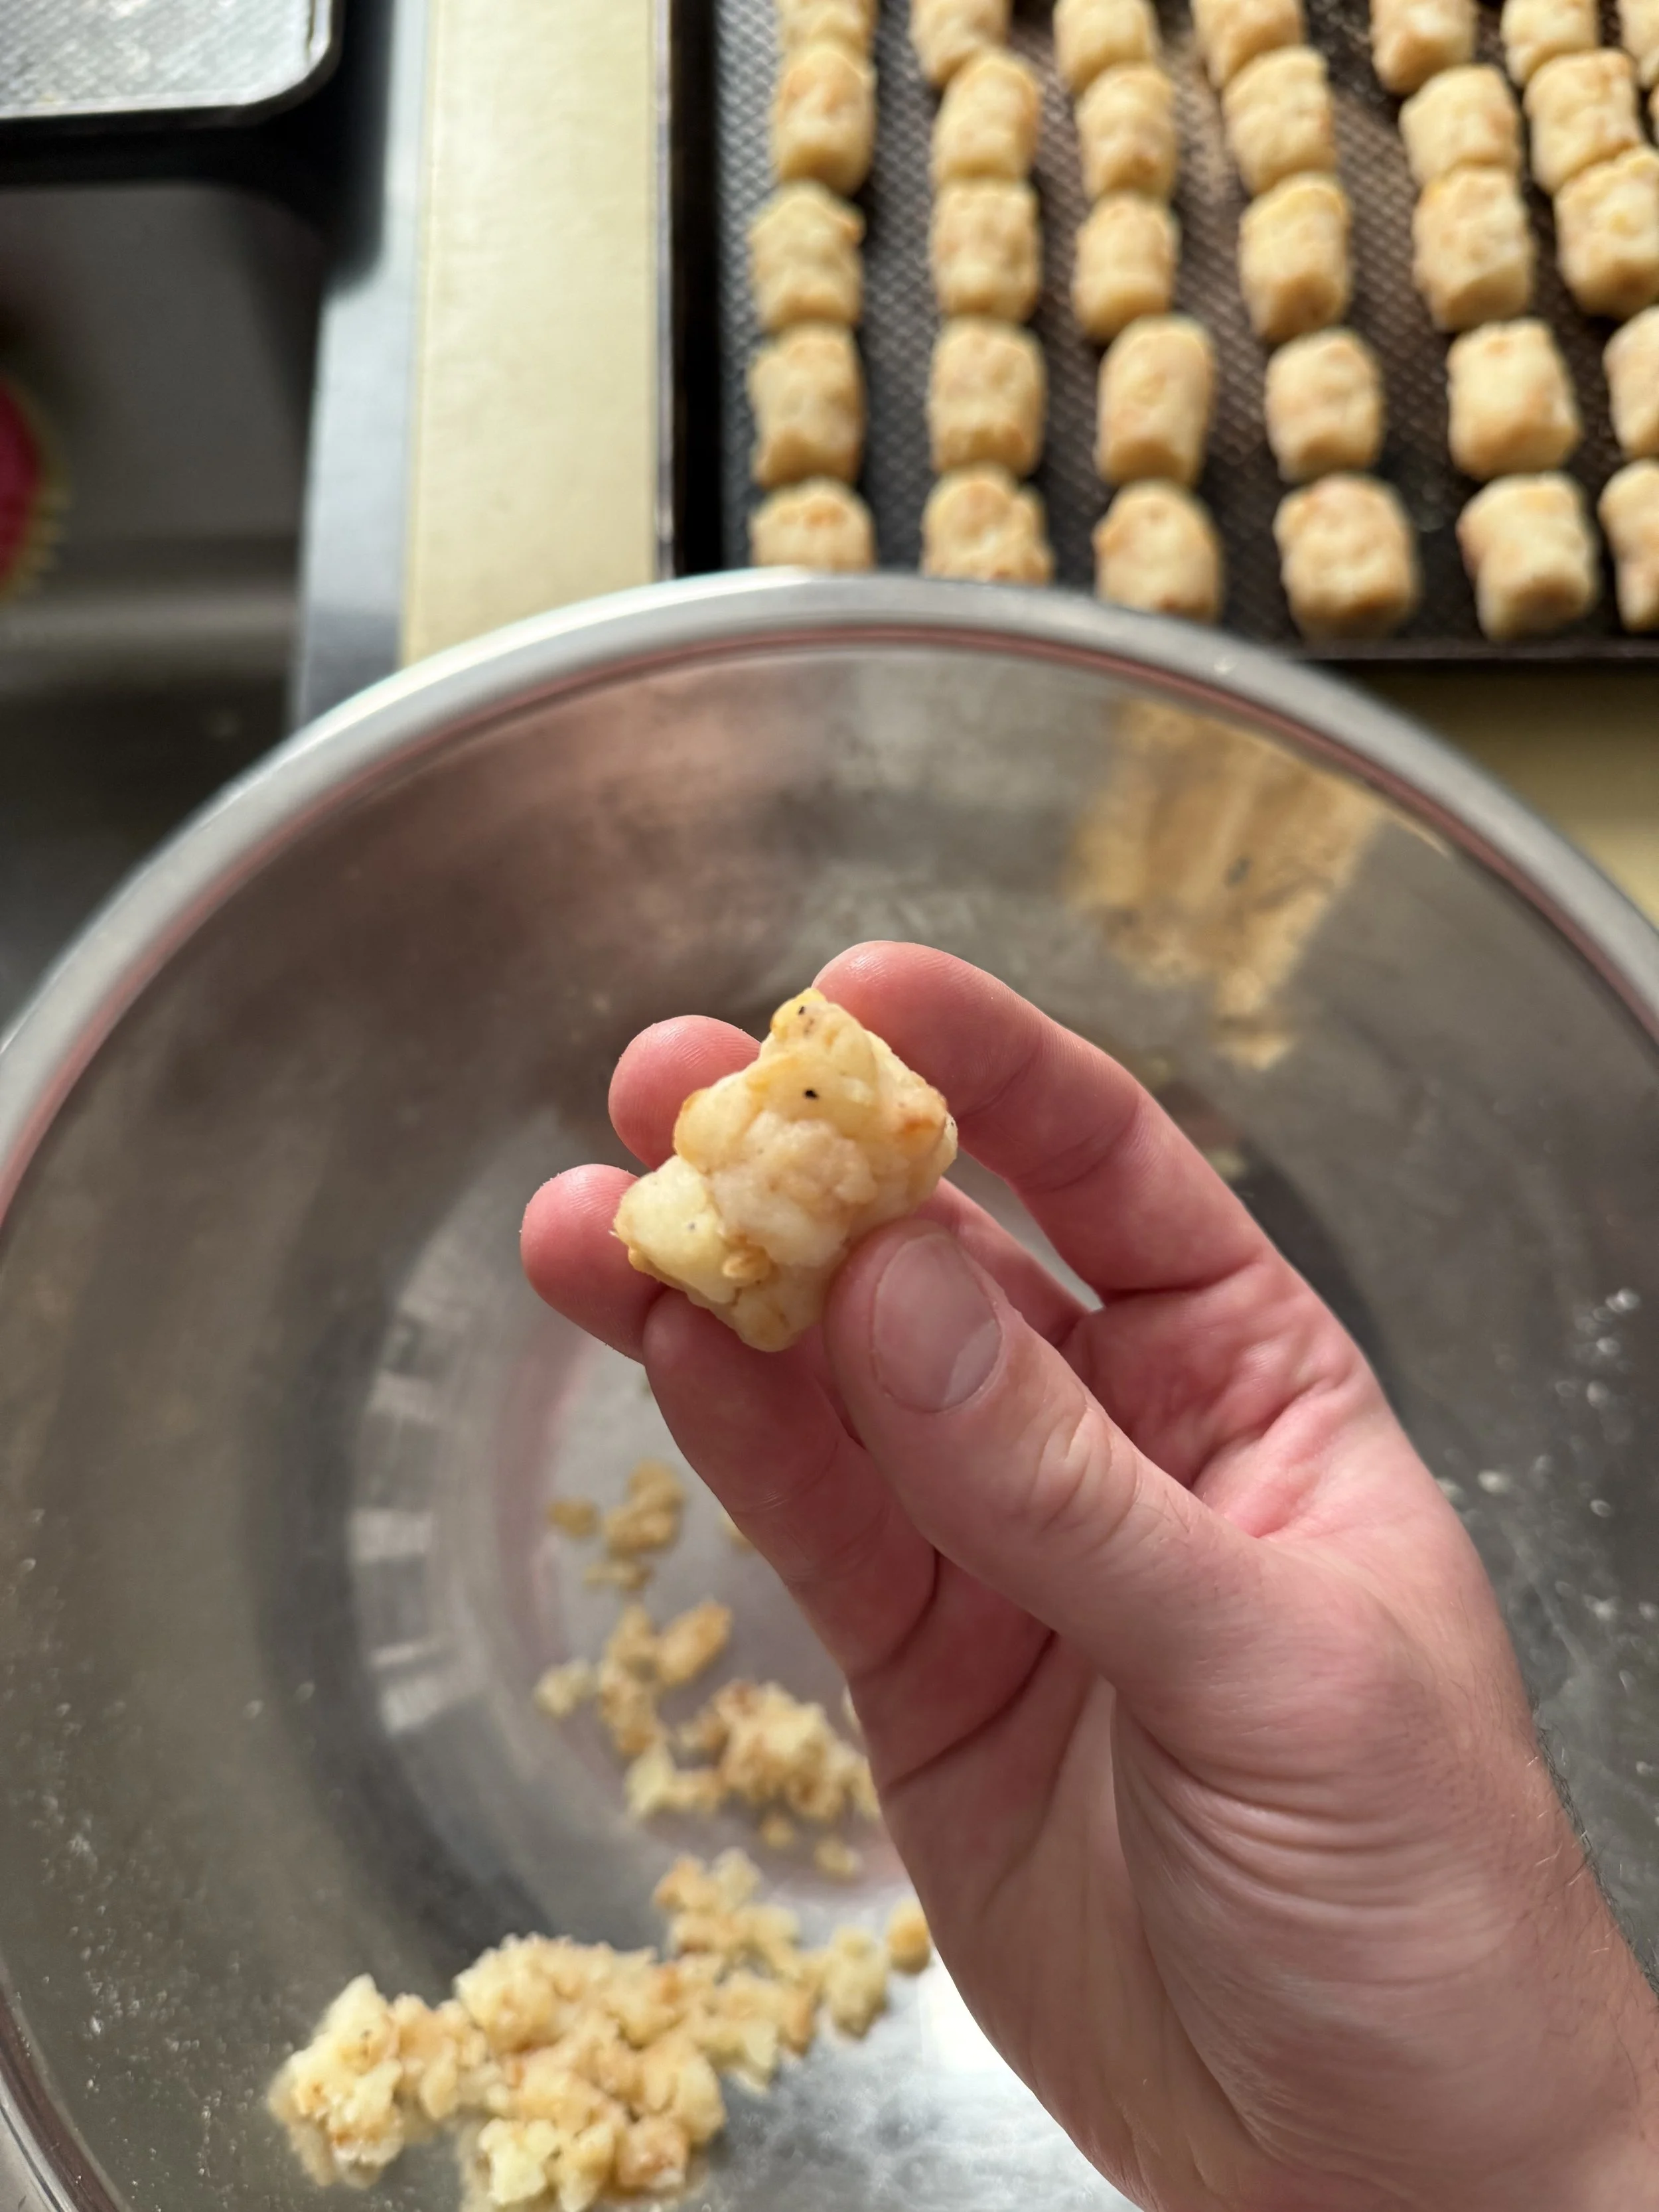
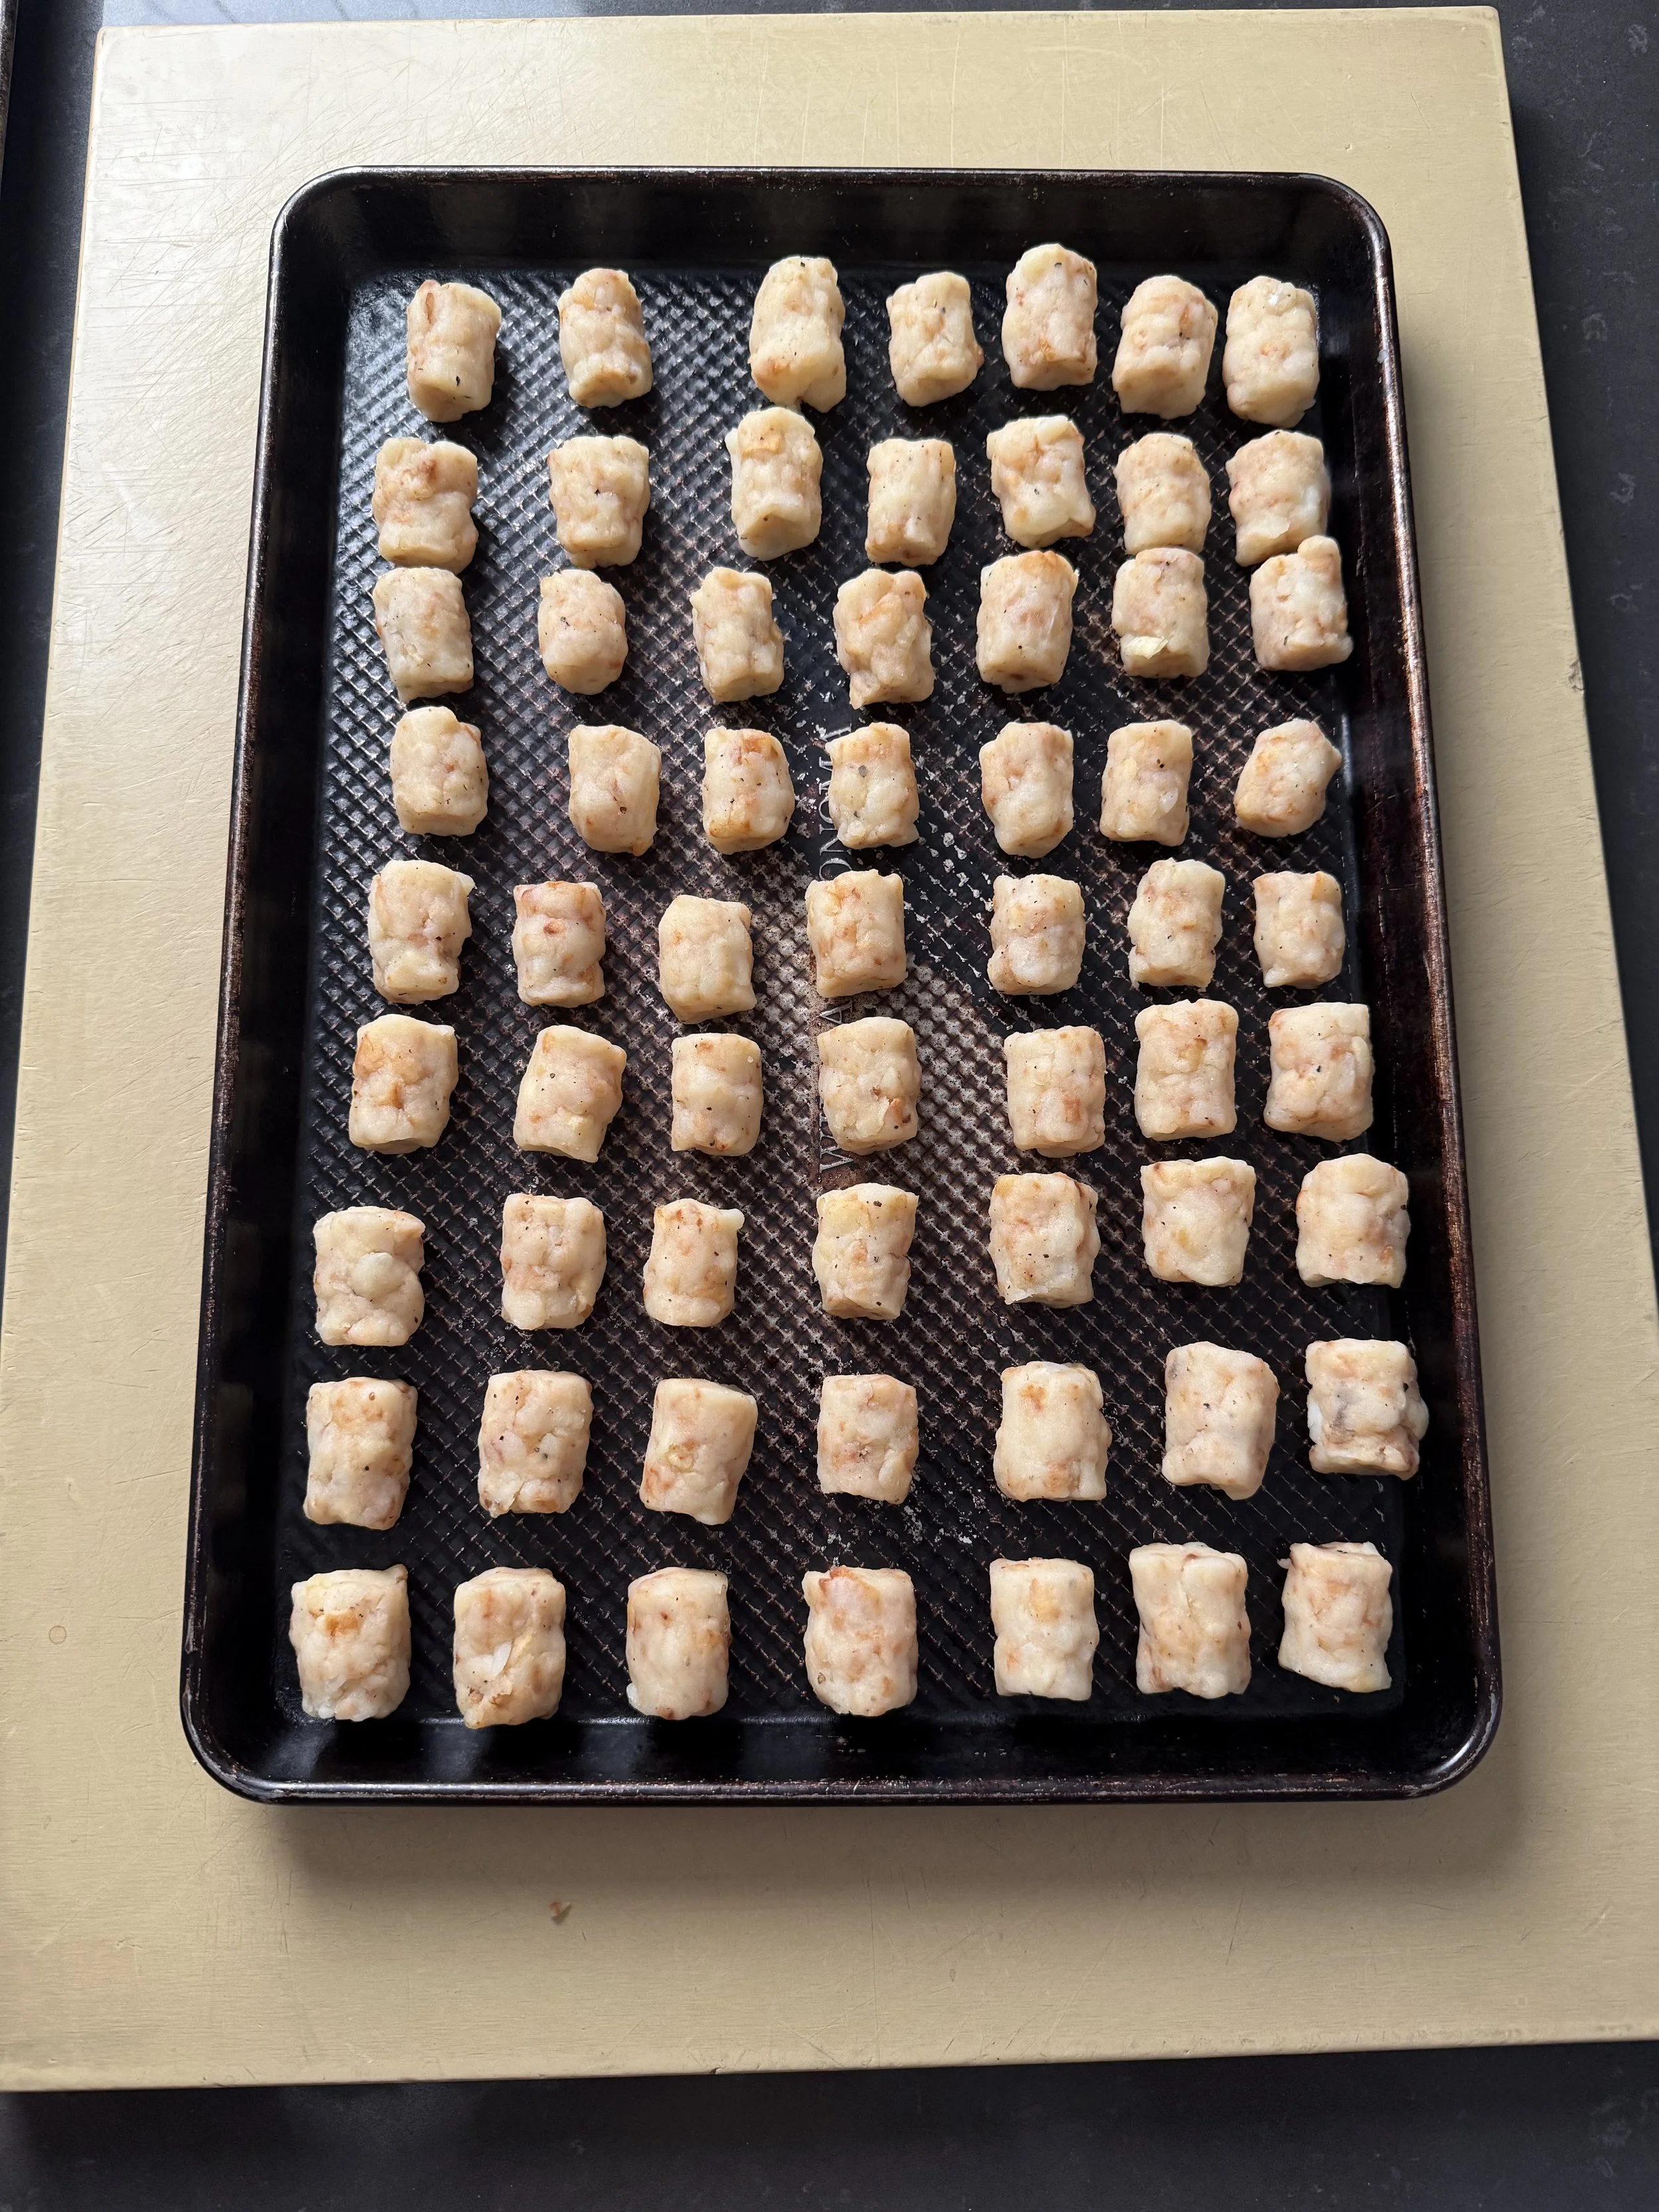
- Shape into cylinders about 3/4 inch wide and 1 inch long. The easiest way is the nigiri method, cupping one hand around the sides to form the round while the thumb and forefinger of your other hand flatten the two ends.
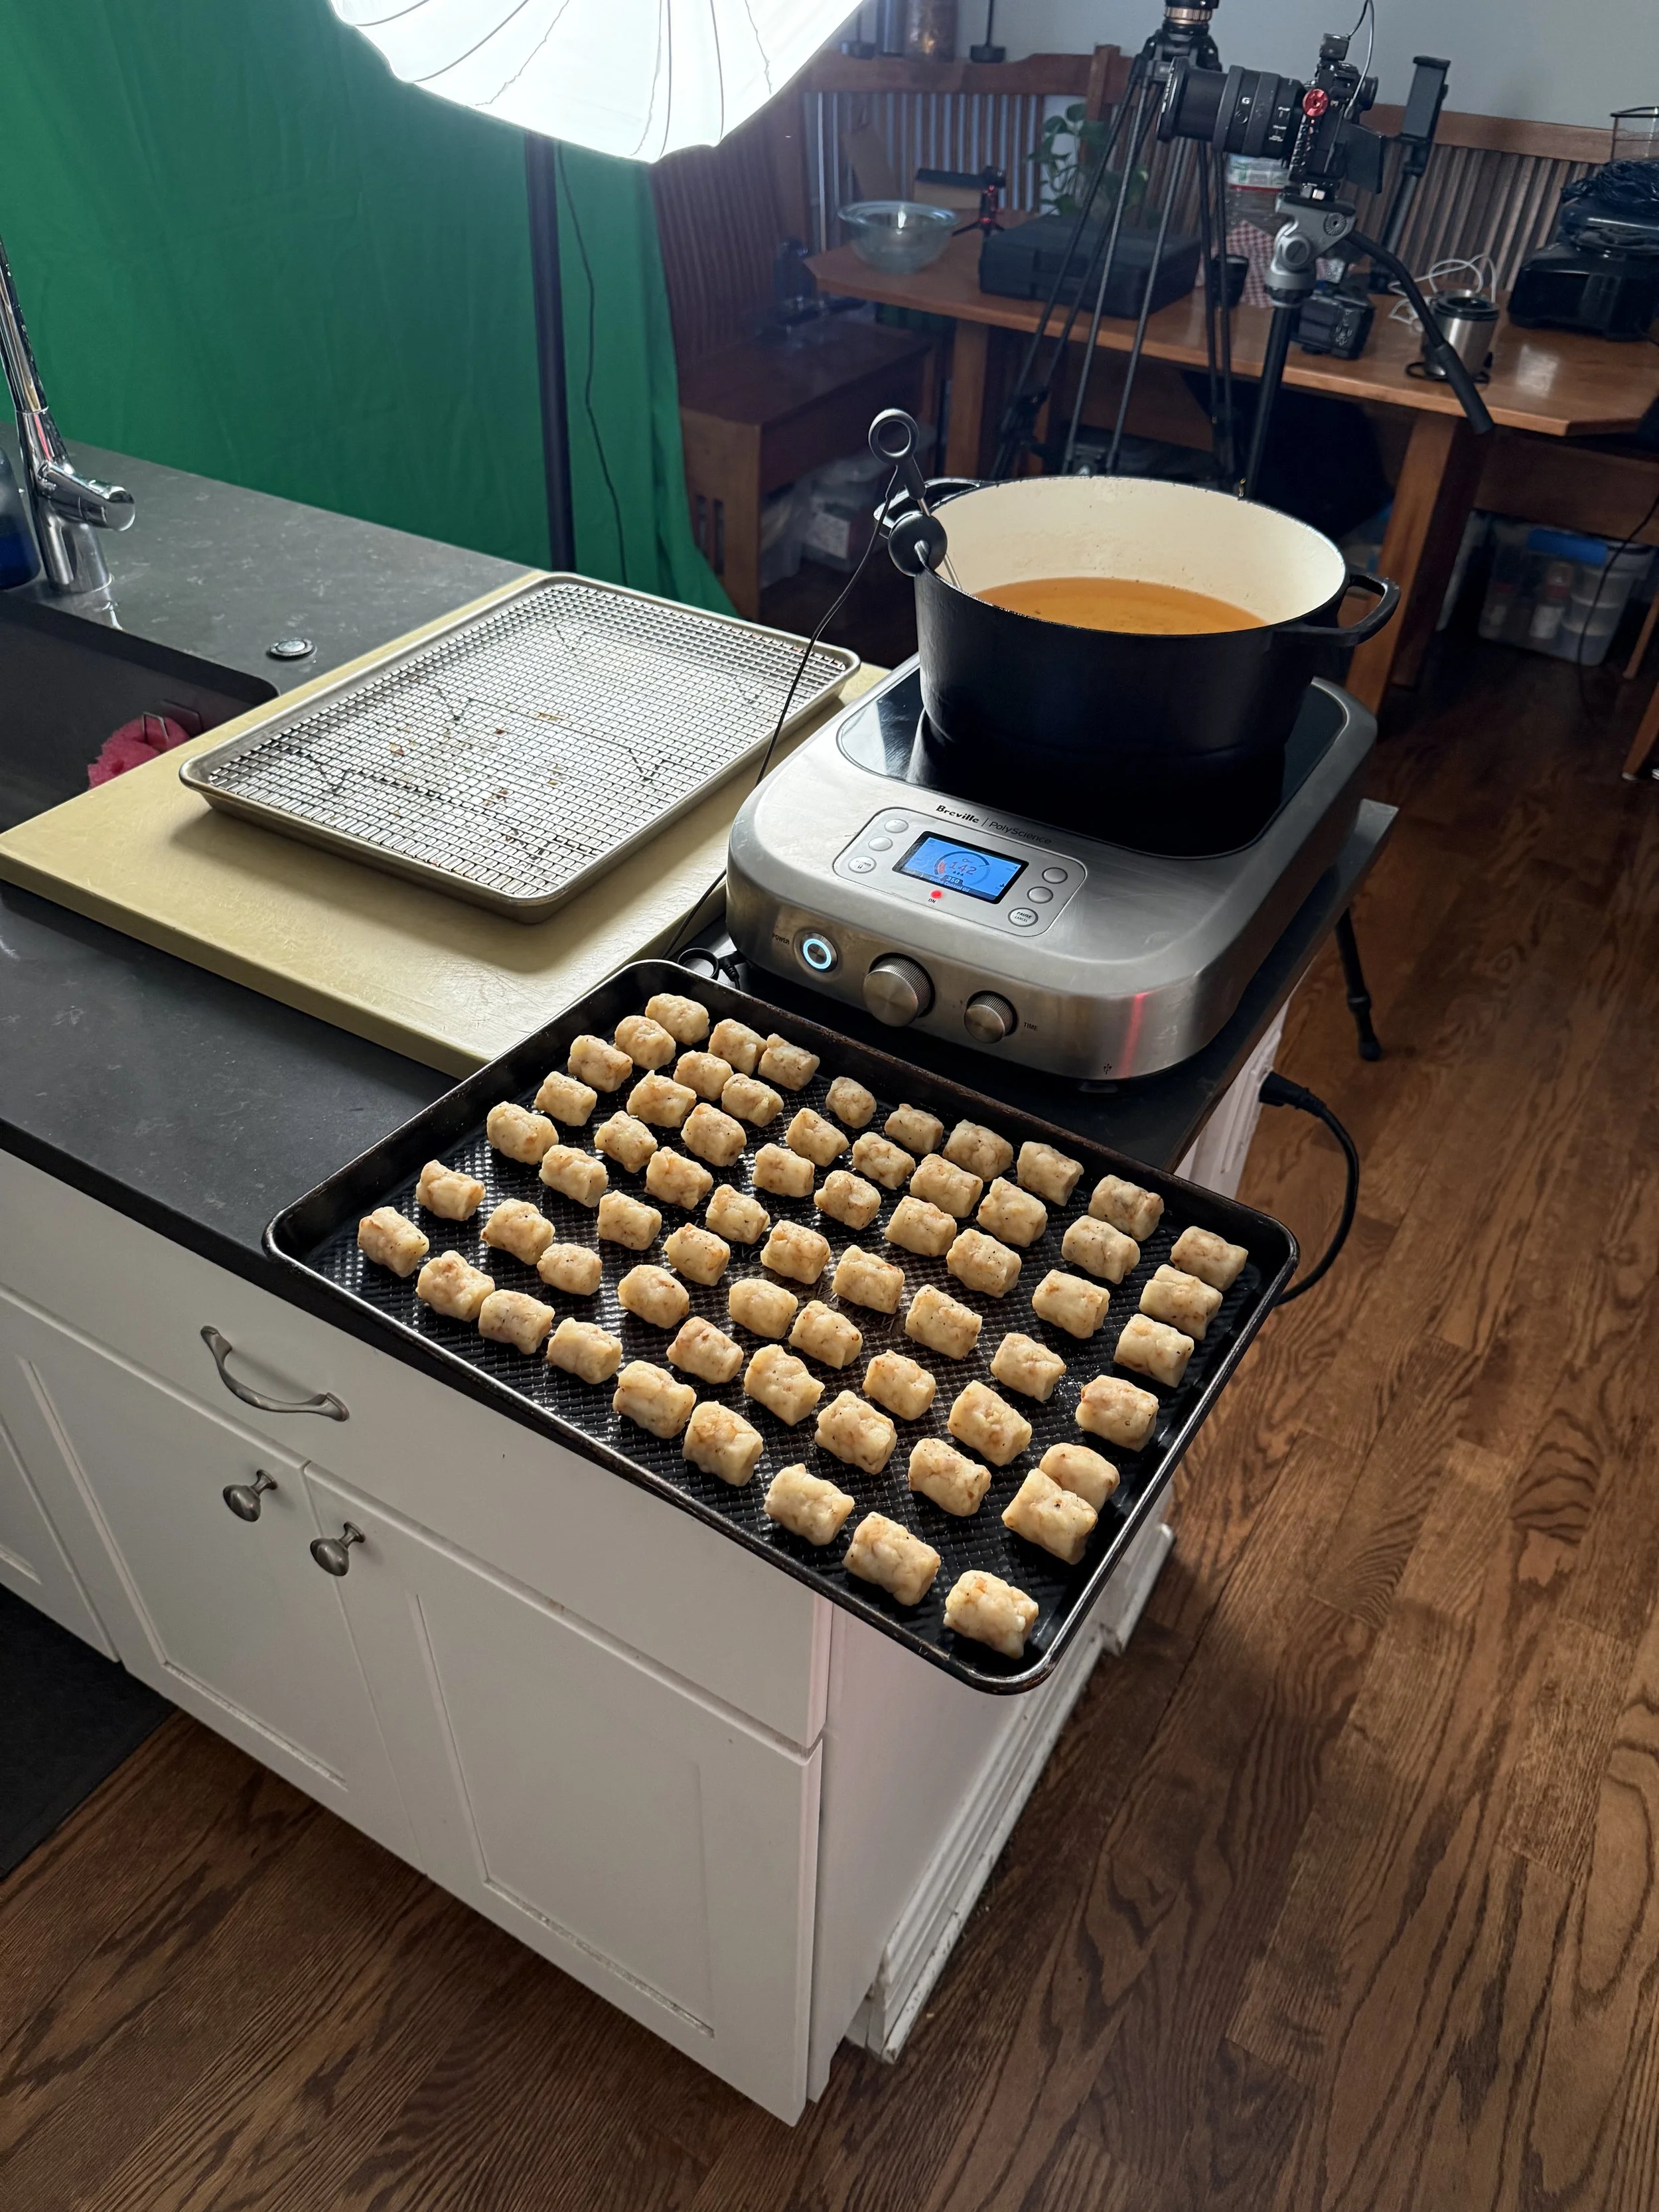
- Bring the oil back up to 350 degrees and add the tots. Let them fry undisturbed for 1 minute, then gently separate them with a spider. Keep frying, adjusting the flame to hold temperature, until deep golden and crisp, about 4 minutes more. Drain on paper towels, hit them with salt while they are still hot, and serve immediately.
- Combine everything in a spice grinder and blitz for a few seconds until it is a fine, uniform powder. This step matters more than it looks. Kosher salt flakes are great for cooking and terrible for dusting, they bounce off fried food and sink to the bottom of the bowl. Ground fine, the whole blend clings to hot fat like it was engineered to, because it basically was.
- Store in an airtight jar away from light and moisture. Vinegar powder is hygroscopic, it will pull water out of the air and clump if you leave the lid loose. The potato starch buys you insurance but a tight lid is the real fix.
- To use, transfer the fried tots straight from the oil to a large bowl while they are still hot and glistening, sprinkle over a few big pinches of Tot Dust, and toss. The residual fat is the glue, so speed matters. Tots that sit for two minutes before dusting will not hold the seasoning. Skip the plain finishing salt in the main recipe entirely when you are using this, the dust brings its own.
- Mix everything together. Chill for 30 minutes, or better overnight. Store in an air-tight container.
- Toast the peppercorns in a dry skillet over medium heat, shaking the pan often, until they are fragrant and just starting to smoke, 2 to 3 minutes. You will smell it when they are ready, the aroma jumps from dusty to floral. Let them cool for a minute, then grind them medium coarse in a spice grinder or mortar. You want visible flecks with a little texture, not a fine powder. The coarse grind is what makes it read as lemon pepper instead of just peppery mayo.
- Zest the lemon directly into a bowl so you catch the oils, then add the Kewpie. Grate the garlic in on a microplane, add the sugar, MSG, ground pepper, and the juice of the lemon a tablespoon at a time, tasting as you go. Kewpie is already rich and slightly sweet, so the lemon juice is doing the balancing. Stop when it is bright but still thick enough to hold a peak. Whisk until smooth.
- Cover and rest in the fridge for at least 30 minutes before serving. This is not optional. The rest mellows the raw garlic bite and lets the pepper bloom into the mayo. It is noticeably better at the one hour mark and better still the next day.
Adam's Notes
- Why the first fry matters. The oil is not just cooking the potato, it is coating every piece in fat. What binds a tot together is moist starch and protein, and the more those two grind against each other the gummier and tighter the finished tot gets. Fat lubricates the pieces and keeps that from happening. It is the same balance you are chasing in a pie crust, where enough fat keeps the flour from setting up into one leathery sheet. Skip or shortcut the first fry and you get glue.
- On overprocessing. This is the single most common way this recipe fails. Pulse only until the pieces are chipped, never longer. If you do blow past it and the mix looks pasty, a scant 1/4 to 1/2 teaspoon of baking powder stirred in will lighten things up. That is damage control, not a technique.
- On add ins. Bacon, cheddar, chives, pepperoni, chorizo, all fair game, but there is a ceiling. Load in too much and the tots come apart in the fryer, which ruins the batch and leaves you straining debris out of the oil before you can start over.
- Freezing, and why it makes them better. Take the tots through shaping, then fry for only 1 1/2 minutes and drain. Spread them in a single layer on a sheet tray and freeze until solid, at least an hour, then bag them. They keep for up to three months and fry straight from frozen with no thawing. The freeze is not just a storage convenience. Same as with fries, it actively improves the texture.
Disclaimer: I earn commission income with qualifying purchases made through Amazon’s Affiliate program and other affiliate links in this description.
