Real Italian Pizza (4 styles)
Everyone thinks they know pizza. You've had a slice, you've had an opinion, and at some point you've probably started a argument about whether pineapple belongs on it (it doesn't, but that's a different video). What most people don't realize is that American pizza, in all its greasy, glorious regional variety, is basically just Italian pizza that went through customs and never looked back. New York style, Detroit style, tavern style, grandma pizza, they all have a mother, and she's Italian.
For this series I went straight to the source. We're talking four distinct Italian pizza styles, Neapolitan, Sicilian sfincione, Roman al taglio, and Roman pizza tonda, each one with its own history, its own personality, and its own American descendants. I made each one from scratch, ate entirely too much pizza, and lived to write about it. If you've ever wanted to understand where your favorite pizza actually came from, or just want to watch someone make really good dough, you're in the right place.
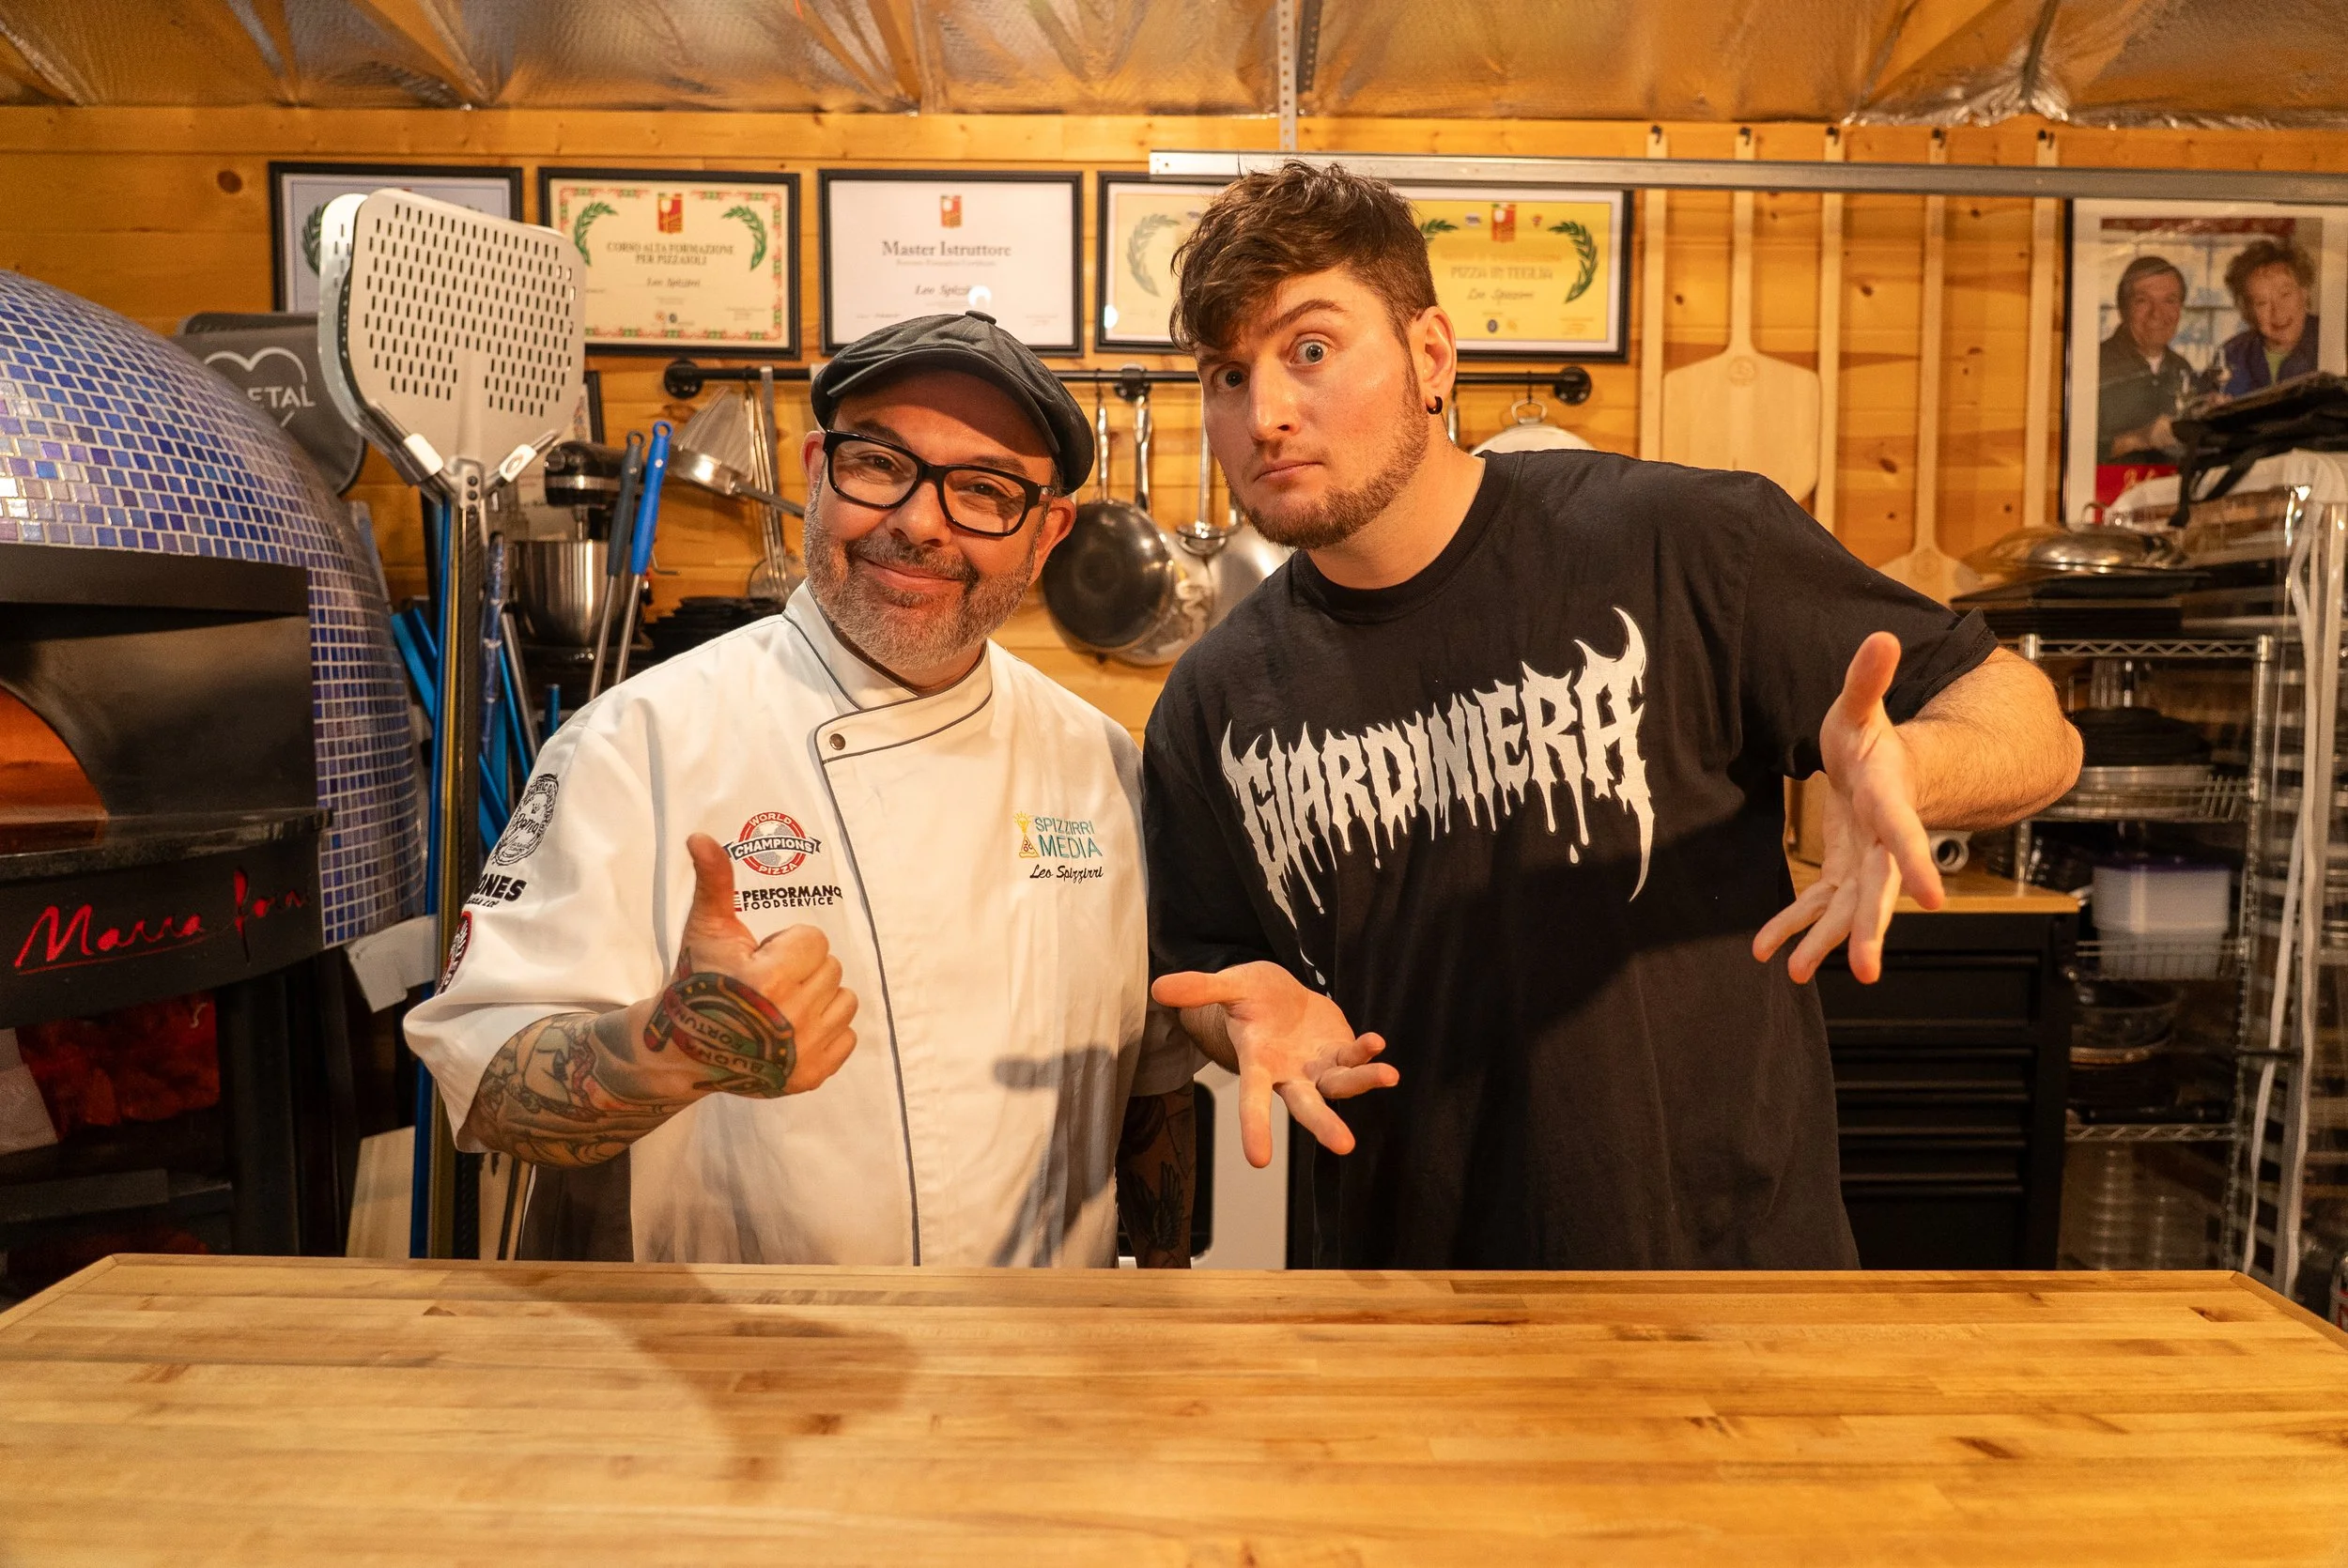
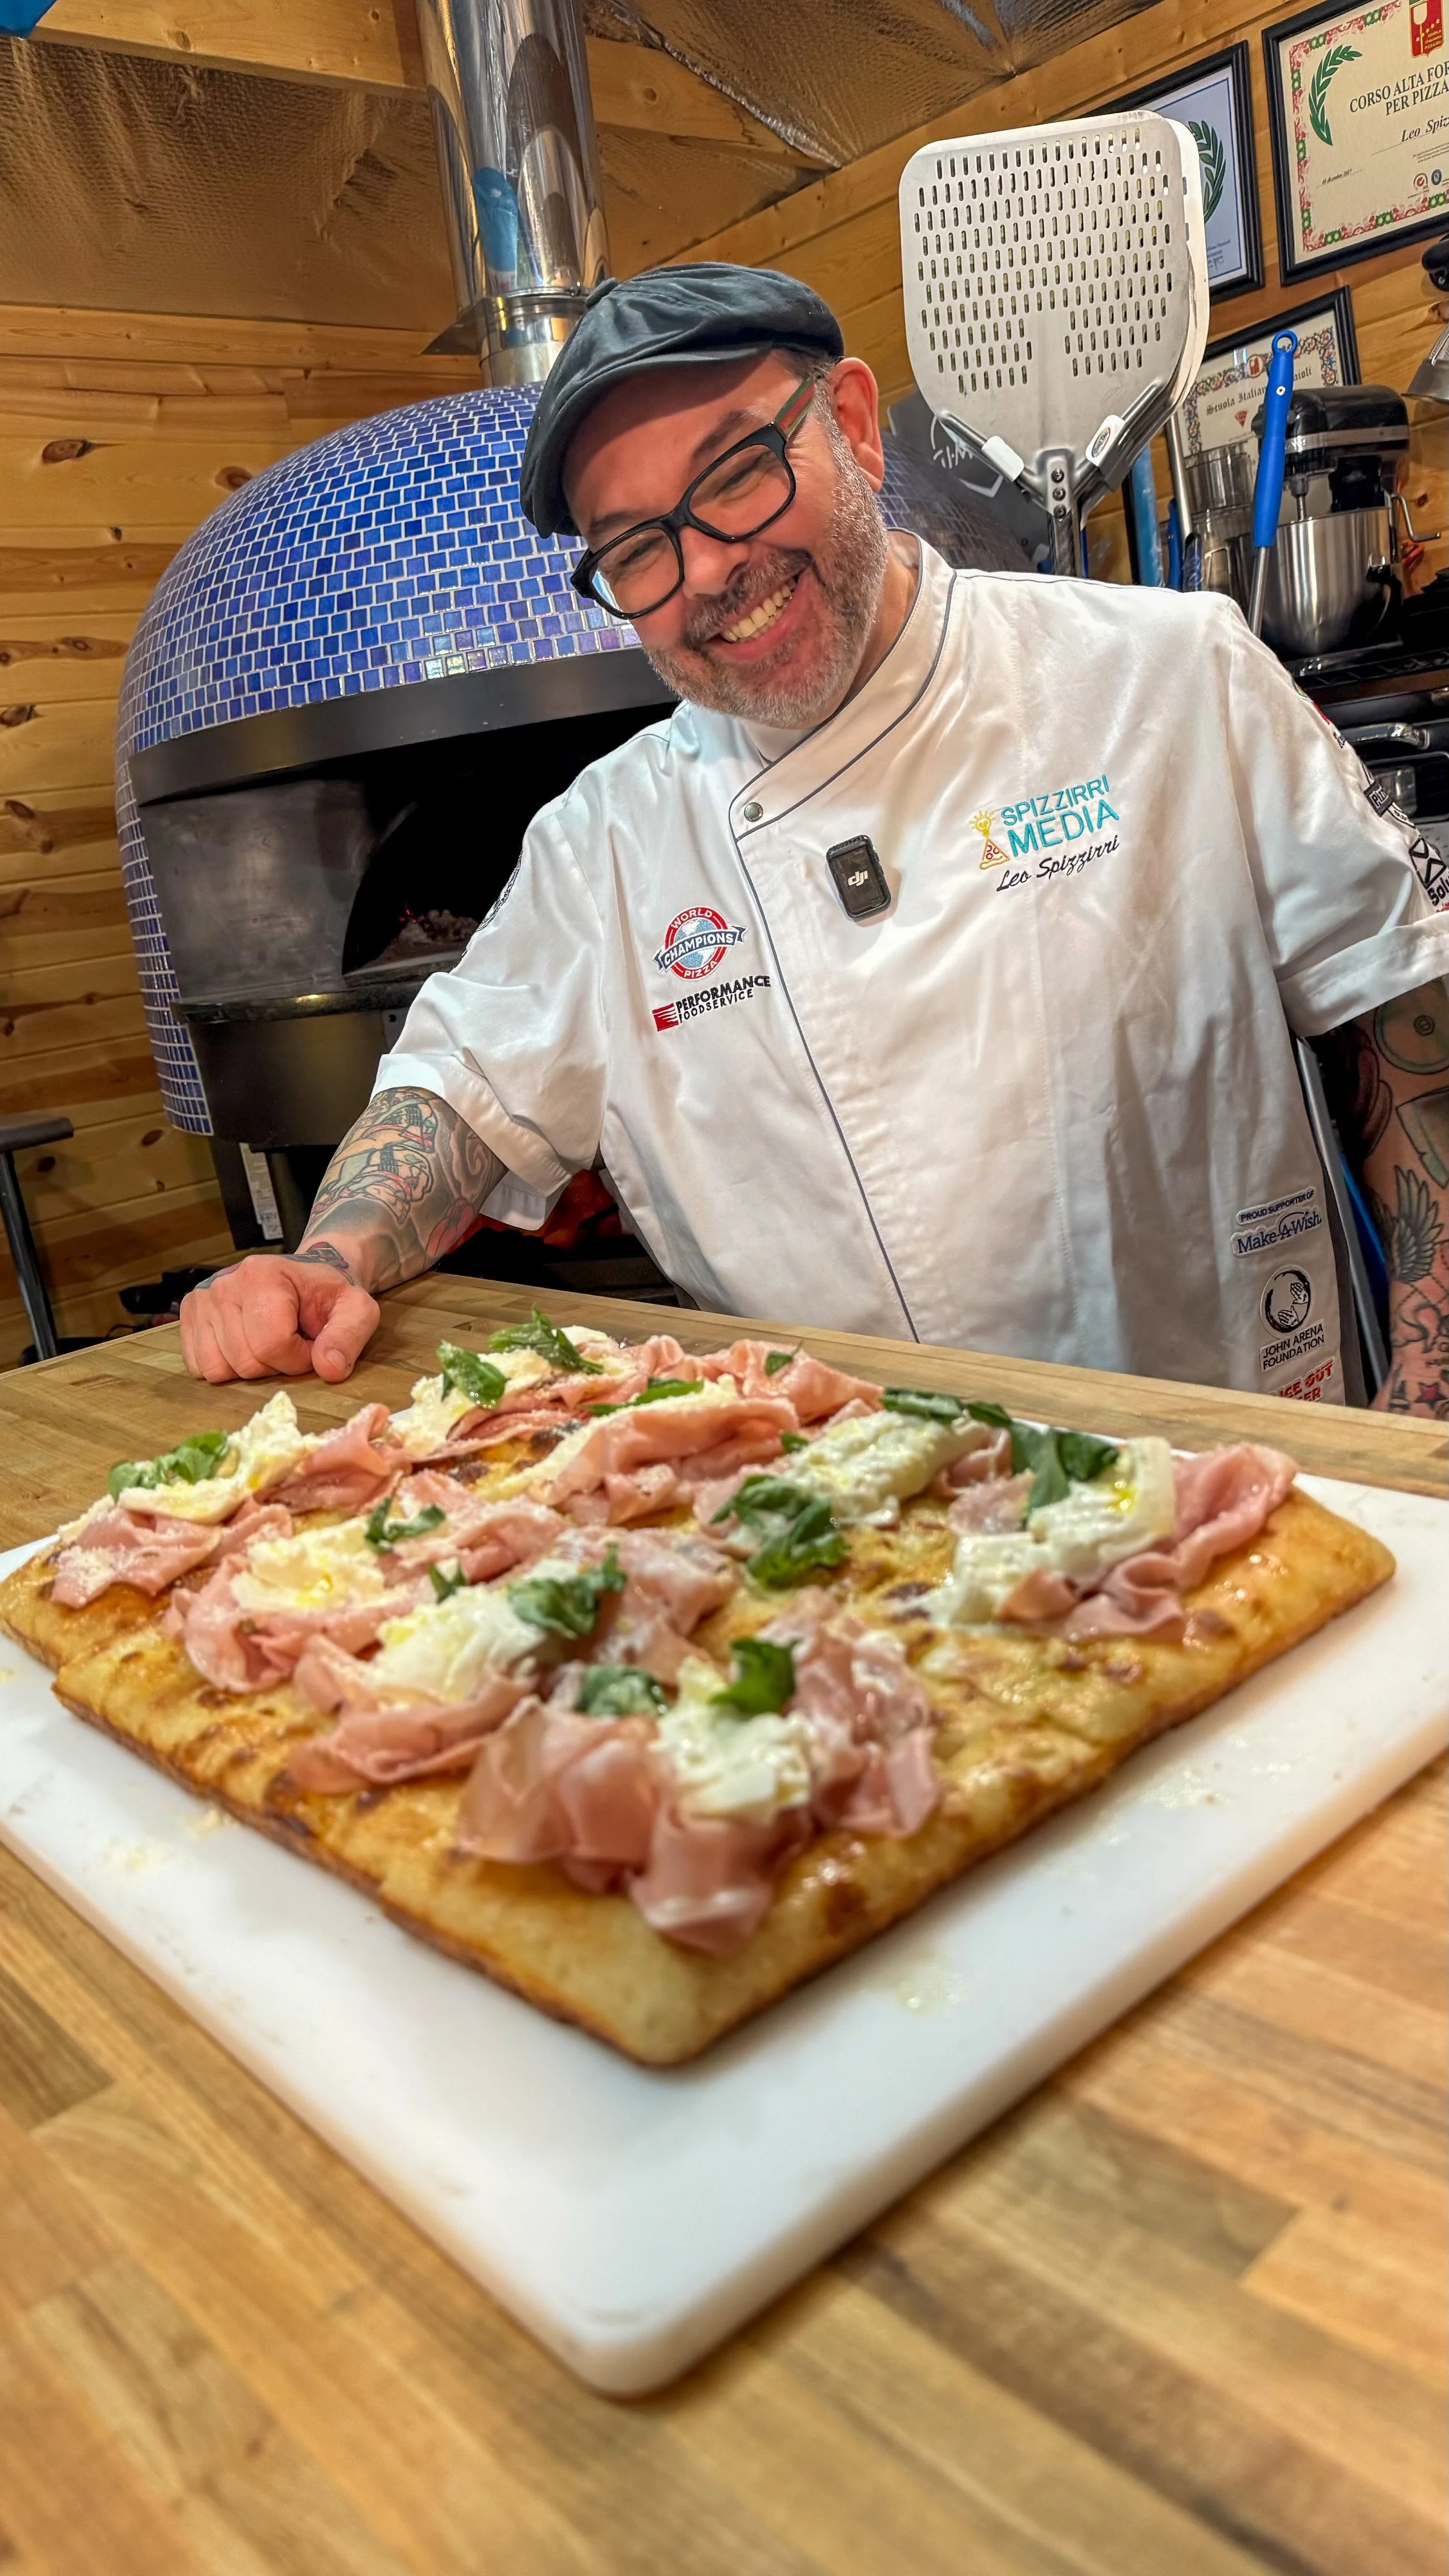
It’s always great to hang with Chef Leo in the Pizza Garage. Be sure to order Leo’s new book Pizza Love to learn from the Maestro himself!
P.S. I have a bunch of other pizza recipes that I’ve developed over the years, I’ll link some of them below if you want to check them out and expand your pizza knowledge:
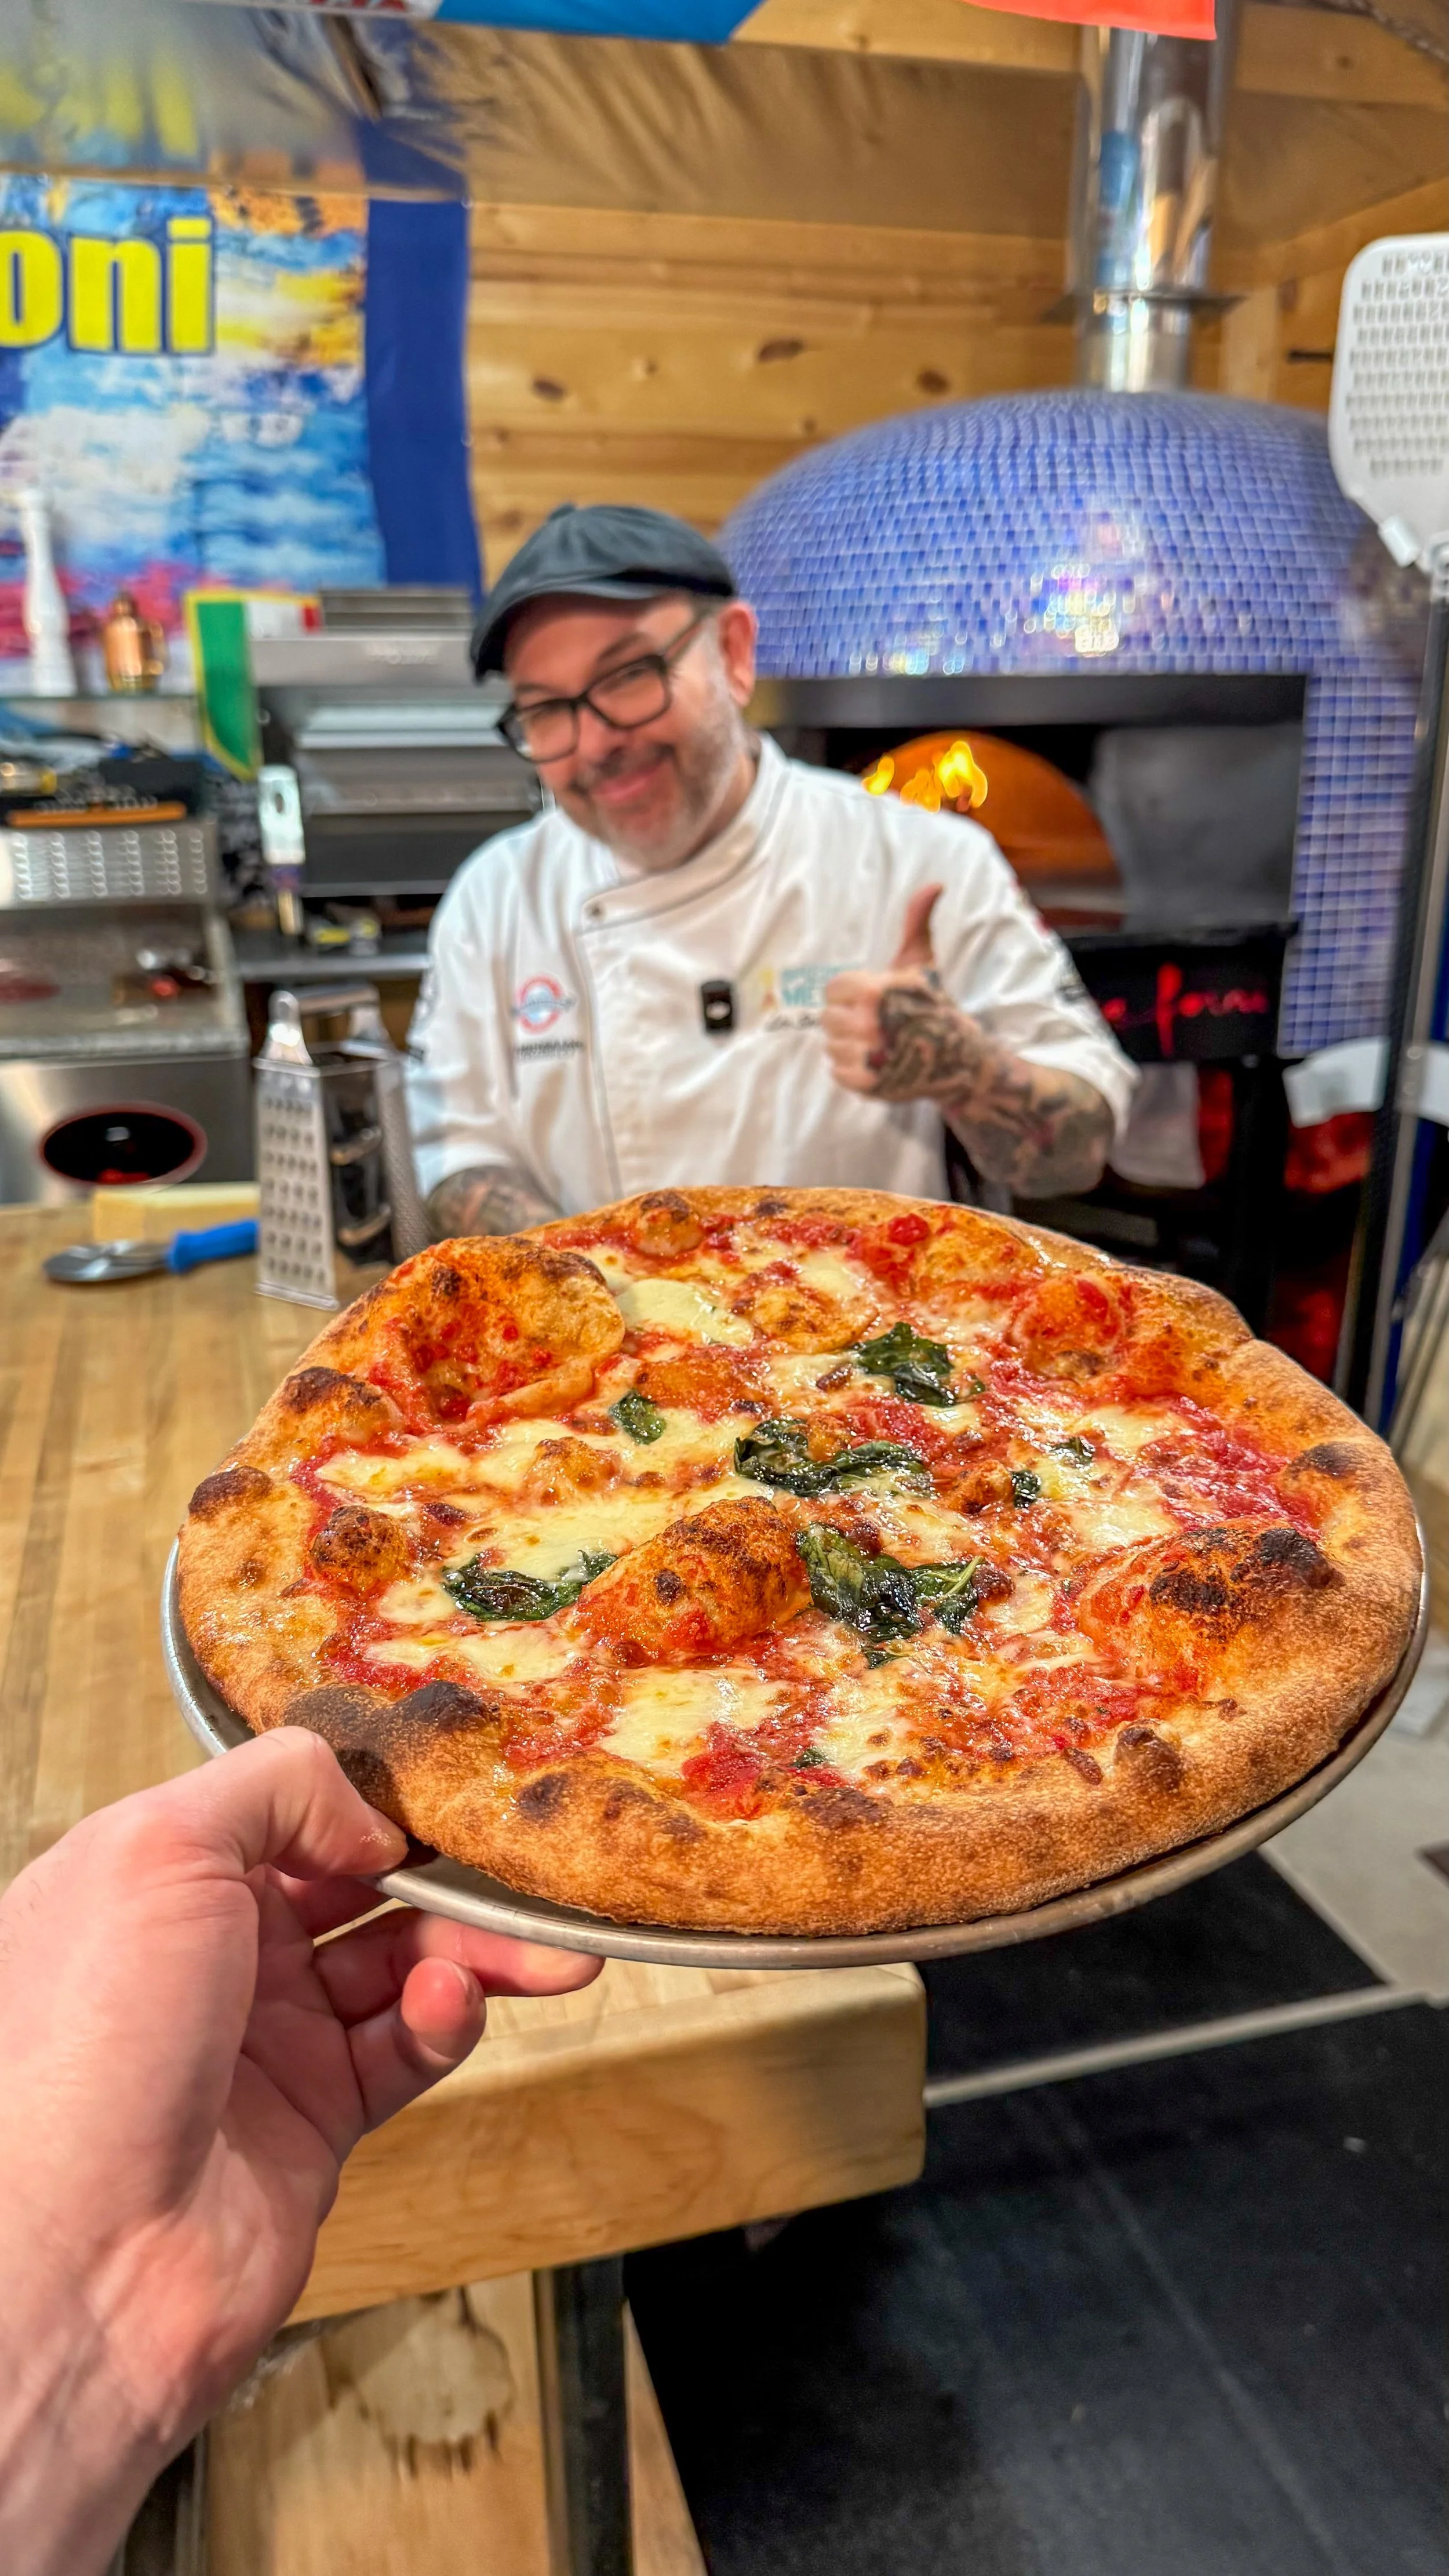
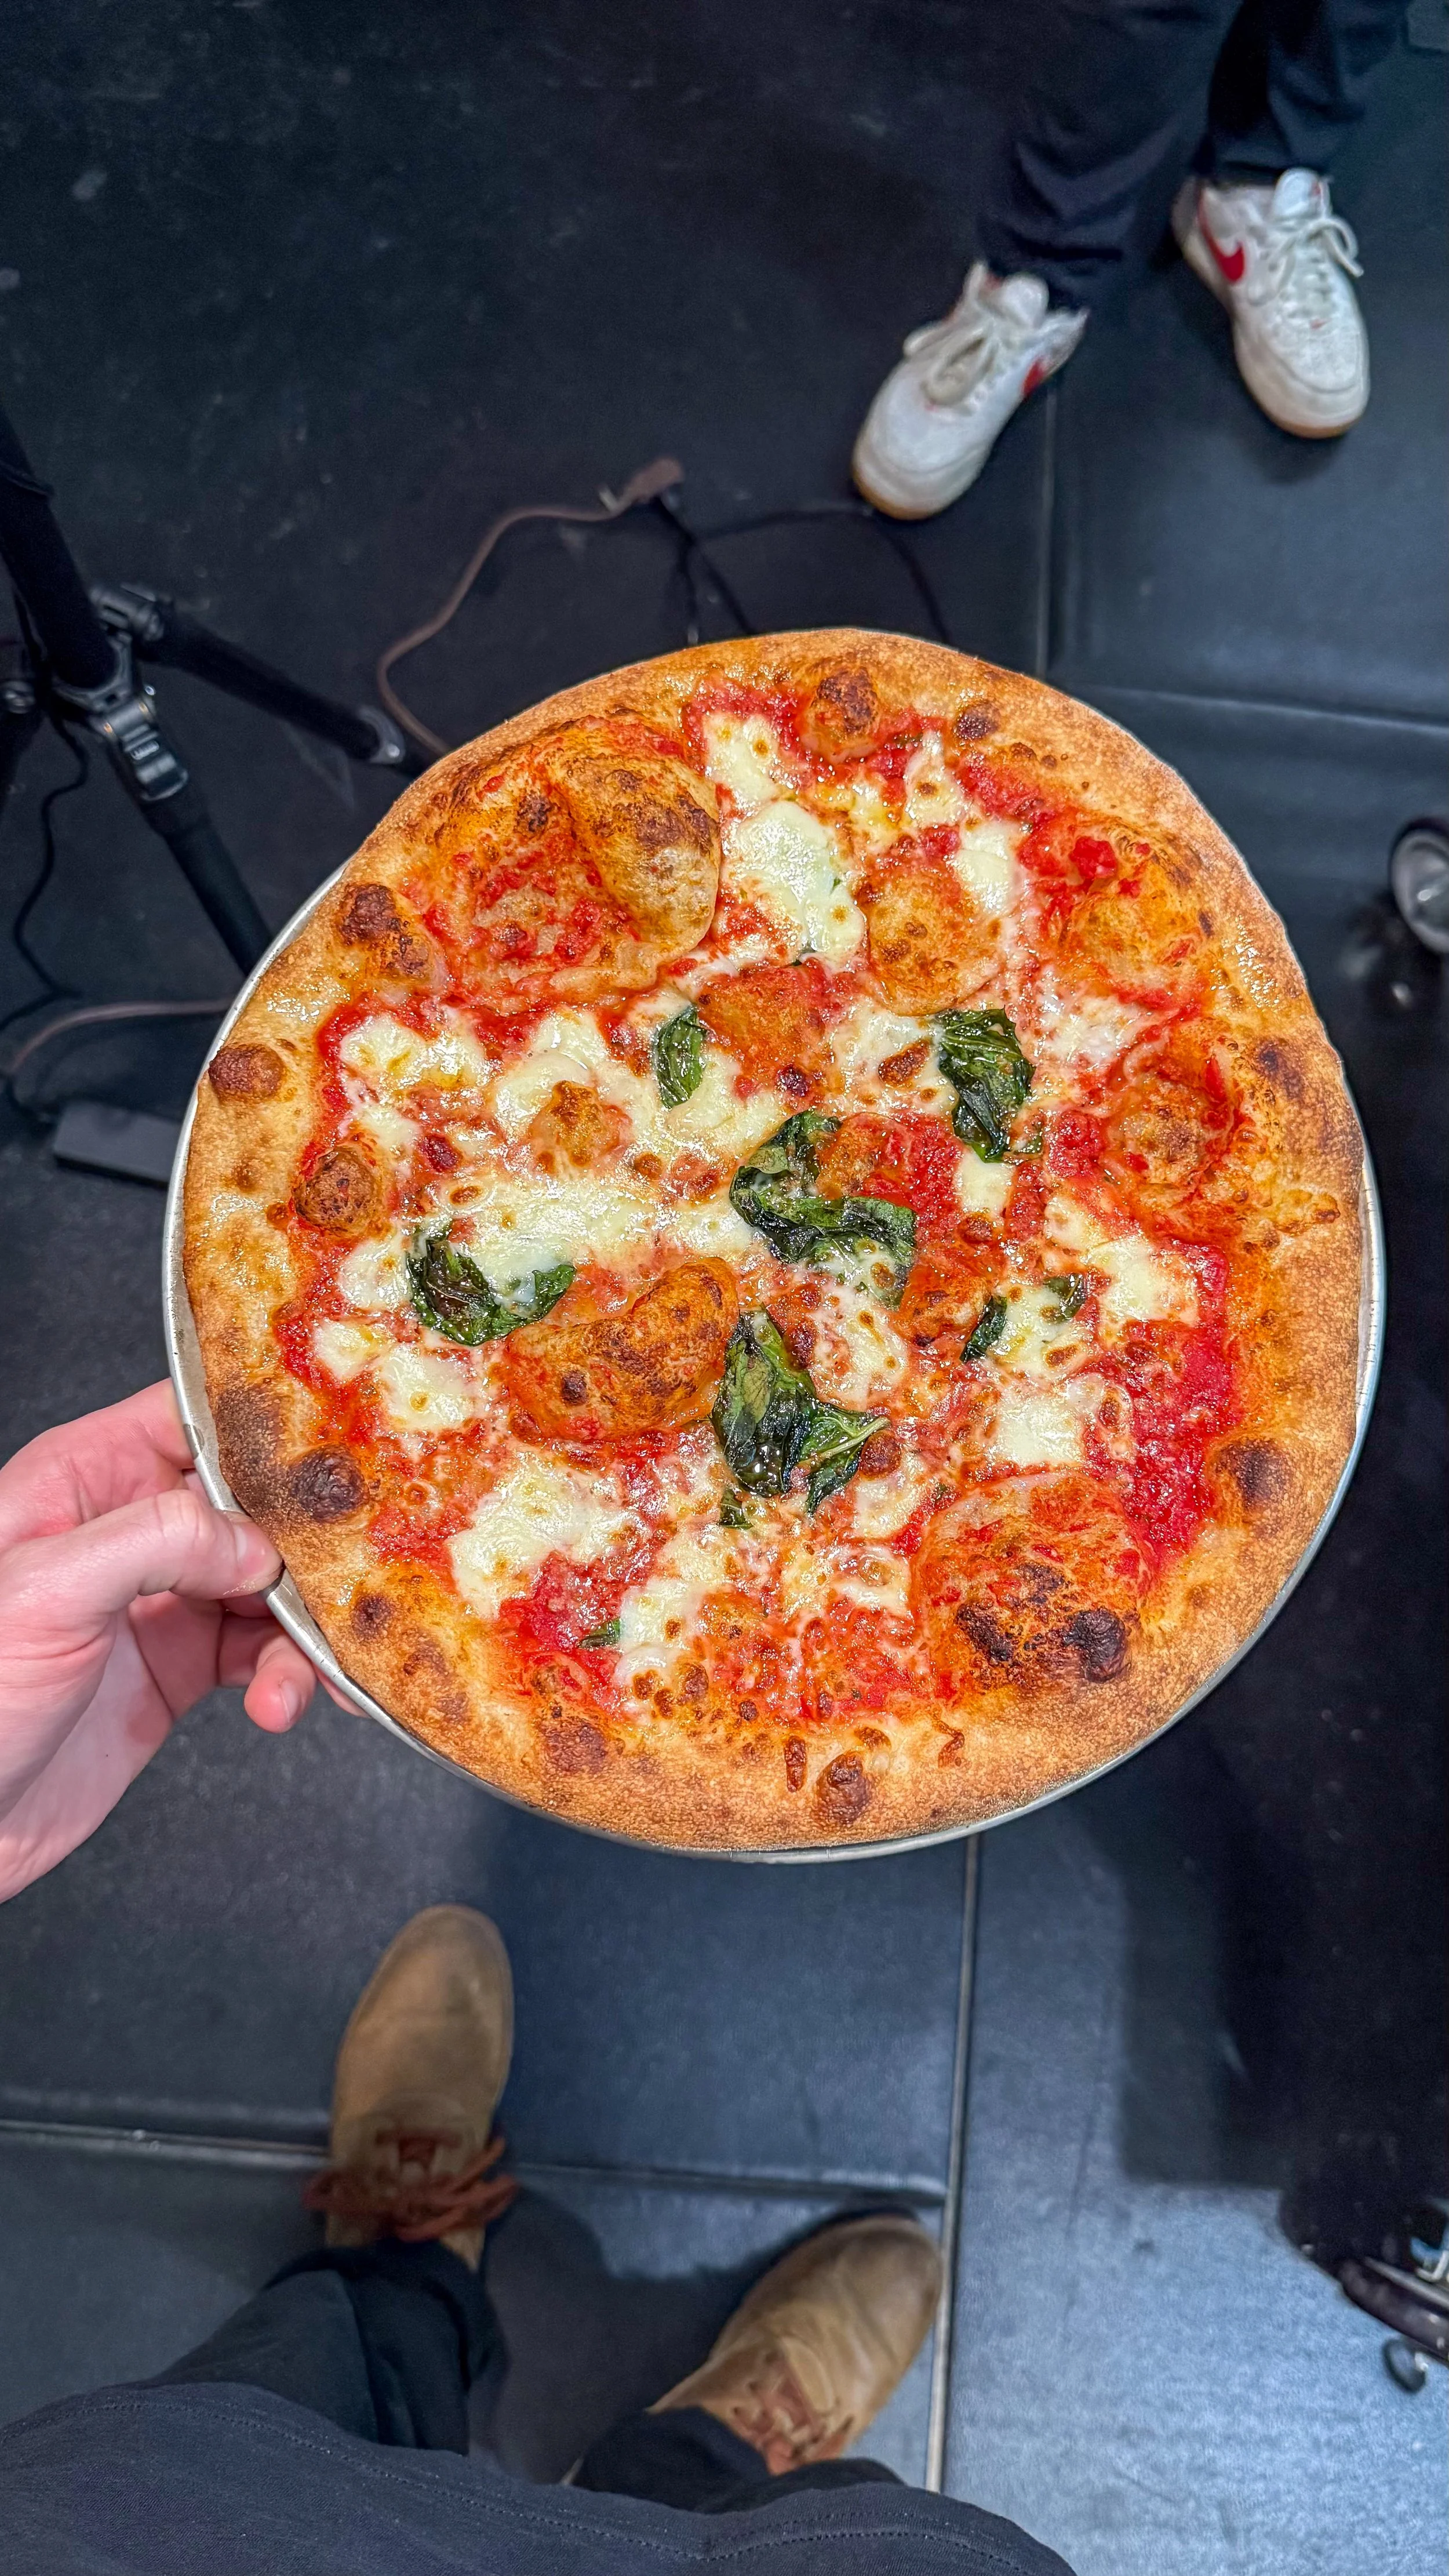
Neapolitan Pizza (VPN Certified)
Chicago Deep Dish + Chicago Stuffed Deep Dish
Chicago Tavern-style (Square cut, Thin crust)
Stuff I Use...
If there's a specific piece of gear you're looking for, check the description of the original video. I do my best to link everything I use so you can easily find it and get cooking. I also earn a small kickback from most of those links, so your curiosity and your cooking directly support the channel. Teamwork! Good luck.
If you dig my Giardiniera shirt from the video, here’s a link to snag it. Again, all purchases go to supporting the chan! Also, if shirts aren’t your thing (I get it, being shirtless rules) at least learn how to make your own giardiniera here, it’s the best condiment on earth. Probably.

Save guala off your next order by using code “Sandwich” at checkout ❤️. I drop new colorways every so often so keep your head on a swivel for that.
Pizza Classica (NOT Neapolitan)
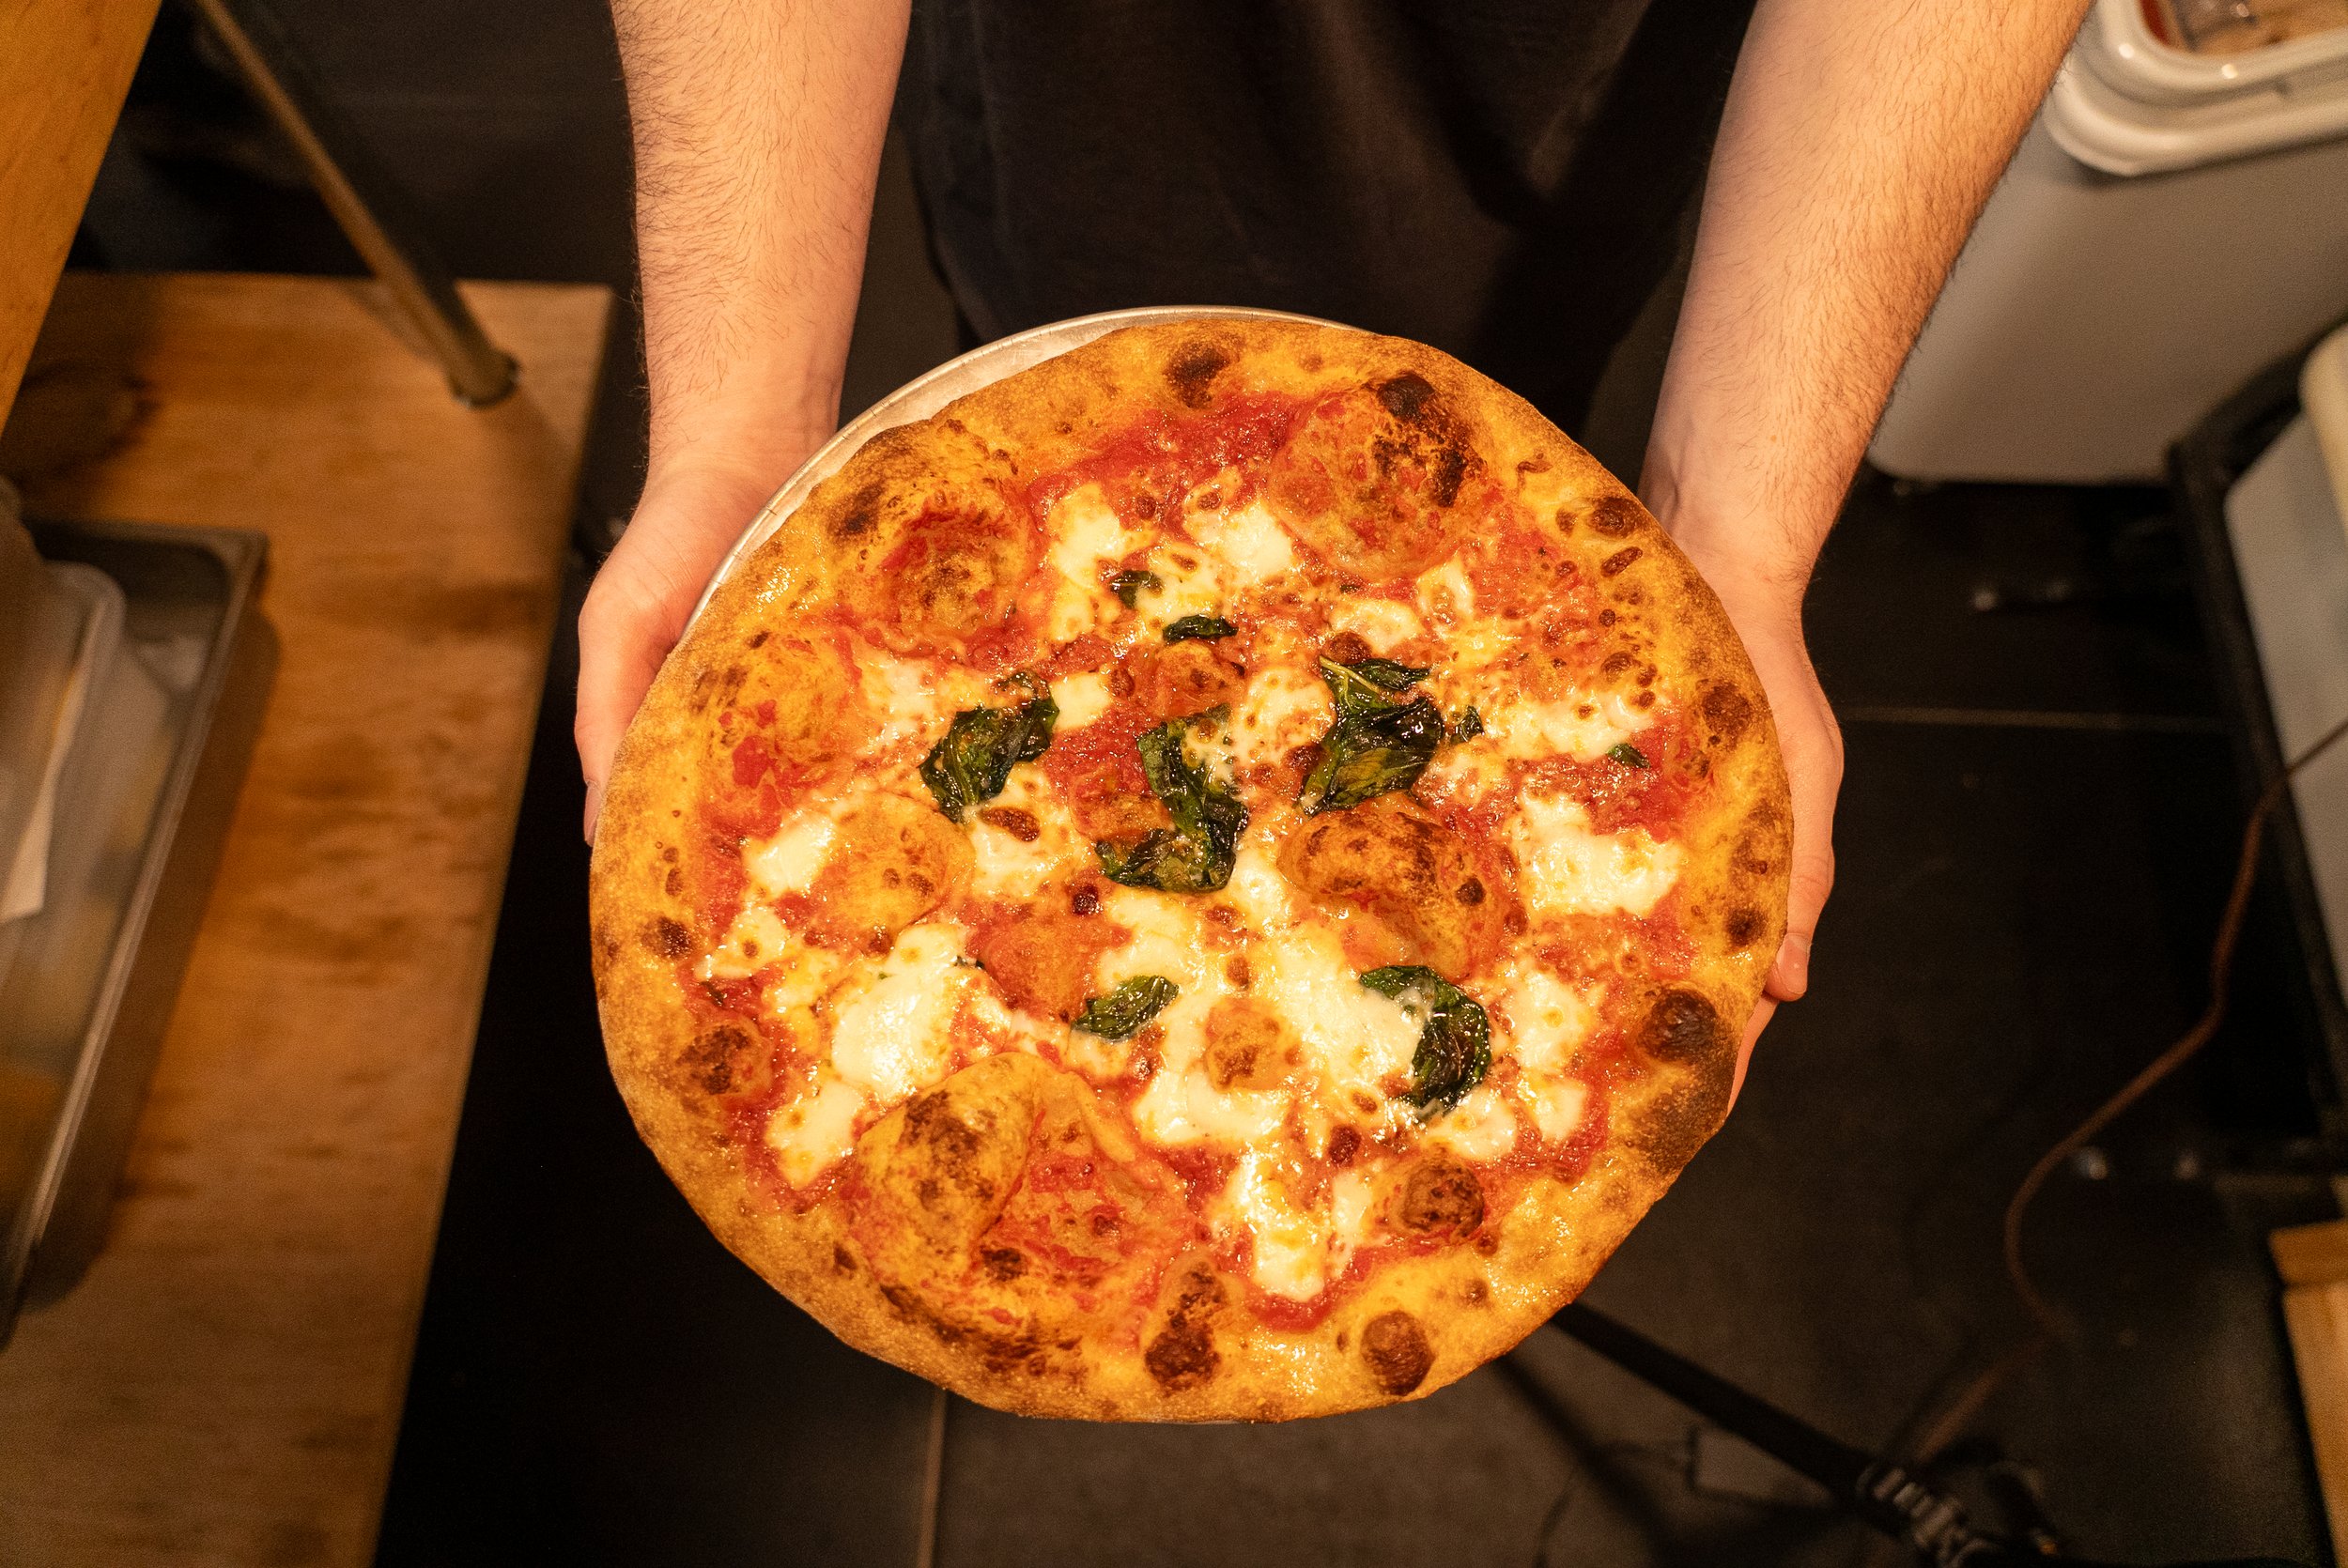
The OG. The one that started it all. Neapolitan pizza was born in Naples, Italy sometime in the 1700s as cheap street food for the working poor, and honestly, it was already perfect. Thin, soft, slightly charred crust, a little leopard-spotting from a screaming-hot wood-fired oven, fresh tomatoes, and whatever simple toppings you had lying around. When Italian immigrants flooded into New York City in the late 1800s and early 1900s, they brought this with them, and New York said yes please, but bigger. The New York slice stretched out, got a little crispier on the bottom, and became fuel for an entire city of people who eat while walking.
P.S. If you’re interested in learning to make Neapolitan-style pizza the VPN certified way, check this video out.

Pizza Classica
Ingredients
Instructions
- 1. Mix Pour cold water into a large bowl. Add salt and stir to dissolve. Add about ¼ of the flour and mix with your hand until it looks like thick pancake batter. Sprinkle in the yeast and mix it in. Continue adding flour in 3–4 more batches, mixing fully each time before adding more. When it comes together into a shaggy mass, stop.
- 2. Rest Cover and let it rest 20 min.
- 3. Knead Turn out onto a clean, unfloured surface and knead 8–10 min until smooth and slightly tacky. Don't add flour — push through the stickiness. Cover and rest another 15 min.
- 4. Bulk ferment Cover the bowl tightly with plastic wrap and put it in the fridge for 24–72 hrs. Longer = more flavor. 48 hrs is the sweet spot.
- 5. Ball up Pull the dough out of the fridge. Divide into 6 equal balls (~135g each for a 10–12 inch pizza). Shape each into a tight ball by tucking the dough under itself and rolling it against the counter with a cupped hand. Place on a lightly oiled tray or plate, cover with plastic wrap, and rest at room temp for 2 hrs before baking.
- 6. Preheat oven Crank your oven to its absolute maximum — 500–550°F. Put your baking steel or stone on the top rack, as close to the broiler as possible while still fitting the pizza. Preheat for at least 1 hour. This is the single most important step for a home oven.
- 7. Shape Flour your work surface generously. Take one dough ball and press it flat with your fingers from the center out, leaving a slightly thicker edge for the crust. Then stretch it gently with your hands — pick it up, drape it over your knuckles, and let gravity do the work, rotating as you go. Aim for 10–12 inches. Even if it's not perfectly round, it'll taste the same.
- 8. Top it Lay the stretched dough on a floured pizza peel or the back of a baking sheet. Spoon on sauce sparingly — 2–3 tbsp, spread thin. Tear mozzarella into chunks and scatter lightly. Add a few basil leaves. Drizzle with olive oil.
- 9. Bake Slide onto the hot steel/stone. Bake 5–7 min until the crust is puffed and charred in spots and the cheese is bubbling. In the last 60–90 sec, switch to broil to blister the top. Watch it constantly — it goes from perfect to burnt fast.
- 10. Finish and eat Grate Parmesan over the top, add any fresh basil you held back, slice, and eat immediately.
- Pour the canned tomatoes into a bowl and crush them by hand — squeeze each one until broken down. Pull out and discard any hard, pale, or stringy bits. Season with salt and stir. That's it. No cooking, no blending required.
Adam's Notes
No baking steel? Flip a cast iron skillet upside down and preheat that. It's a legit substitute.
Fresh mozzarella tip: Tear it and let it sit on a paper towel for 20–30 min before topping. Wet mozzarella makes the center soggy.
Yeast: The original uses an almost unmeasurably small amount of fresh yeast because it ferments a long time. The ½ tsp here accounts for the fridge slow-down and still gives you great results without hunting down fresh yeast.
Flour: Bread flour gives a chewier crust. All-purpose gives slightly less chew but works great. Either is fine.
The broiler is your wood-fired oven substitute. Don't skip that last blast of heat — it's what gives you the blistered, leopard-spotted crust.
Scale down: This recipe makes 6 dough balls. Making 2 pizzas tonight? Still make the full batch — the balls keep in the fridge individually wrapped for up to 5 days or freeze well.
Pizza Siciliana (Sfincione)
Sicily is an island that has been invaded by basically everyone throughout history (Greeks, Arabs, Normans, you name it) and sfincione is the delicious result of all that cultural chaos. It's thick, it's spongy, it's baked in a pan, and it's topped with tomato, onion, anchovies, and breadcrumbs. Humble, hearty, no-fuss food. When Sicilian immigrants arrived in the U.S., this became the New York Sicilian slice, that big, pillowy, grandma-slab thing you get at the good spots. Speaking of grandma pizza: same family, slightly different vibe. Less dough, crispier edges, a little more imperfect and rustic. Basically what happens when someone's actual grandma makes it at home instead of a pizzeria. Better, honestly.
P.S. I have a video all about sfincione and how to make it.
")
Sicilian Pizza Dough (Master Recipe)
Ingredients
Instructions
- Add the water, sugar and yeast to a large mixing bowl then pour over the bread flour. Mix until a homogeneous dough ball forms then cover the bowl and let it rest for 20-25 minutes.
- Lightly flour your work surface then turn the dough out the counter. Sprinkle over the kosher salt then knead by hand, using the “slap and fold technique” until the dough passes the “window test,” and can be stretched thin without breaking.
- Drizzle some olive oil into a shallow, rectangular container or casserole dish. Cover the dough and refrigerate for 1-3 days.
- On the day you want to make pizza, preheat the oven to 500F at least 1 hour before baking.
- If making the Pizza Pompei: Remove the dough from the fridge and transfer it to a sheet tray or Sicilian-style pizza pan that's been liberally coated in olive oil, clarified butter and dusted lightly with coarse corn meal. Use your fingers to spread the dough into the corners of the tray, let it rest for 10 minutes, then stretch the dough again to ensure it's evenly spread out and fills the entire pan.
- If making the Scarr's Pizza: Remove the dough from the fridge and transfer it to a sheet tray or Sicilian-style pizza pan that's been liberally coated in olive oil. Use your fingers to spread the dough into the corners of the tray, let it rest for 10 minutes, then stretch the dough again to ensure it's evenly spread out and fills the entire pan.
- For both pizzas, allow the dough to proof at room temperature for 1-2 hours until the dough looks puffy and has risen just about to the rim of the tray or pan.
- The remaining steps depend on which pizza you're going to make (see below).
Adam's Notes
- Sicilian dough is very wet and not easy to work with. It's essentially focaccia dough - use the "flap and fold" technique to get the kneading done. This dough is exactly 72.92% hydration.
- Be careful not to overwork the dough. You want to knead the dough just until gluten starts to form then stop. Over-kneaded dough makes the pizza tough and chewy. Chewy pizza crust isn’t the end of the world, but if avoided, your jaw will thank you.
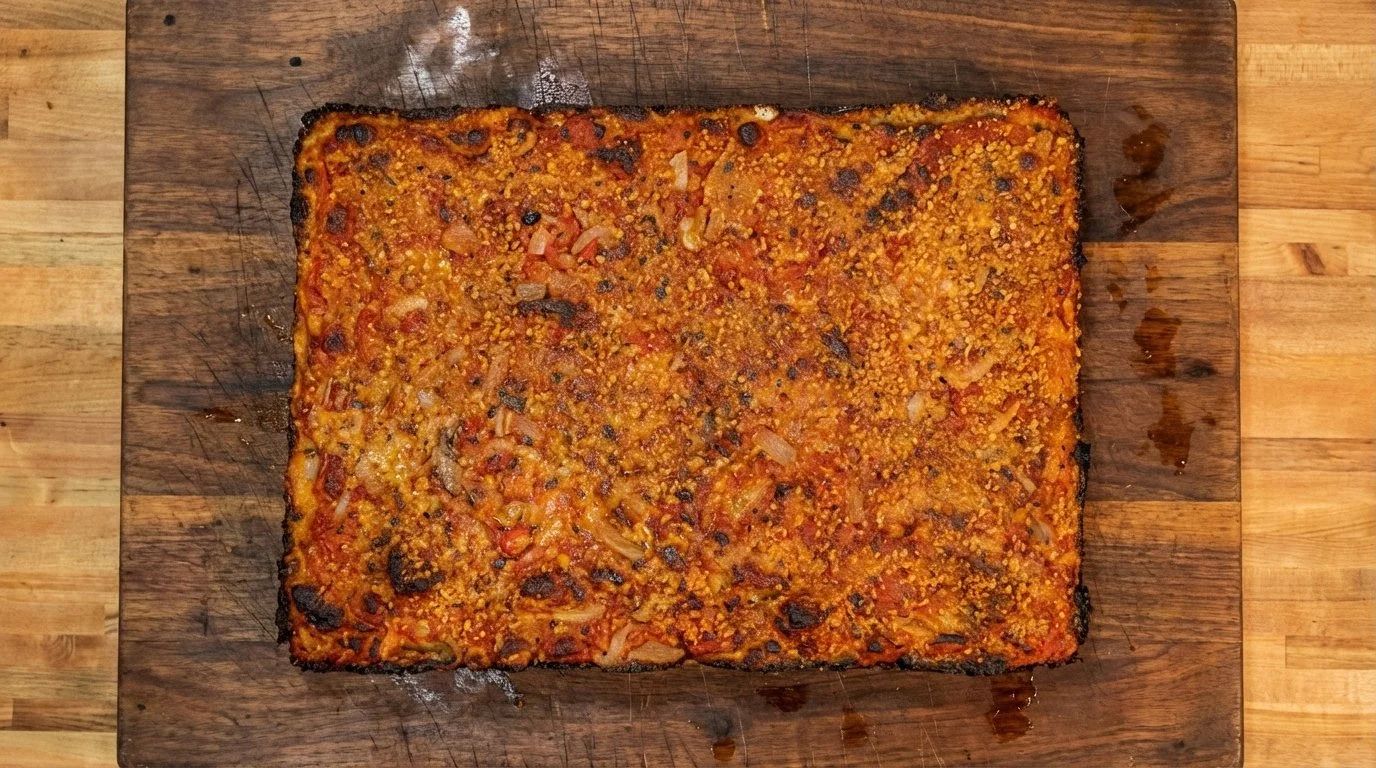
This “Pompeii Pizza” is from my friend’s family-owned restaurant that’s been in business for over 100 years. It’s very similar to Leo’s recipe. Feel free to tweak it to fit your own style and/or add caramelized onions to the tomatoes.

Pompeii Pizza
Ingredients
Instructions
- See "Master Recipe" to make the dough.
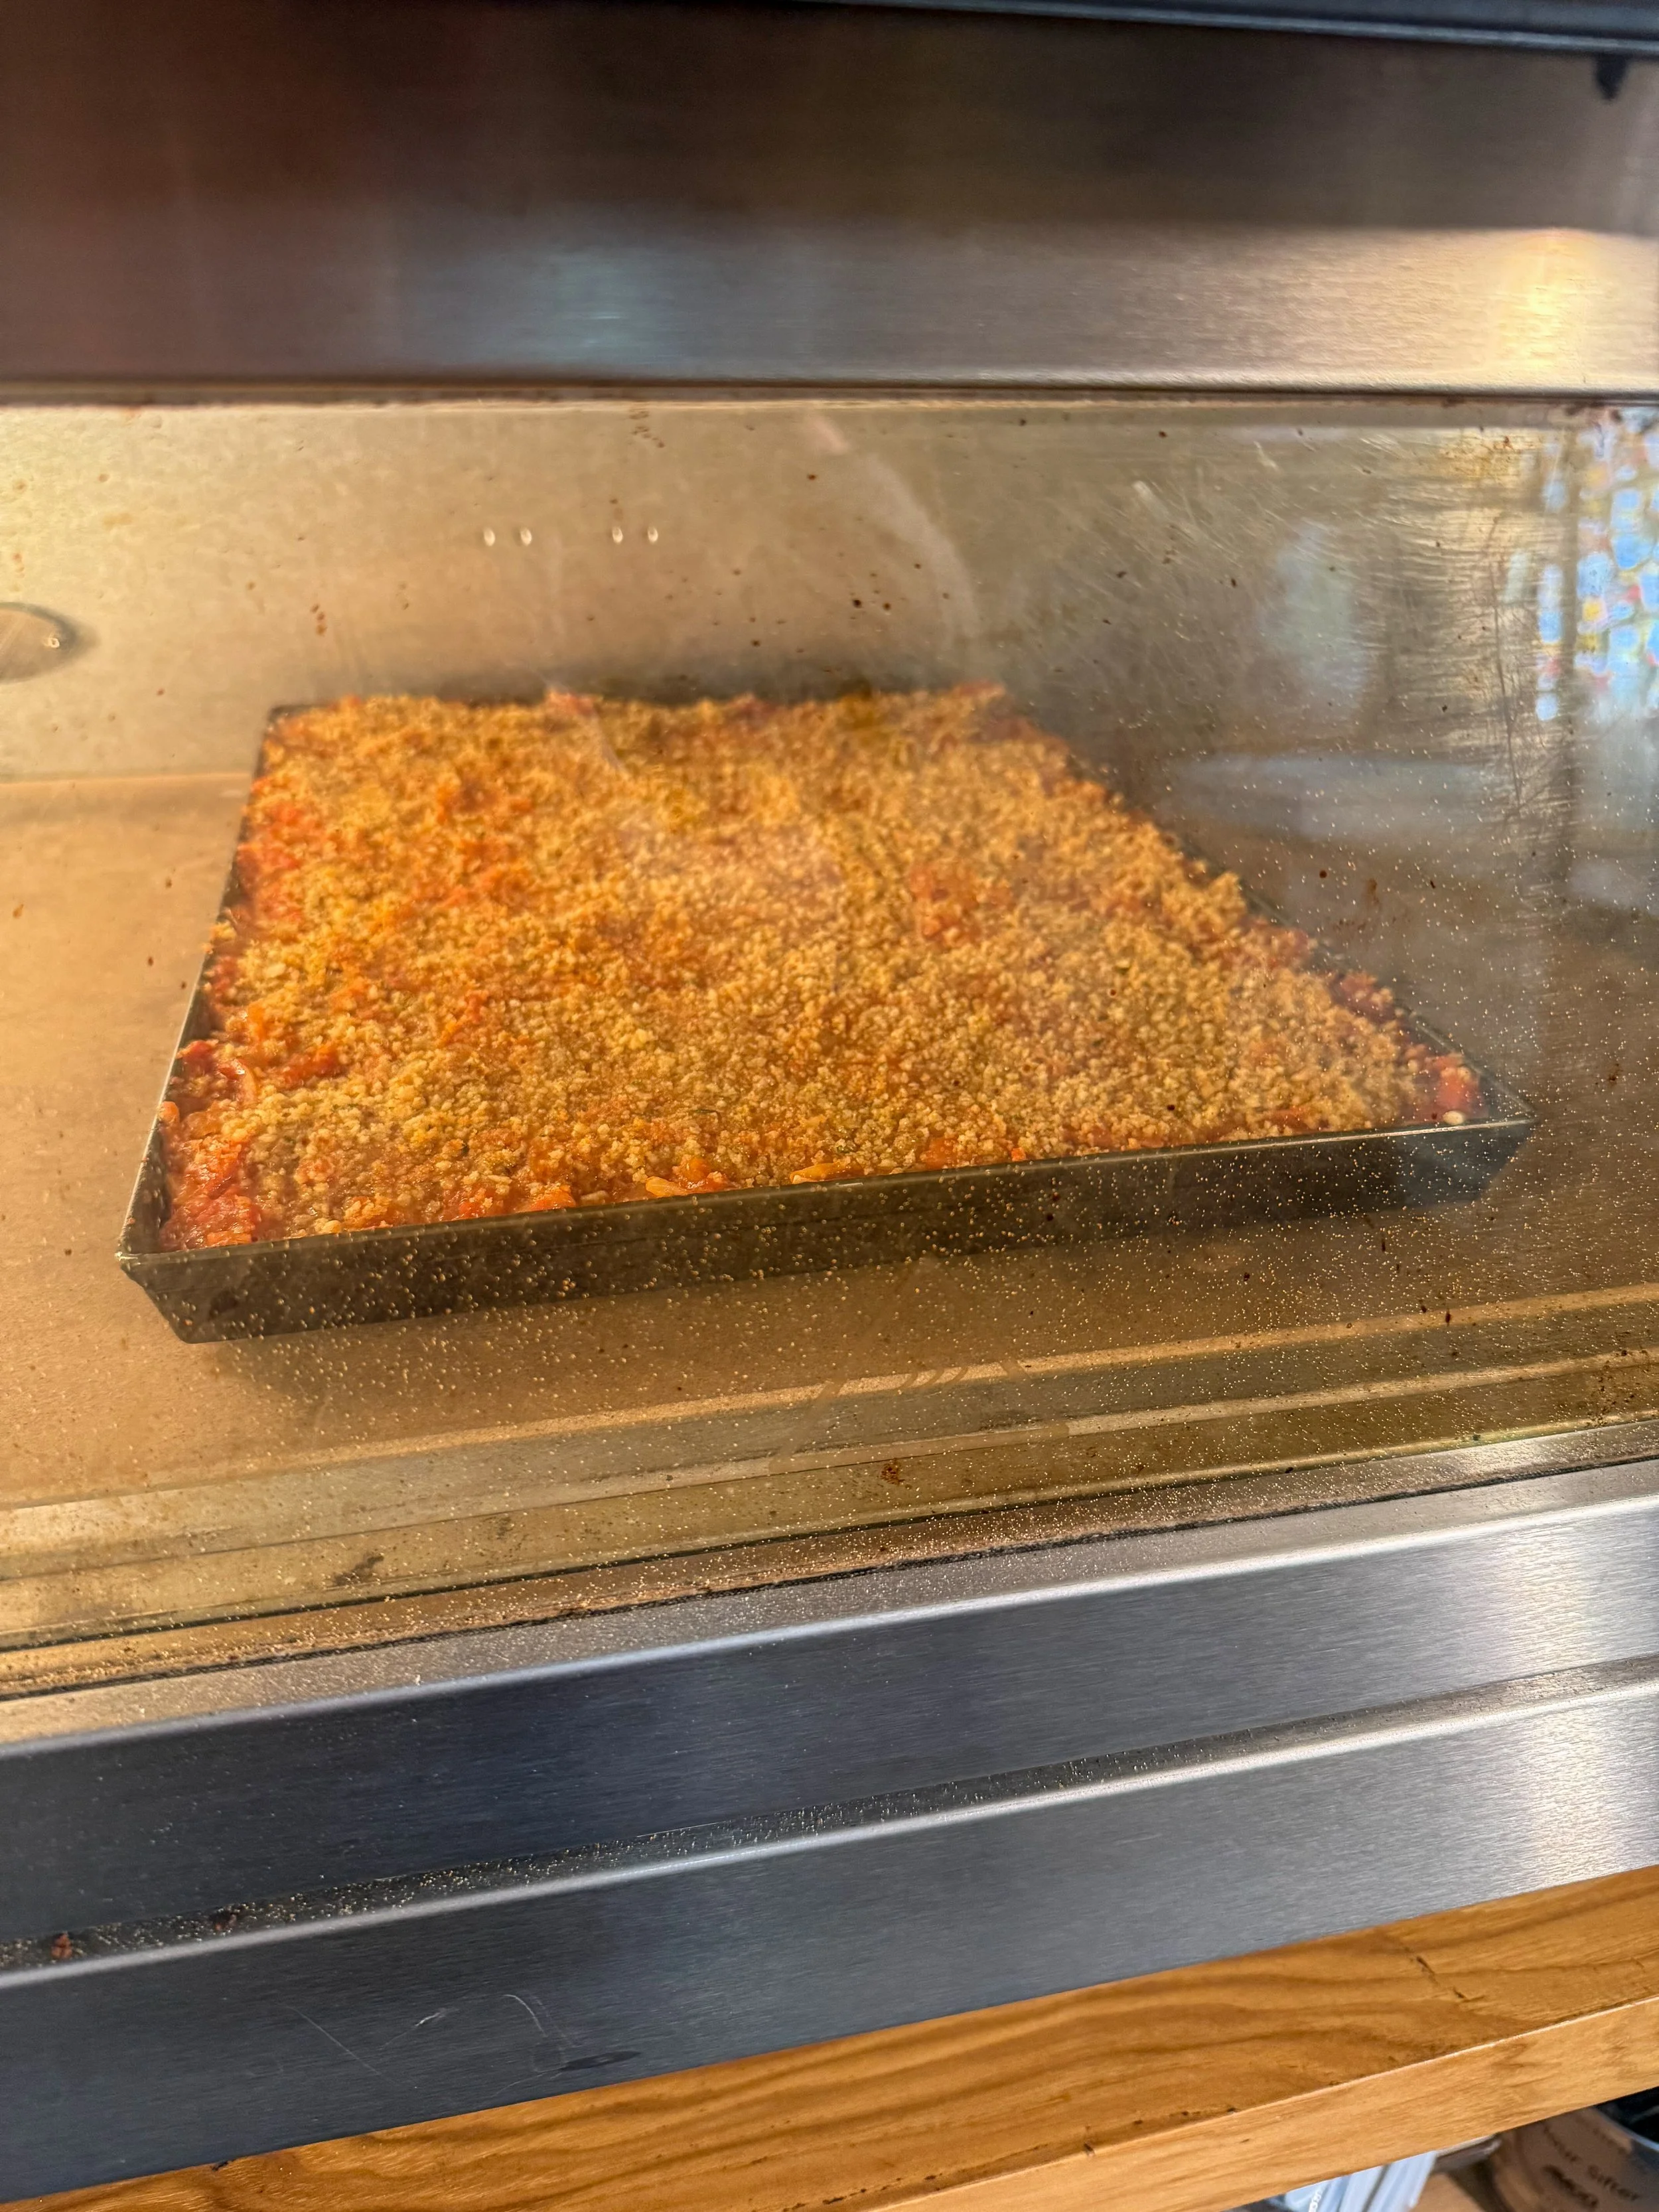
- Bake the proofed dough for 10 minutes, then remove and allow to cool for 10 minutes.
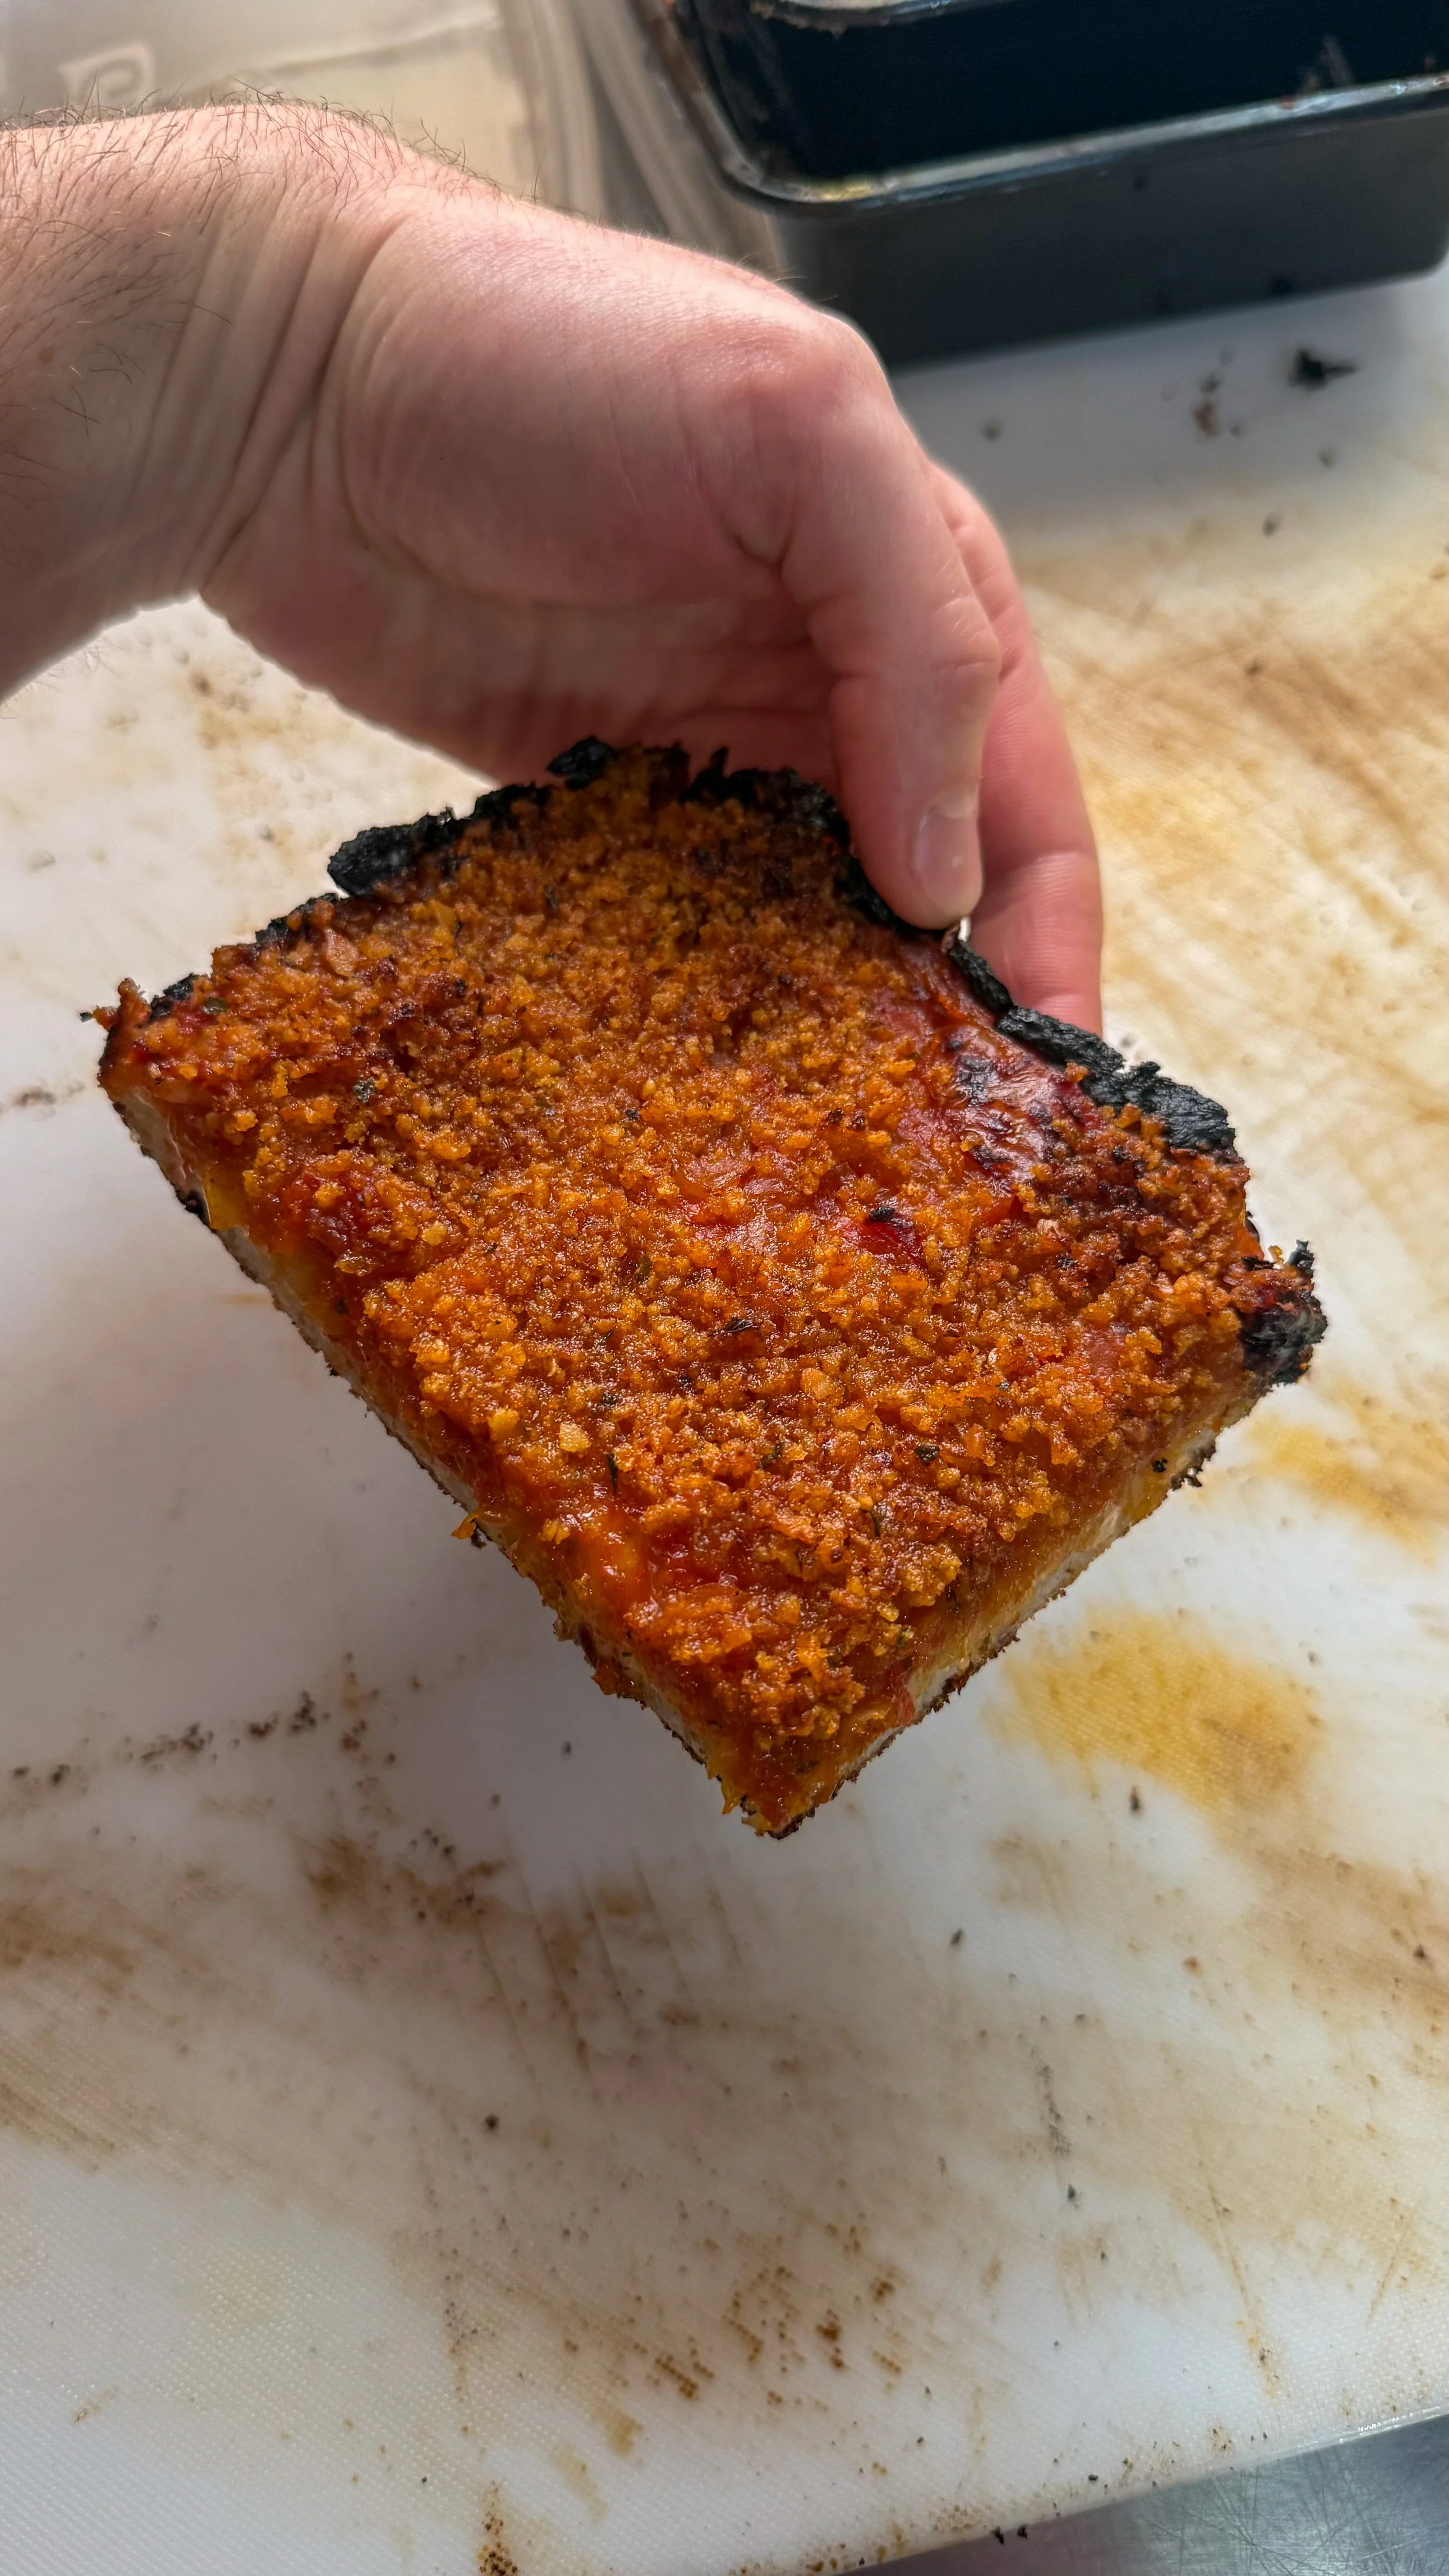
- Top the par-baked pizza with black olives, breadcrumbs, giardiniera, chunky tomatoes then sprinkle with hard cheese. Bake for another 10 minutes.
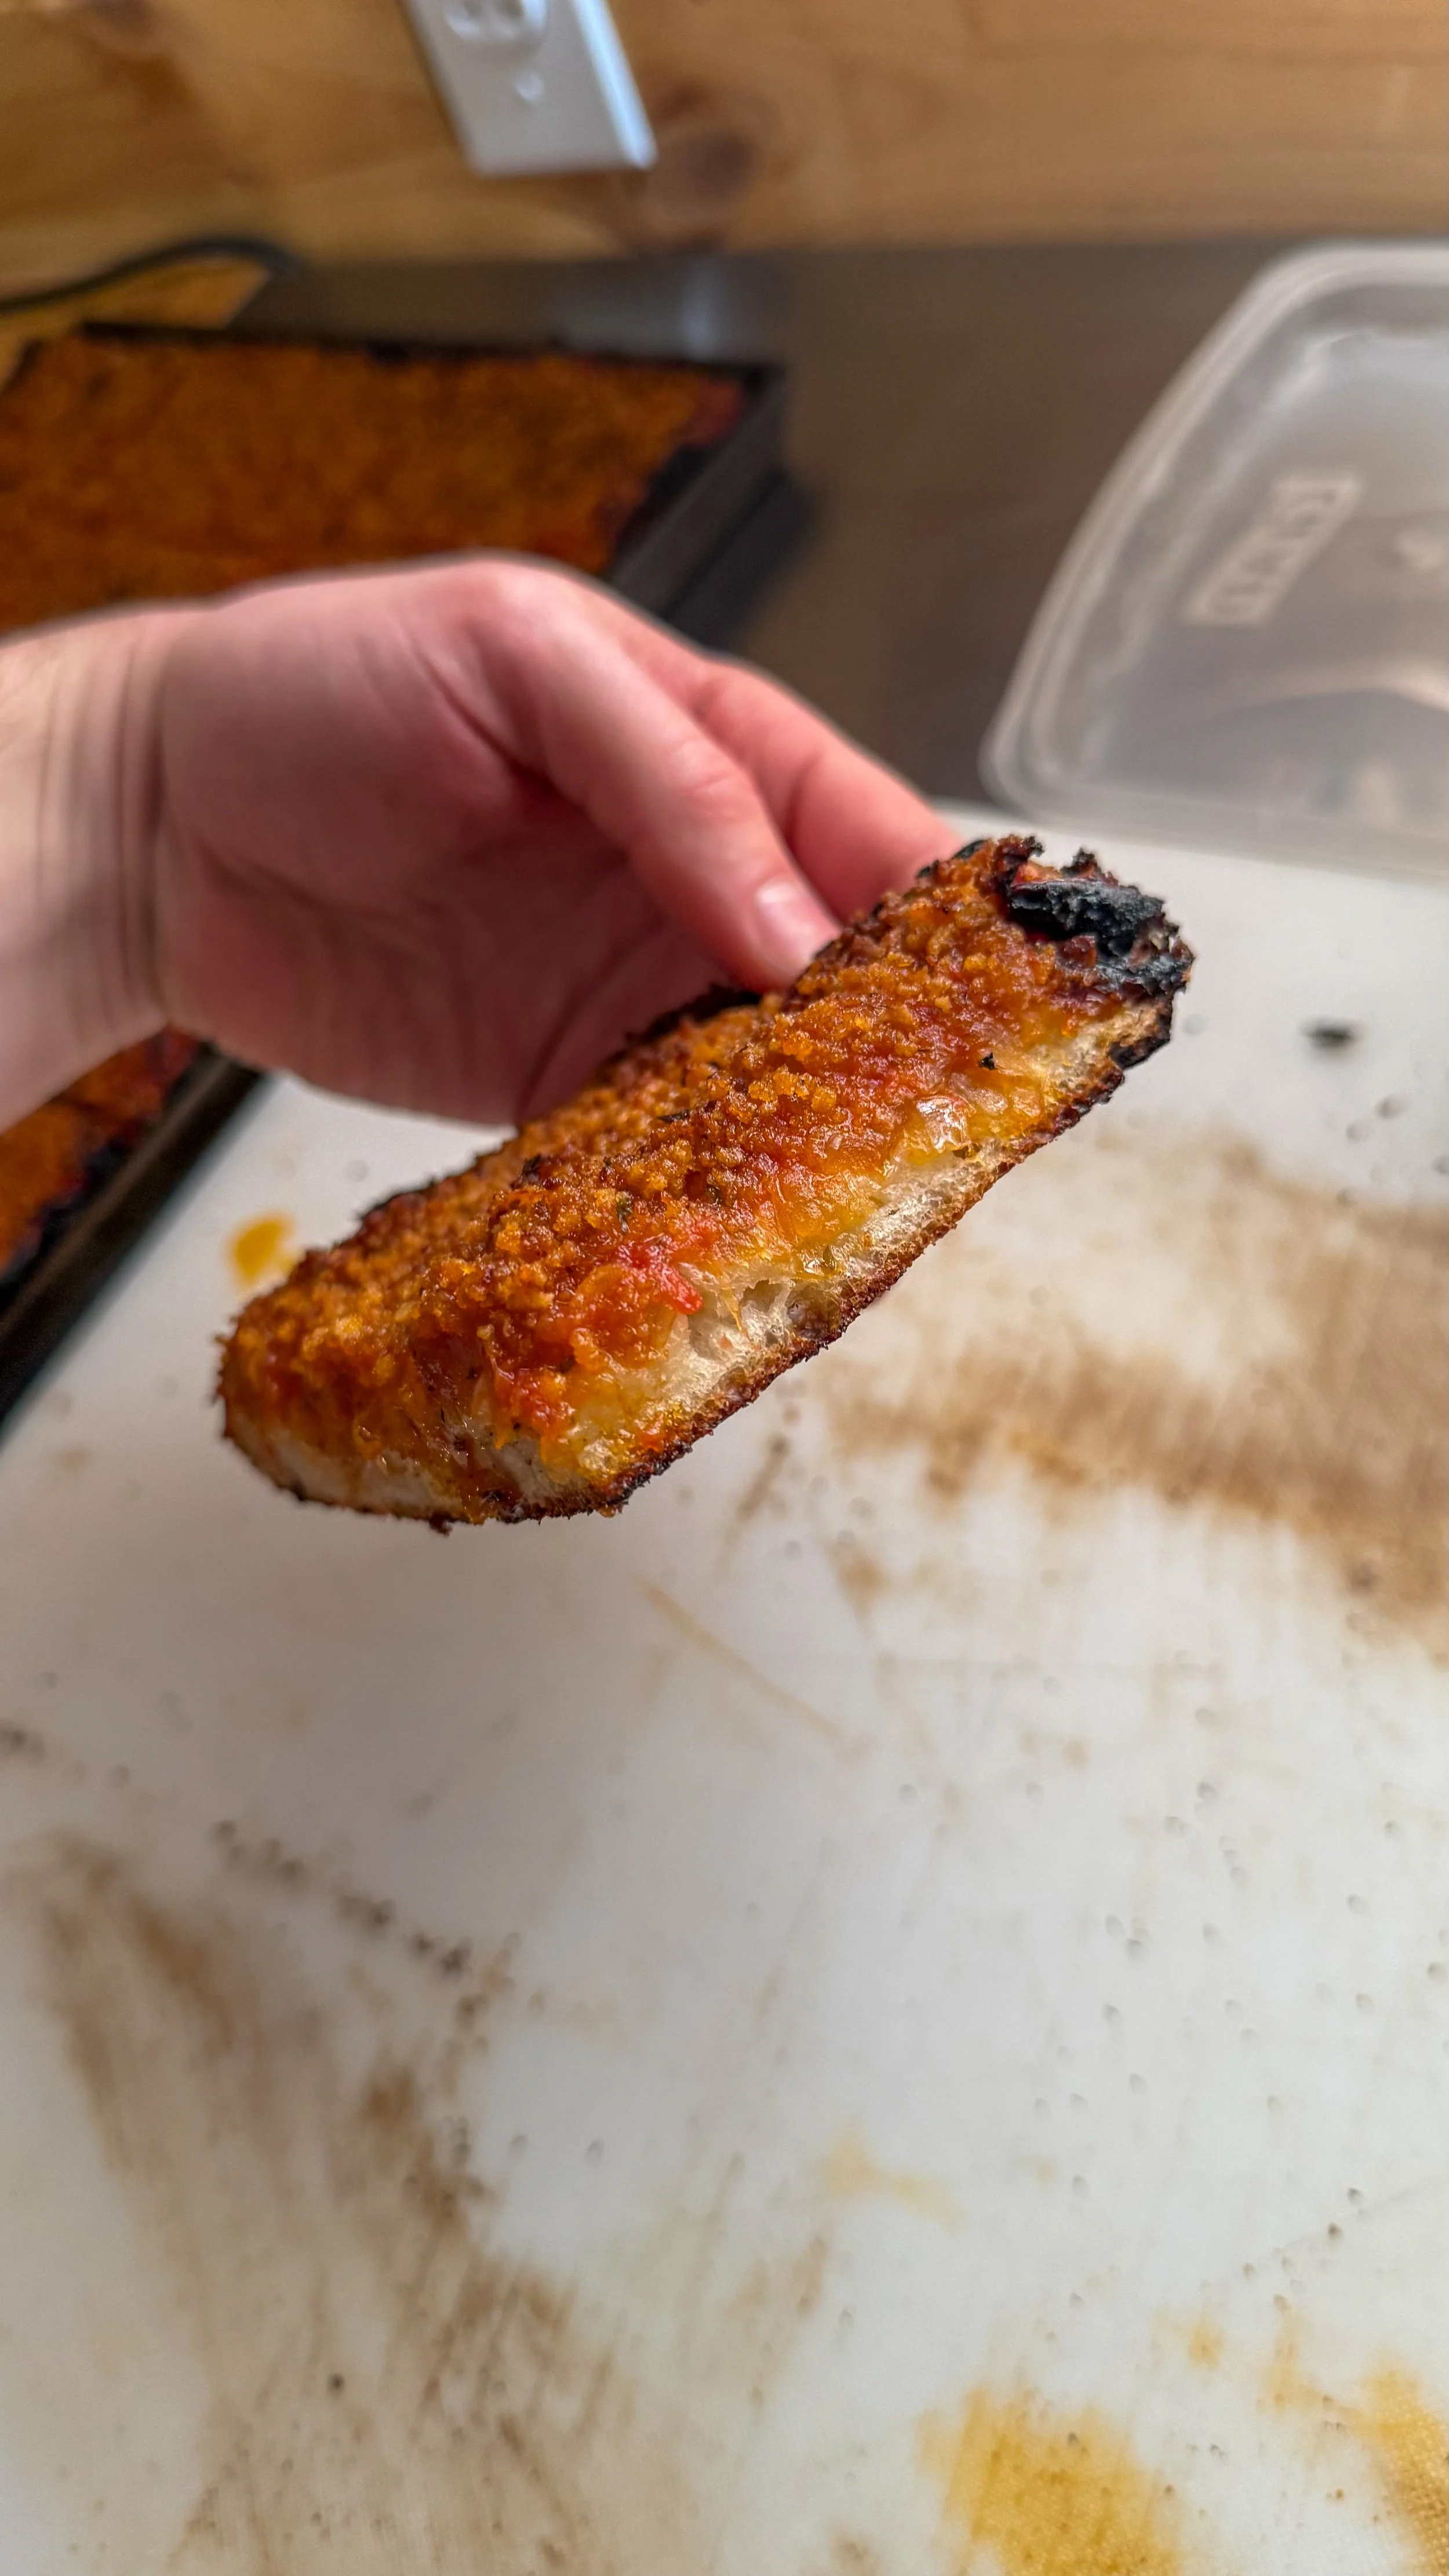
- Transfer the pizza to a wire rack to stop the bottom crust from becoming soggy. Garnish with more hard cheese, oregano, red chili flake and olive oil and CRUSH!
Adam's Notes
- This pizza is reminiscent of Sicilian "Sfincione." If you're unfamiliar, give it a quick Google and you'll see.
- The fresh breadcrumbs are important for texture and soaking up any additional juice the tomatoes might still have on the pizza. It's pleasantly "gummy" which might sound contradictory to some, but it's nice. Trust me.
Pizza al Taglio (Roman Street Pizza)
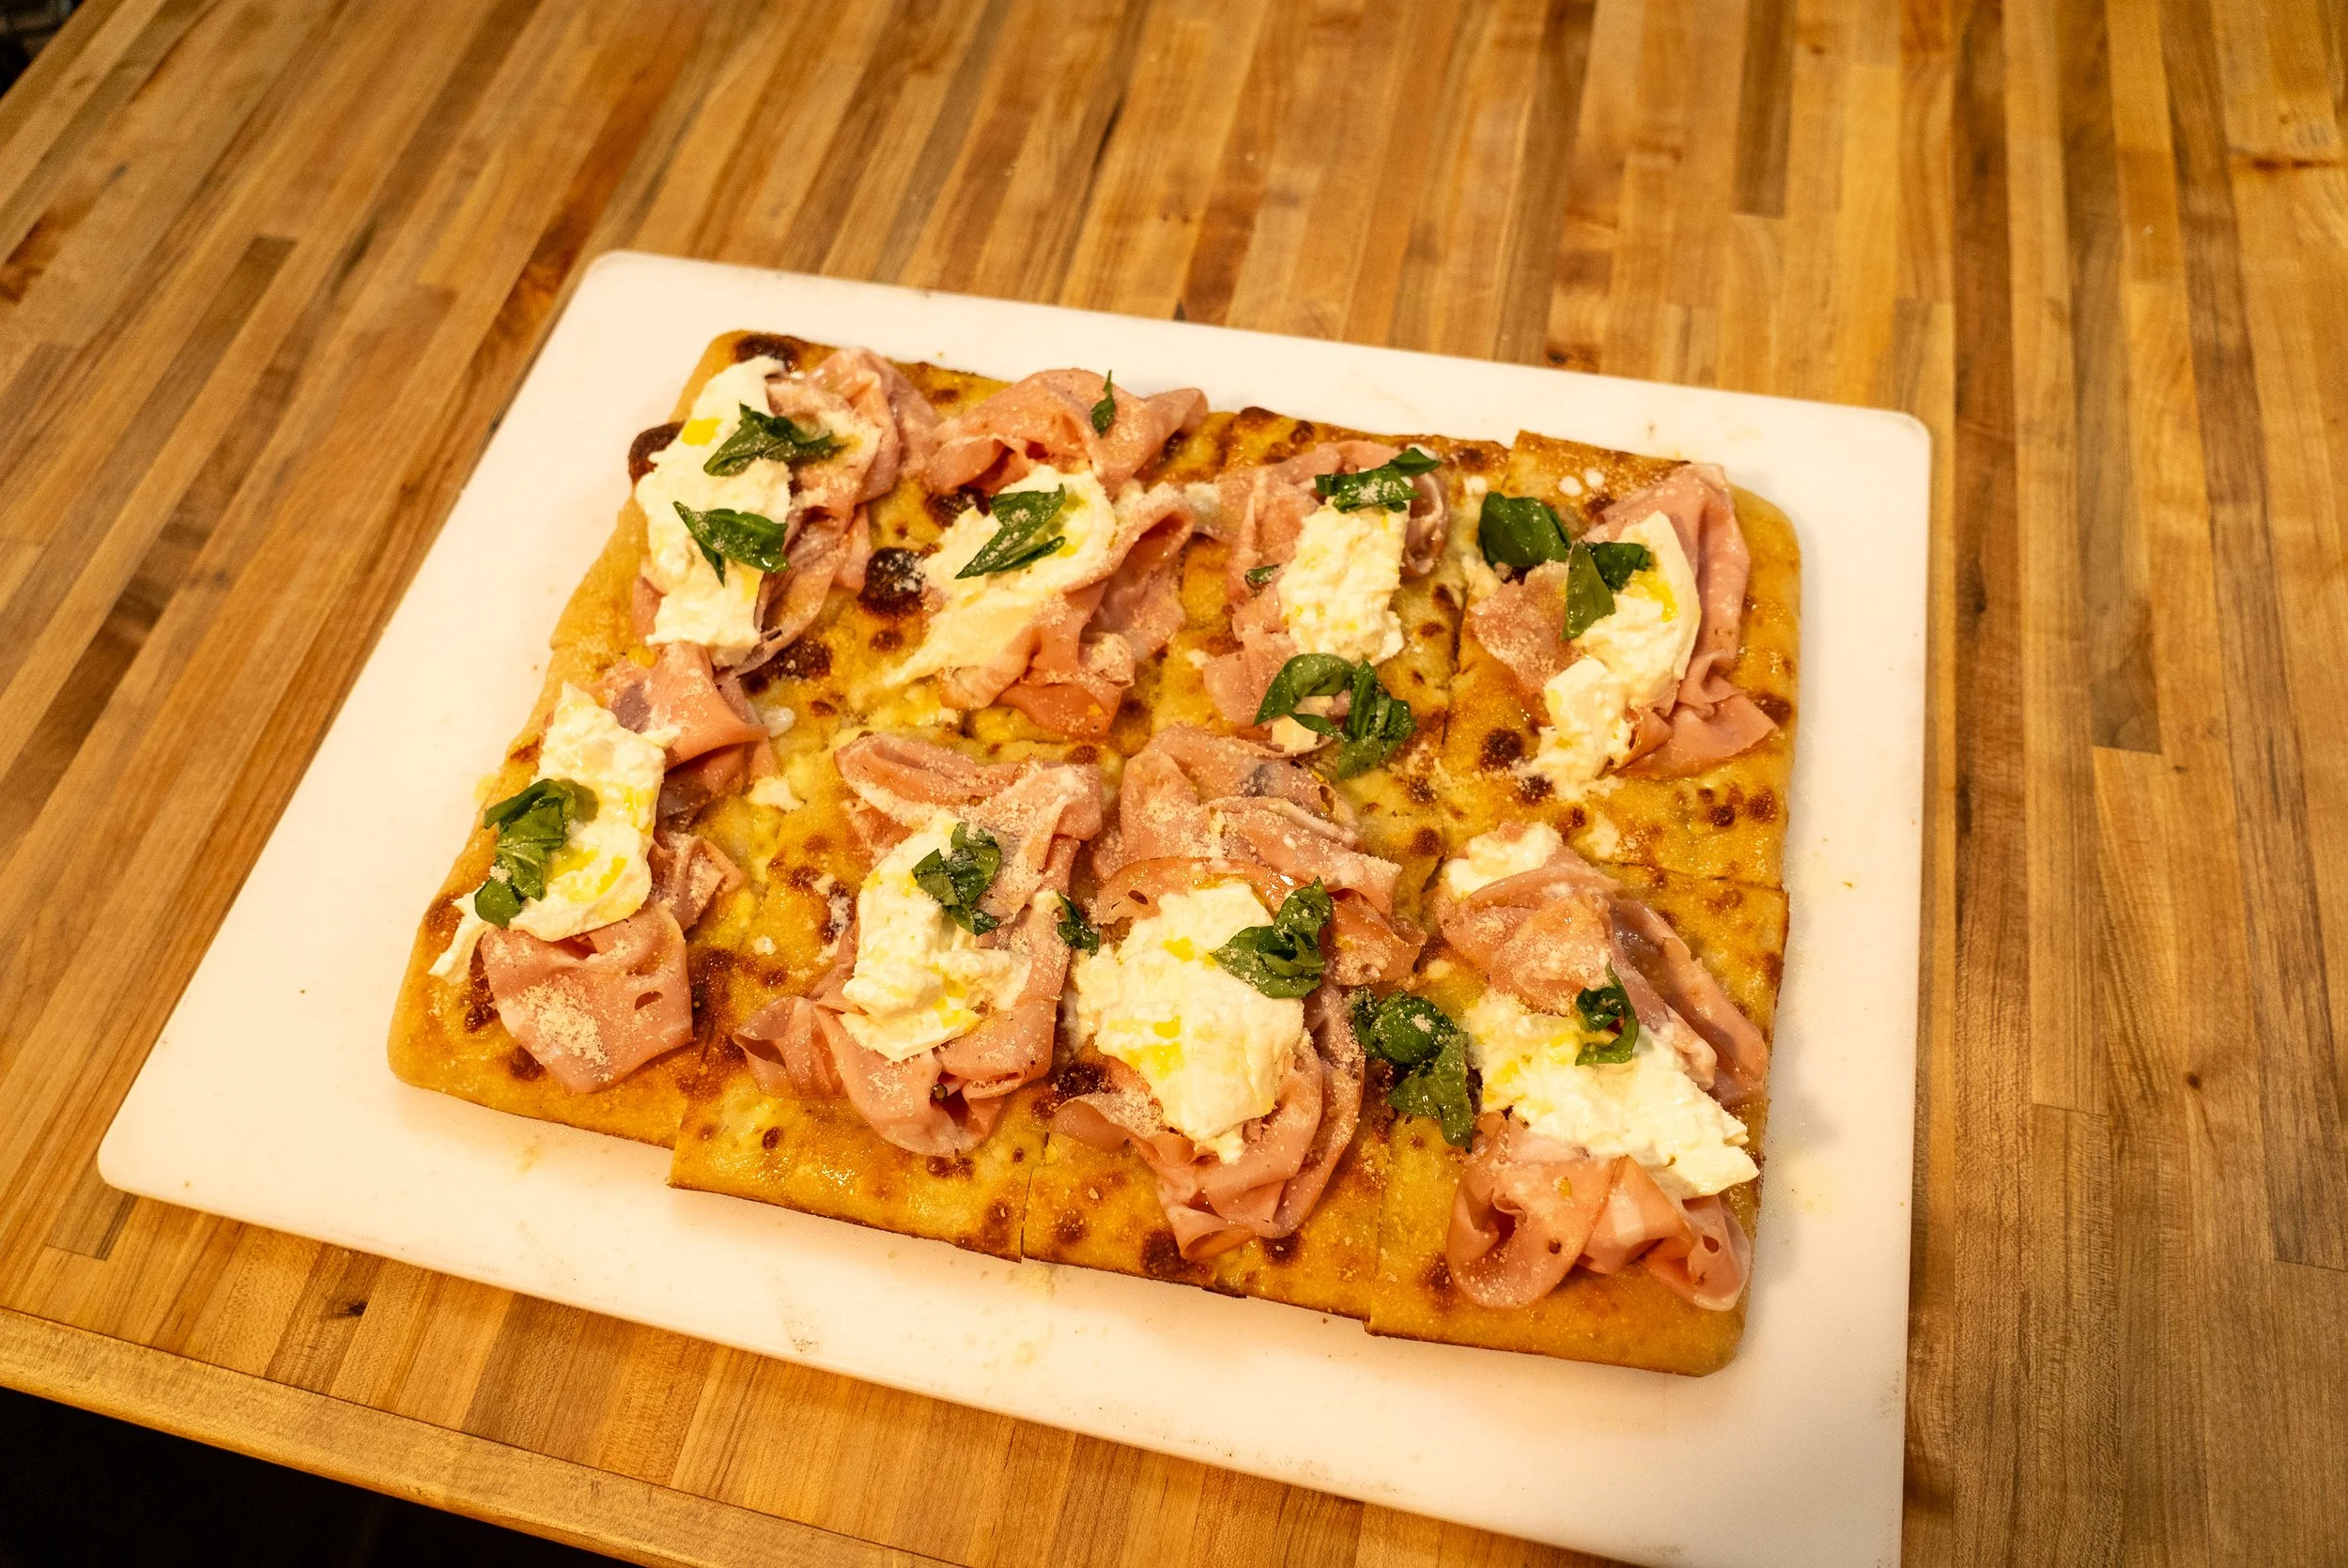
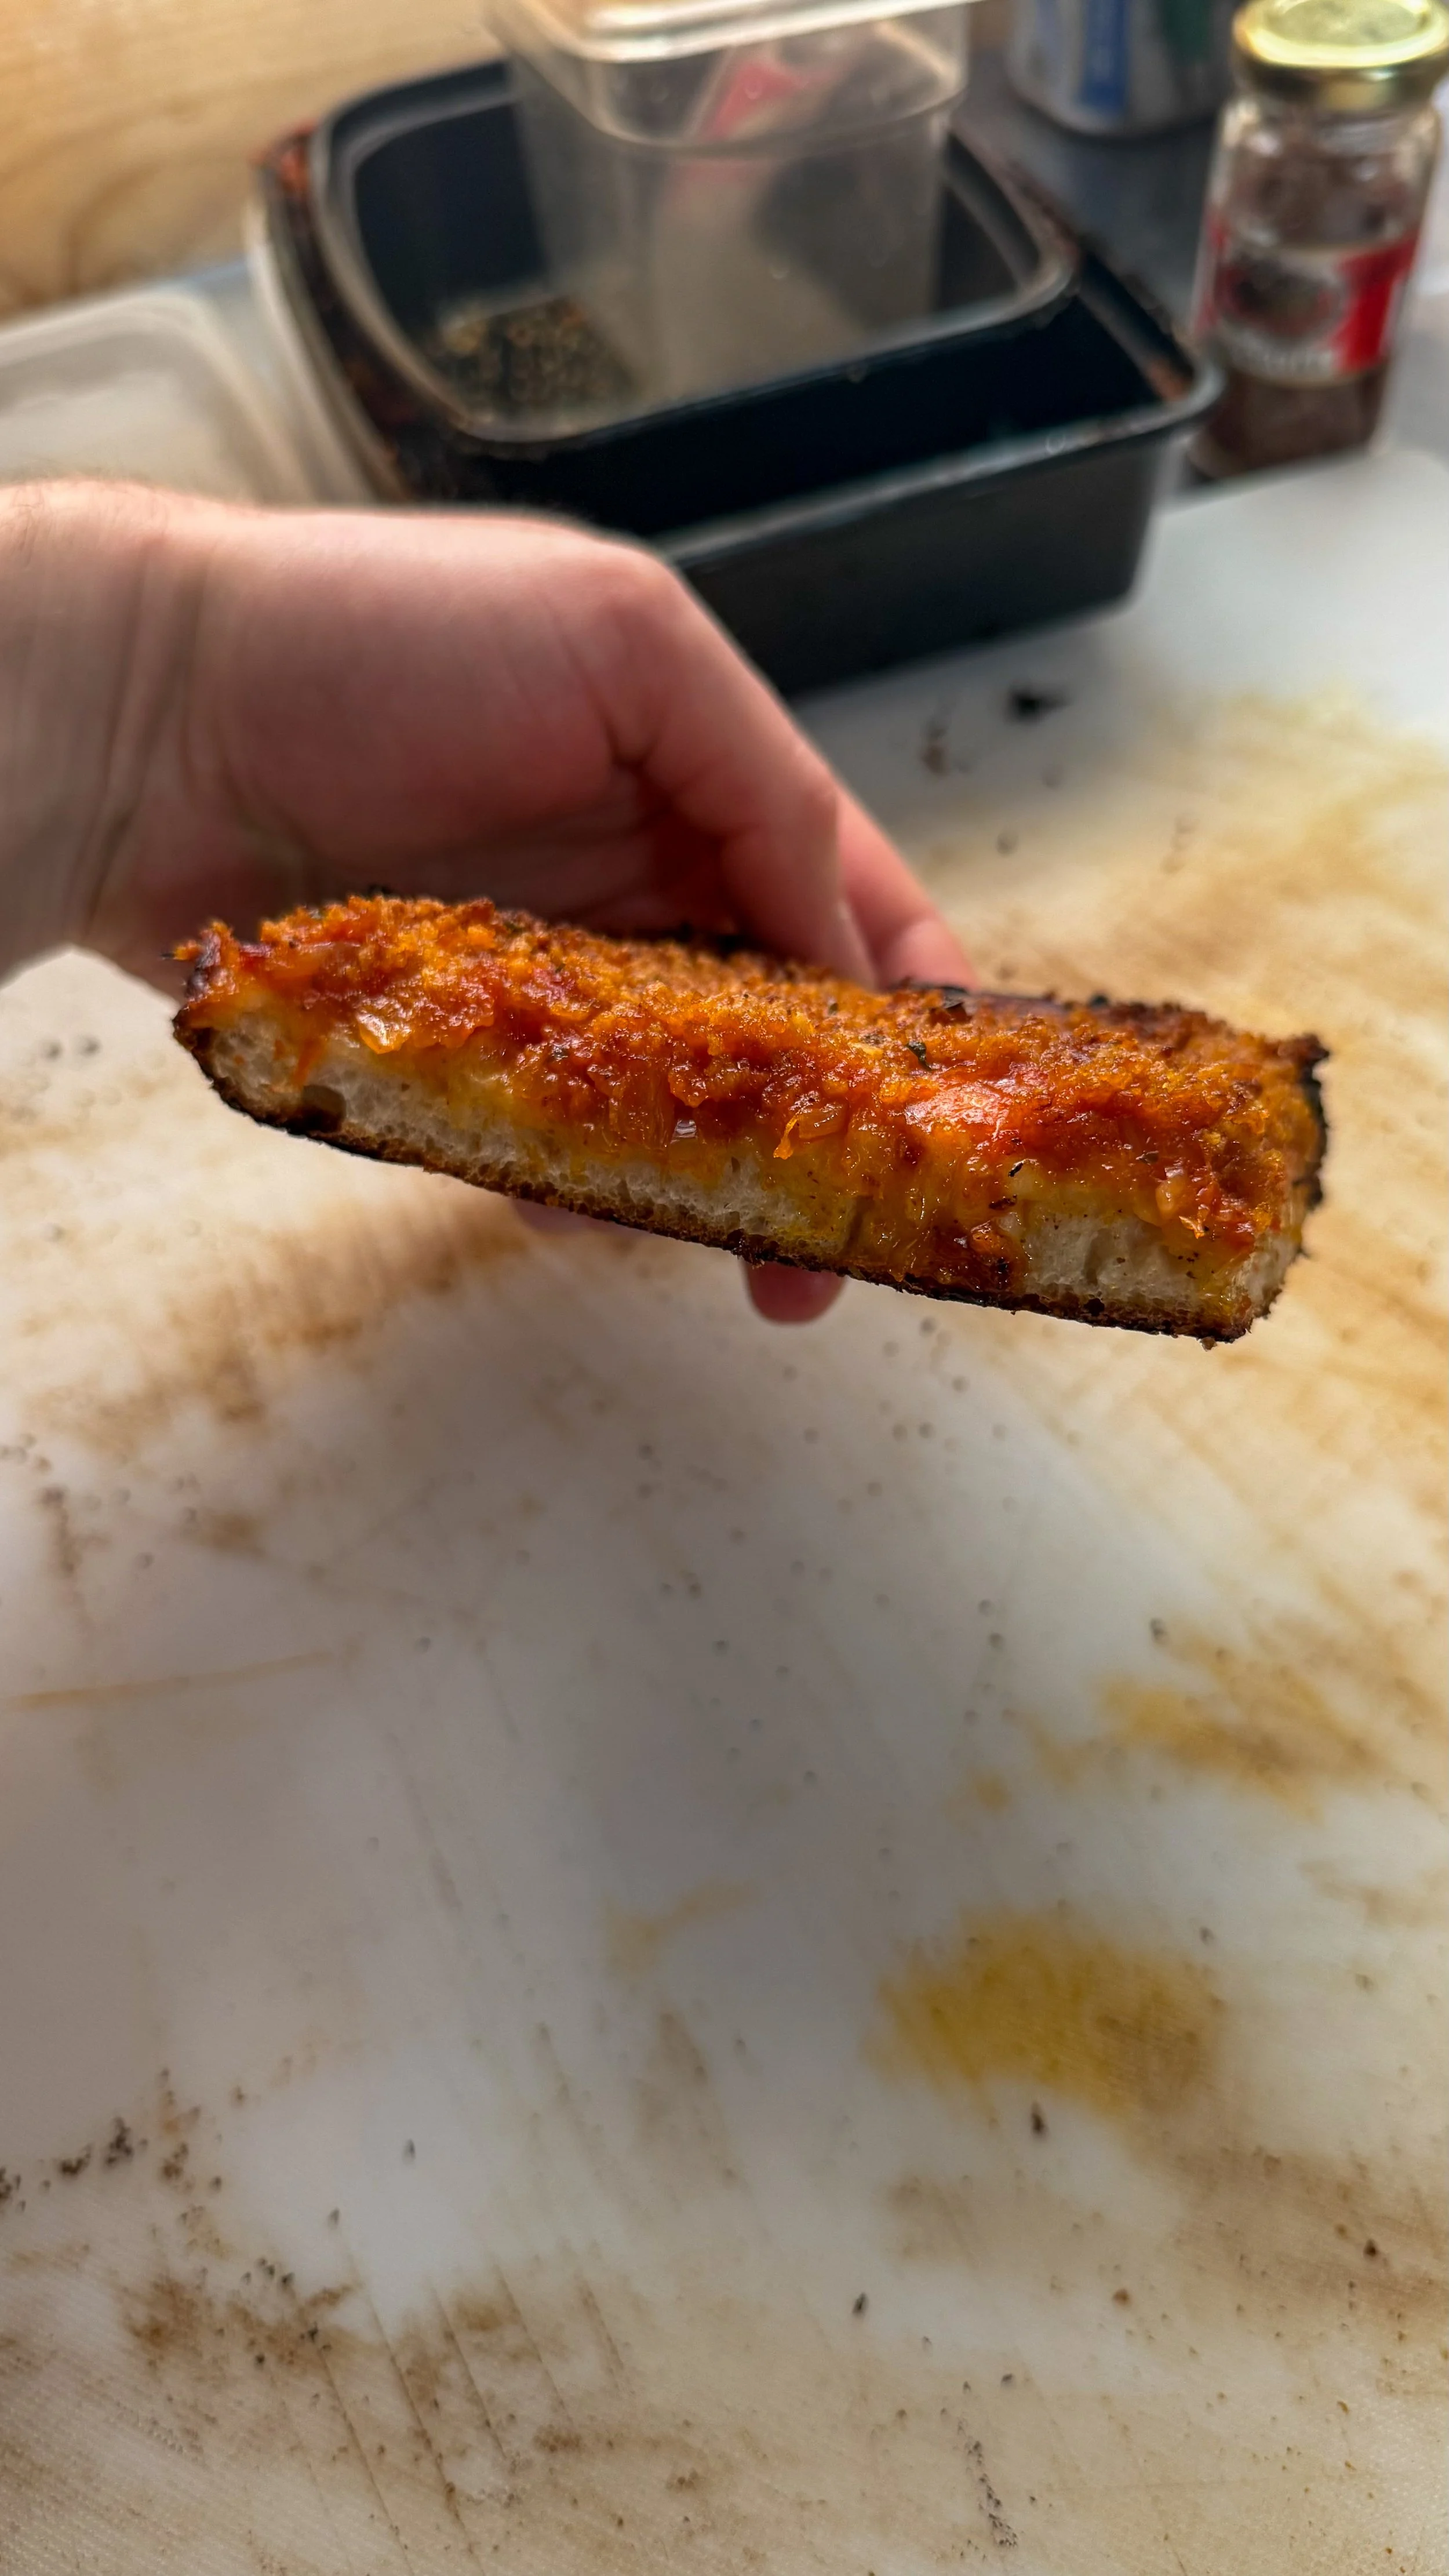
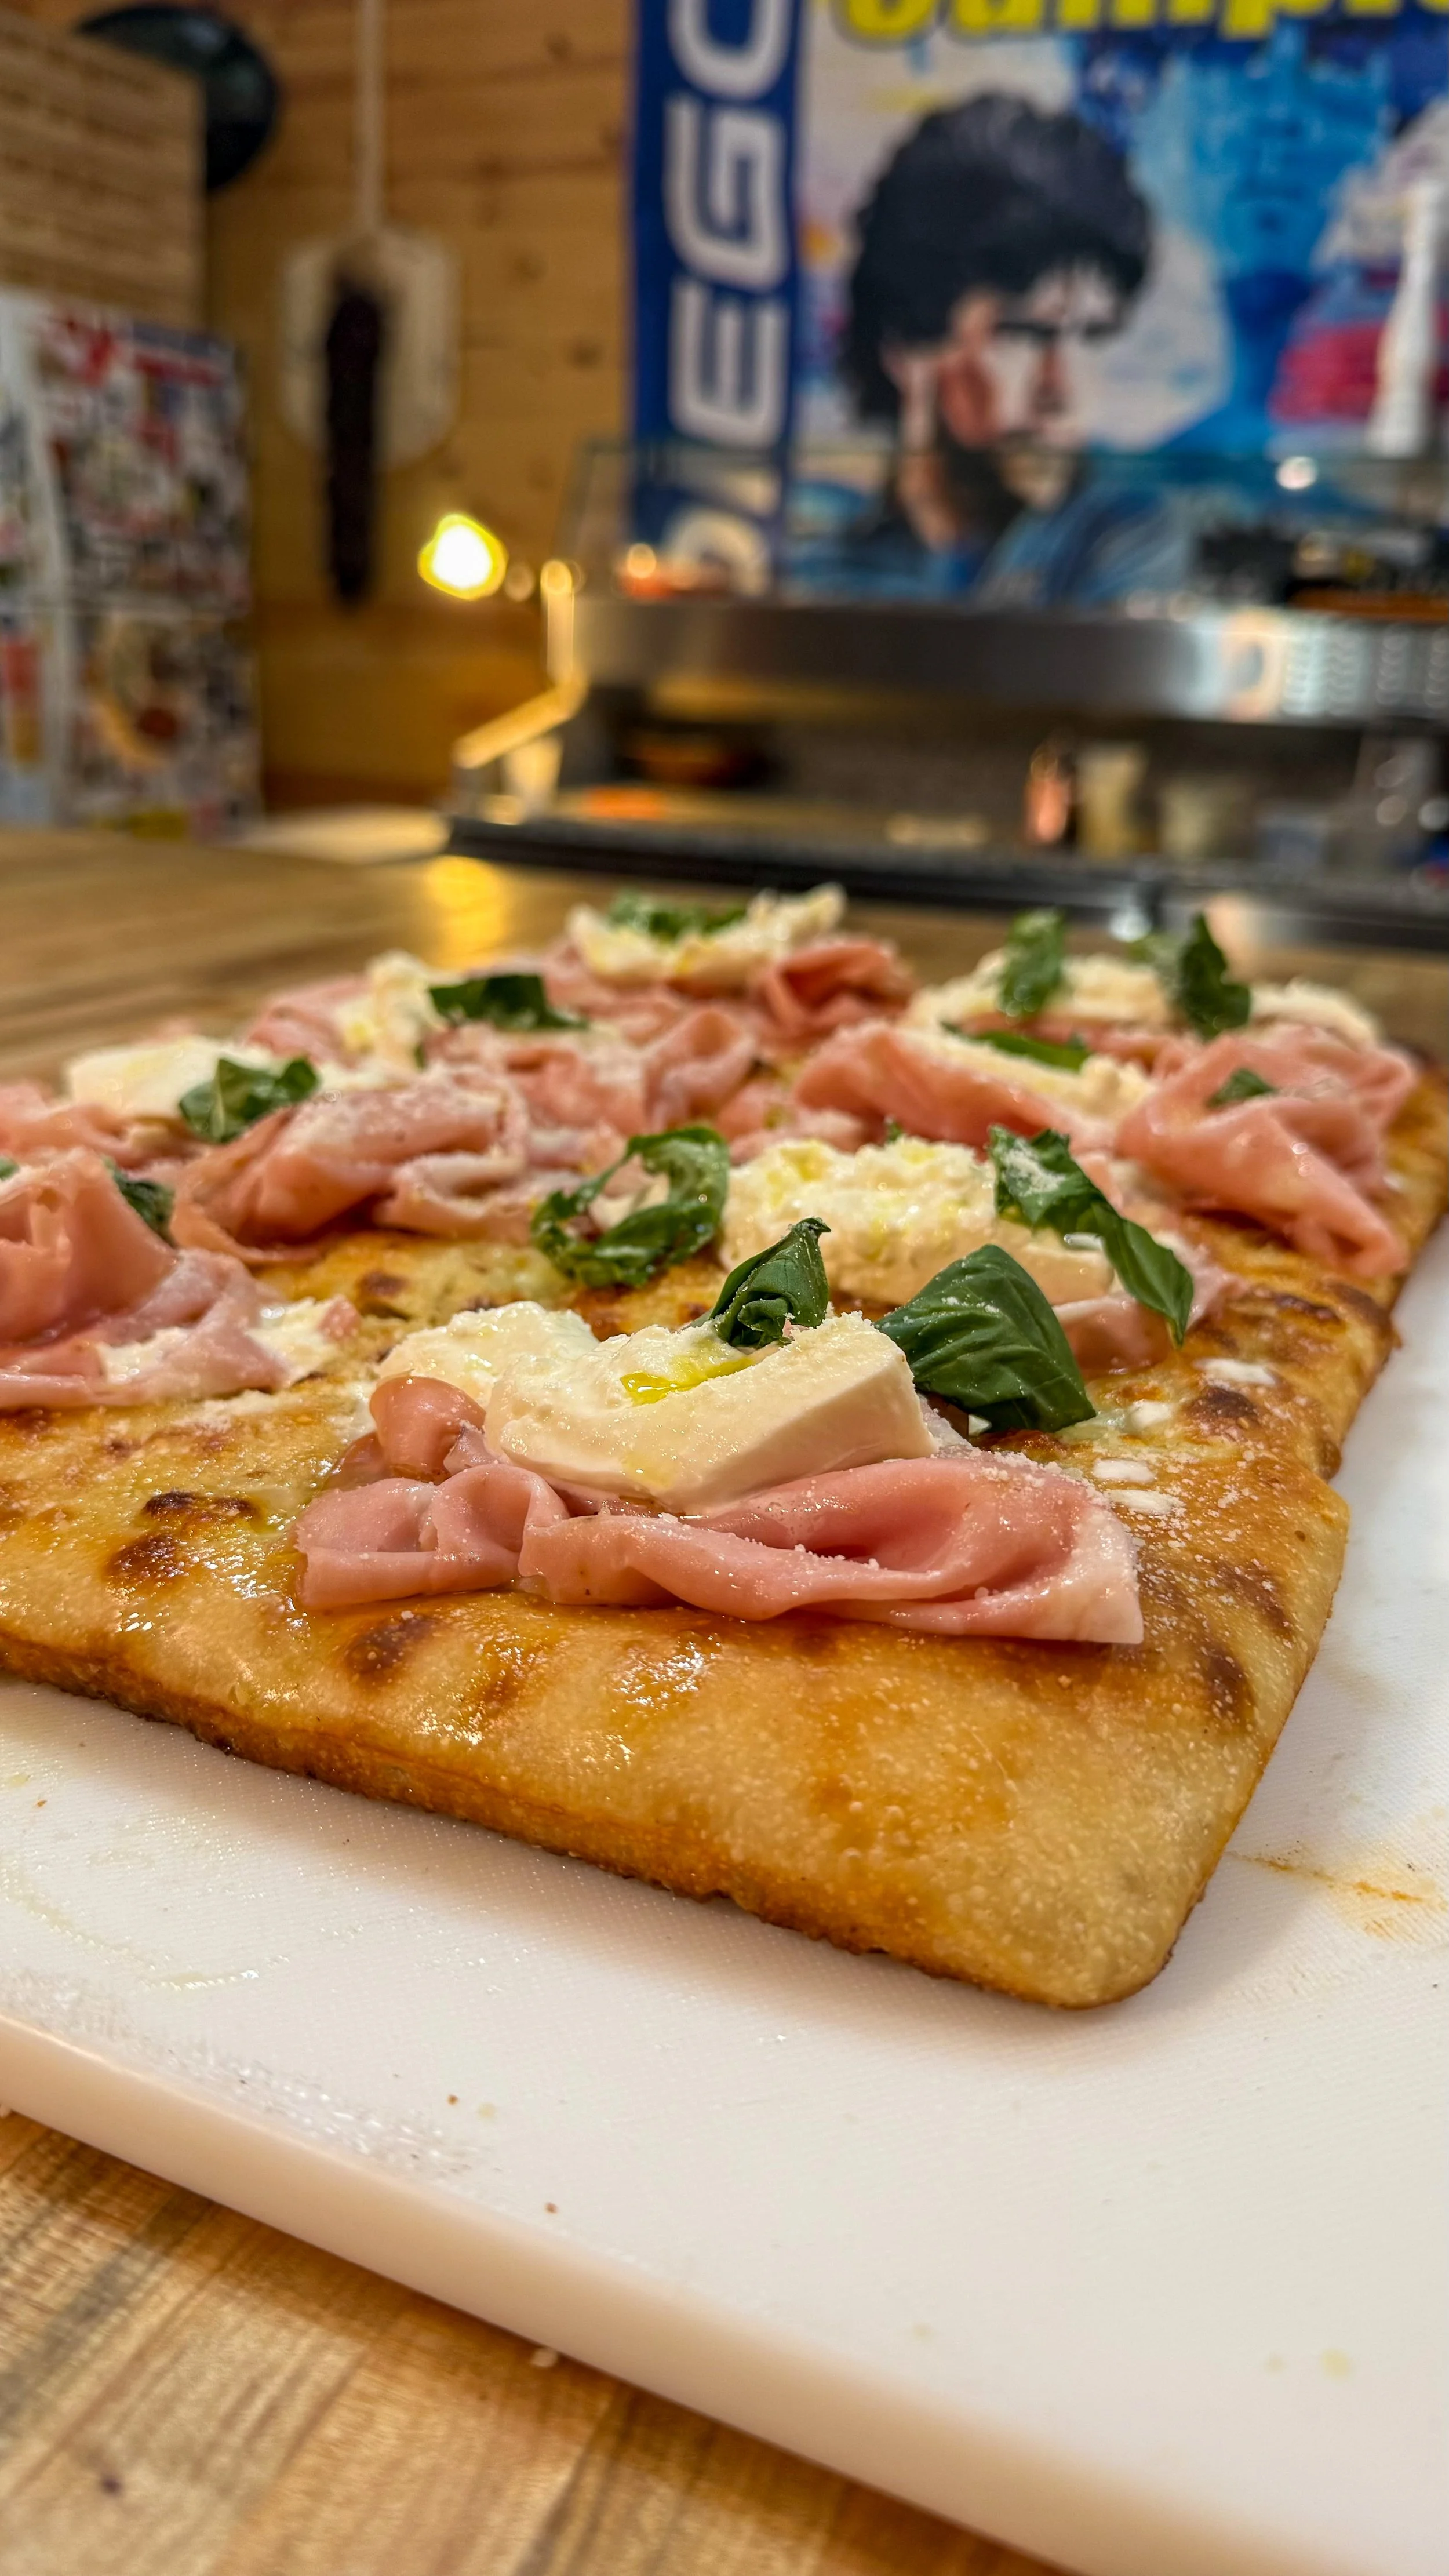
Rome's answer to fast food, and it absolutely demolishes a sad desk sandwich. Al taglio means "by the cut" and it's baked in long rectangular trays, sold by weight, and you just point at what you want like you're at a deli counter. The crust is airy, chewy, and deeply focaccia-coded (there, we said it). Toppings can go wild, and this is where Roman pizza gets creative. It's thought to have been a major influence on Detroit-style pizza, which also bakes in a pan, also has that thick, chewy crumb, and also has absolutely no time for your thin-crust opinions.
")
Roman Pan Pizza (Pizza al Taglio)
Ingredients
Instructions
- Divide the water and weigh out 310 grams then 35 grams. Add the kosher salt to the 35 grams of water and stir until it dissolves, set aside for now.
- To the bowl of a stand mixer, add 310 grams of the cold water, flour, malt powder (if using) and yeast then mix with the paddle attachment on medium speed until the dough comes together and pulls away from the bowl. Stop the mixer and let rest for 20 minutes.
- Turn the mixer up to medium-high and stream in the remaining salted water. Continue mixing on the same speed as you slowly drizzle in all of the olive oil. Continue mixing until the dough pulls away from the sides of the bowl, then detach the paddle and attach the dough hook.
- Start the machine on high and continue mixing until you have a smooth dough ball, roughly 3-5 more minutes. Cover tightly and bulk ferment in fridge for 24 hours.
- The next day, remove the dough fridge at least 4 hours before baking. On a dusted surface, shape the fridge-cold dough into a oval by folding it over itself while still maintaining some air inside, do not be too rough (see video). Transfer the dough to a sealable, rectangular container and set on the counter to continue fermenting and build gas.
- 1 hour before baking, preheat the oven to 500F with the pizza steel on the middle rack of the oven.
- Carefully remove the dough from the container and plop it onto your work surface that has been HEAVILY dusted with semolina flour. Oil up your pizza tray and set it close to the dough.
- Press the dough out by hand (see video), then shake off the excess flour and transfer it to the oiled tray.
- For Pizza with sauce, add the sauce now then bake for 5 minutes before removing the pizza to add the other ingredients and baking 8-10 minutes more.
- For pizza without sauce, bake the pizza for 10-12 minutes before removing it from the oven, adding toppings/sauce of choice, then baking an additional 2-3 minutes. Timing will vary based on oven so keep an eye on the pizza and if it cooks fast on top just tent it with some tin foil.
- Remove the pizza and allow to cool for 10 minutes before slicing.
Adam's Notes
- Dough total weight is 800-805g.
- This dough is HIGH hydration at 80%.
- NDMP is optional, but will give your dough a deeper color. Use 3% of weight of the flour.
- When par-baking, pop the air bubbles halfway through the bake otherwise they can get too thin, hard and crunchy.
- Bianco refers to "white" pizza with no red sauce. Rosso refers to pizza with "red" sauce.
Mattarello / Pizza Tonda Romana (The Thin One)
While everyone else in Italy was busy making thick, doughy pies, Rome also quietly invented the complete opposite. Pizza tonda is rolled out with a mattarello (a rolling pin, no hand-tossing here, that's chaos) until it's paper thin and cracker crispy. It snaps when you bite it. It's almost aggressively flat. And it probably raised a few American kids without them even knowing it. Tavern-style pizza in Chicago, bar pizza in Boston, St. Louis style with that cracker crust... all of them owe a little debt to Rome's underrated thin-and-crispy tradition.
Like all these recipes, I translated them for home kitchens.


Pizza Mattarello aka Tonda Romana
Ingredients
Instructions
- 1. Mix Dissolve salt in cold water in a large bowl. Add about 1/4 of the flour and mix by hand until smooth. Add yeast and mix in. Continue adding flour in batches until fully incorporated. Add olive oil last and mix until the dough comes together.
- 2. Knead Turn out onto a clean unfloured surface and knead 8-10 min until smooth and firm. This dough should feel noticeably stiffer than Neapolitan. That's correct. It needs to be strong enough to roll paper thin without tearing.
- 3. Bulk ferment Cover tightly and refrigerate 24-48 hrs. 48 hrs preferred for flavor.
- 4. Ball up Remove from fridge and divide into 6 equal balls (~270g each). Shape into tight balls, place on a lightly oiled tray, cover with plastic wrap, and rest at room temp for 2 hrs. Don't rush this. Cold dough will fight the rolling pin.
- 5. Preheat oven Crank to 500-550F with your baking steel or stone on the top rack as close to the broiler as possible. Preheat a full hour minimum.
- 6. Roll out On a lightly floured surface, use a rolling pin to roll each ball into a 13-inch round. Thickness: 4 Post-it notes thick. Roll from the center out, rotating the dough a quarter turn between passes. Even thickness matters more than a perfect circle.
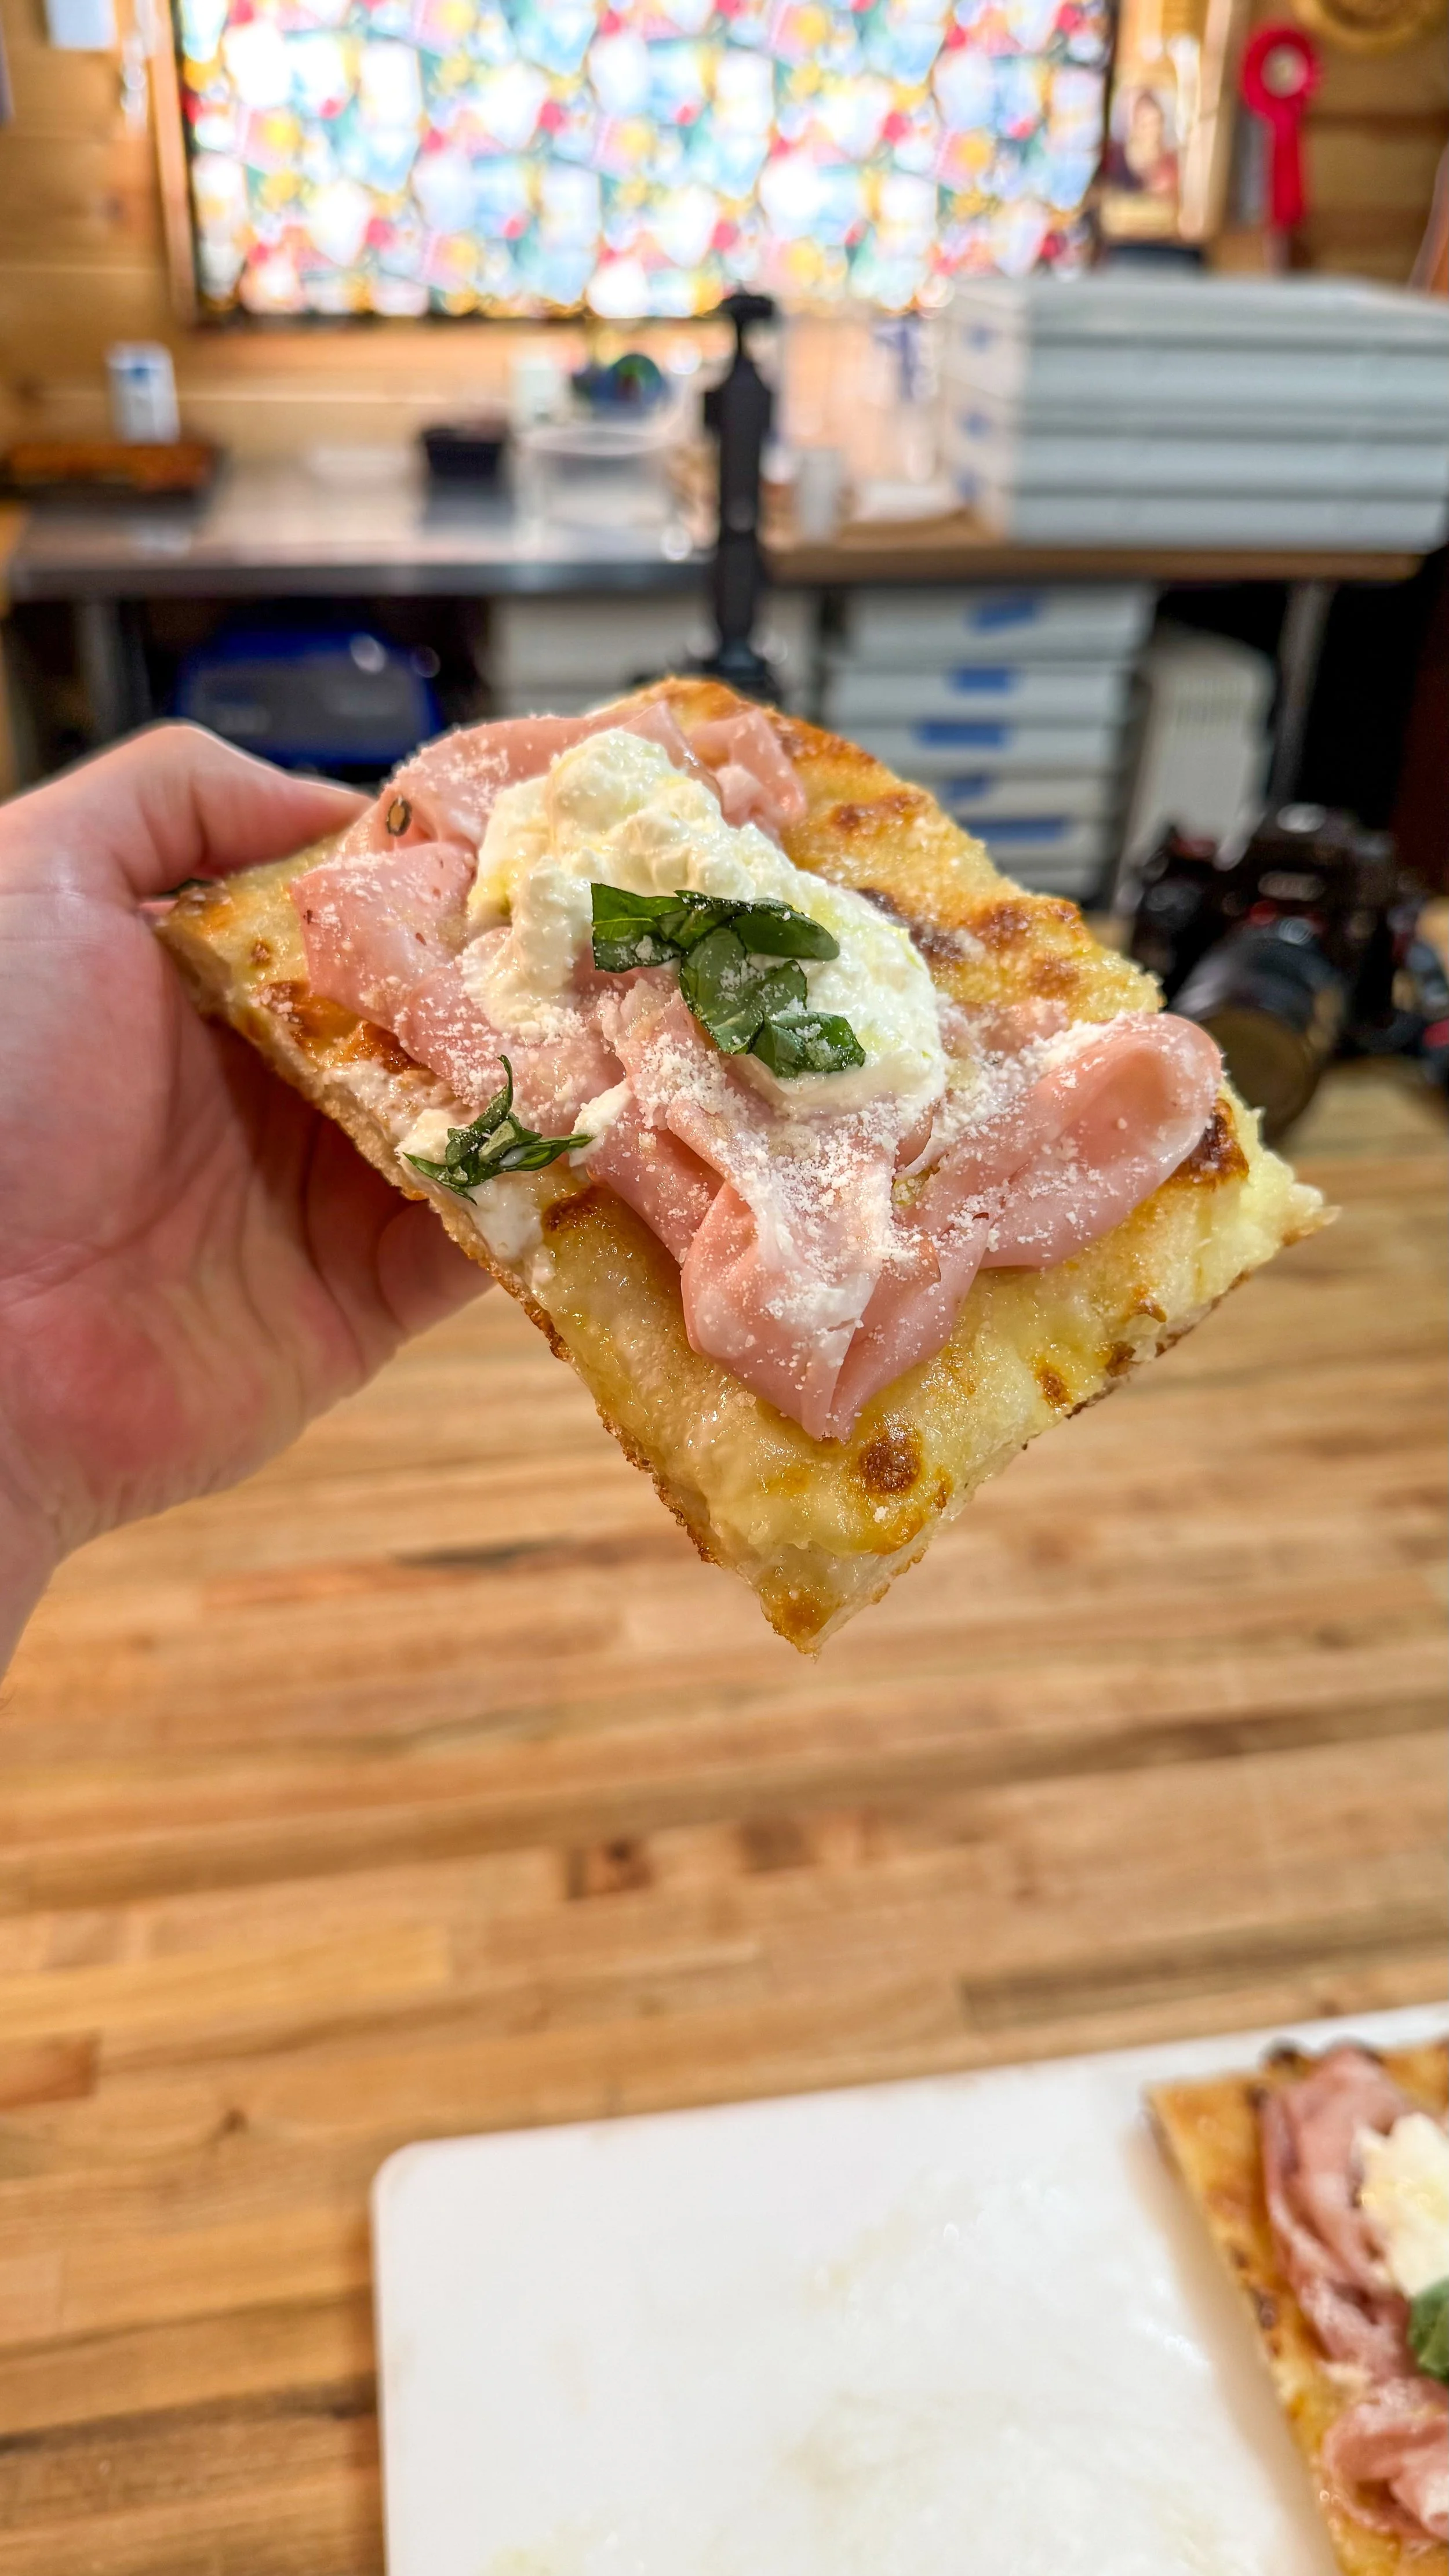
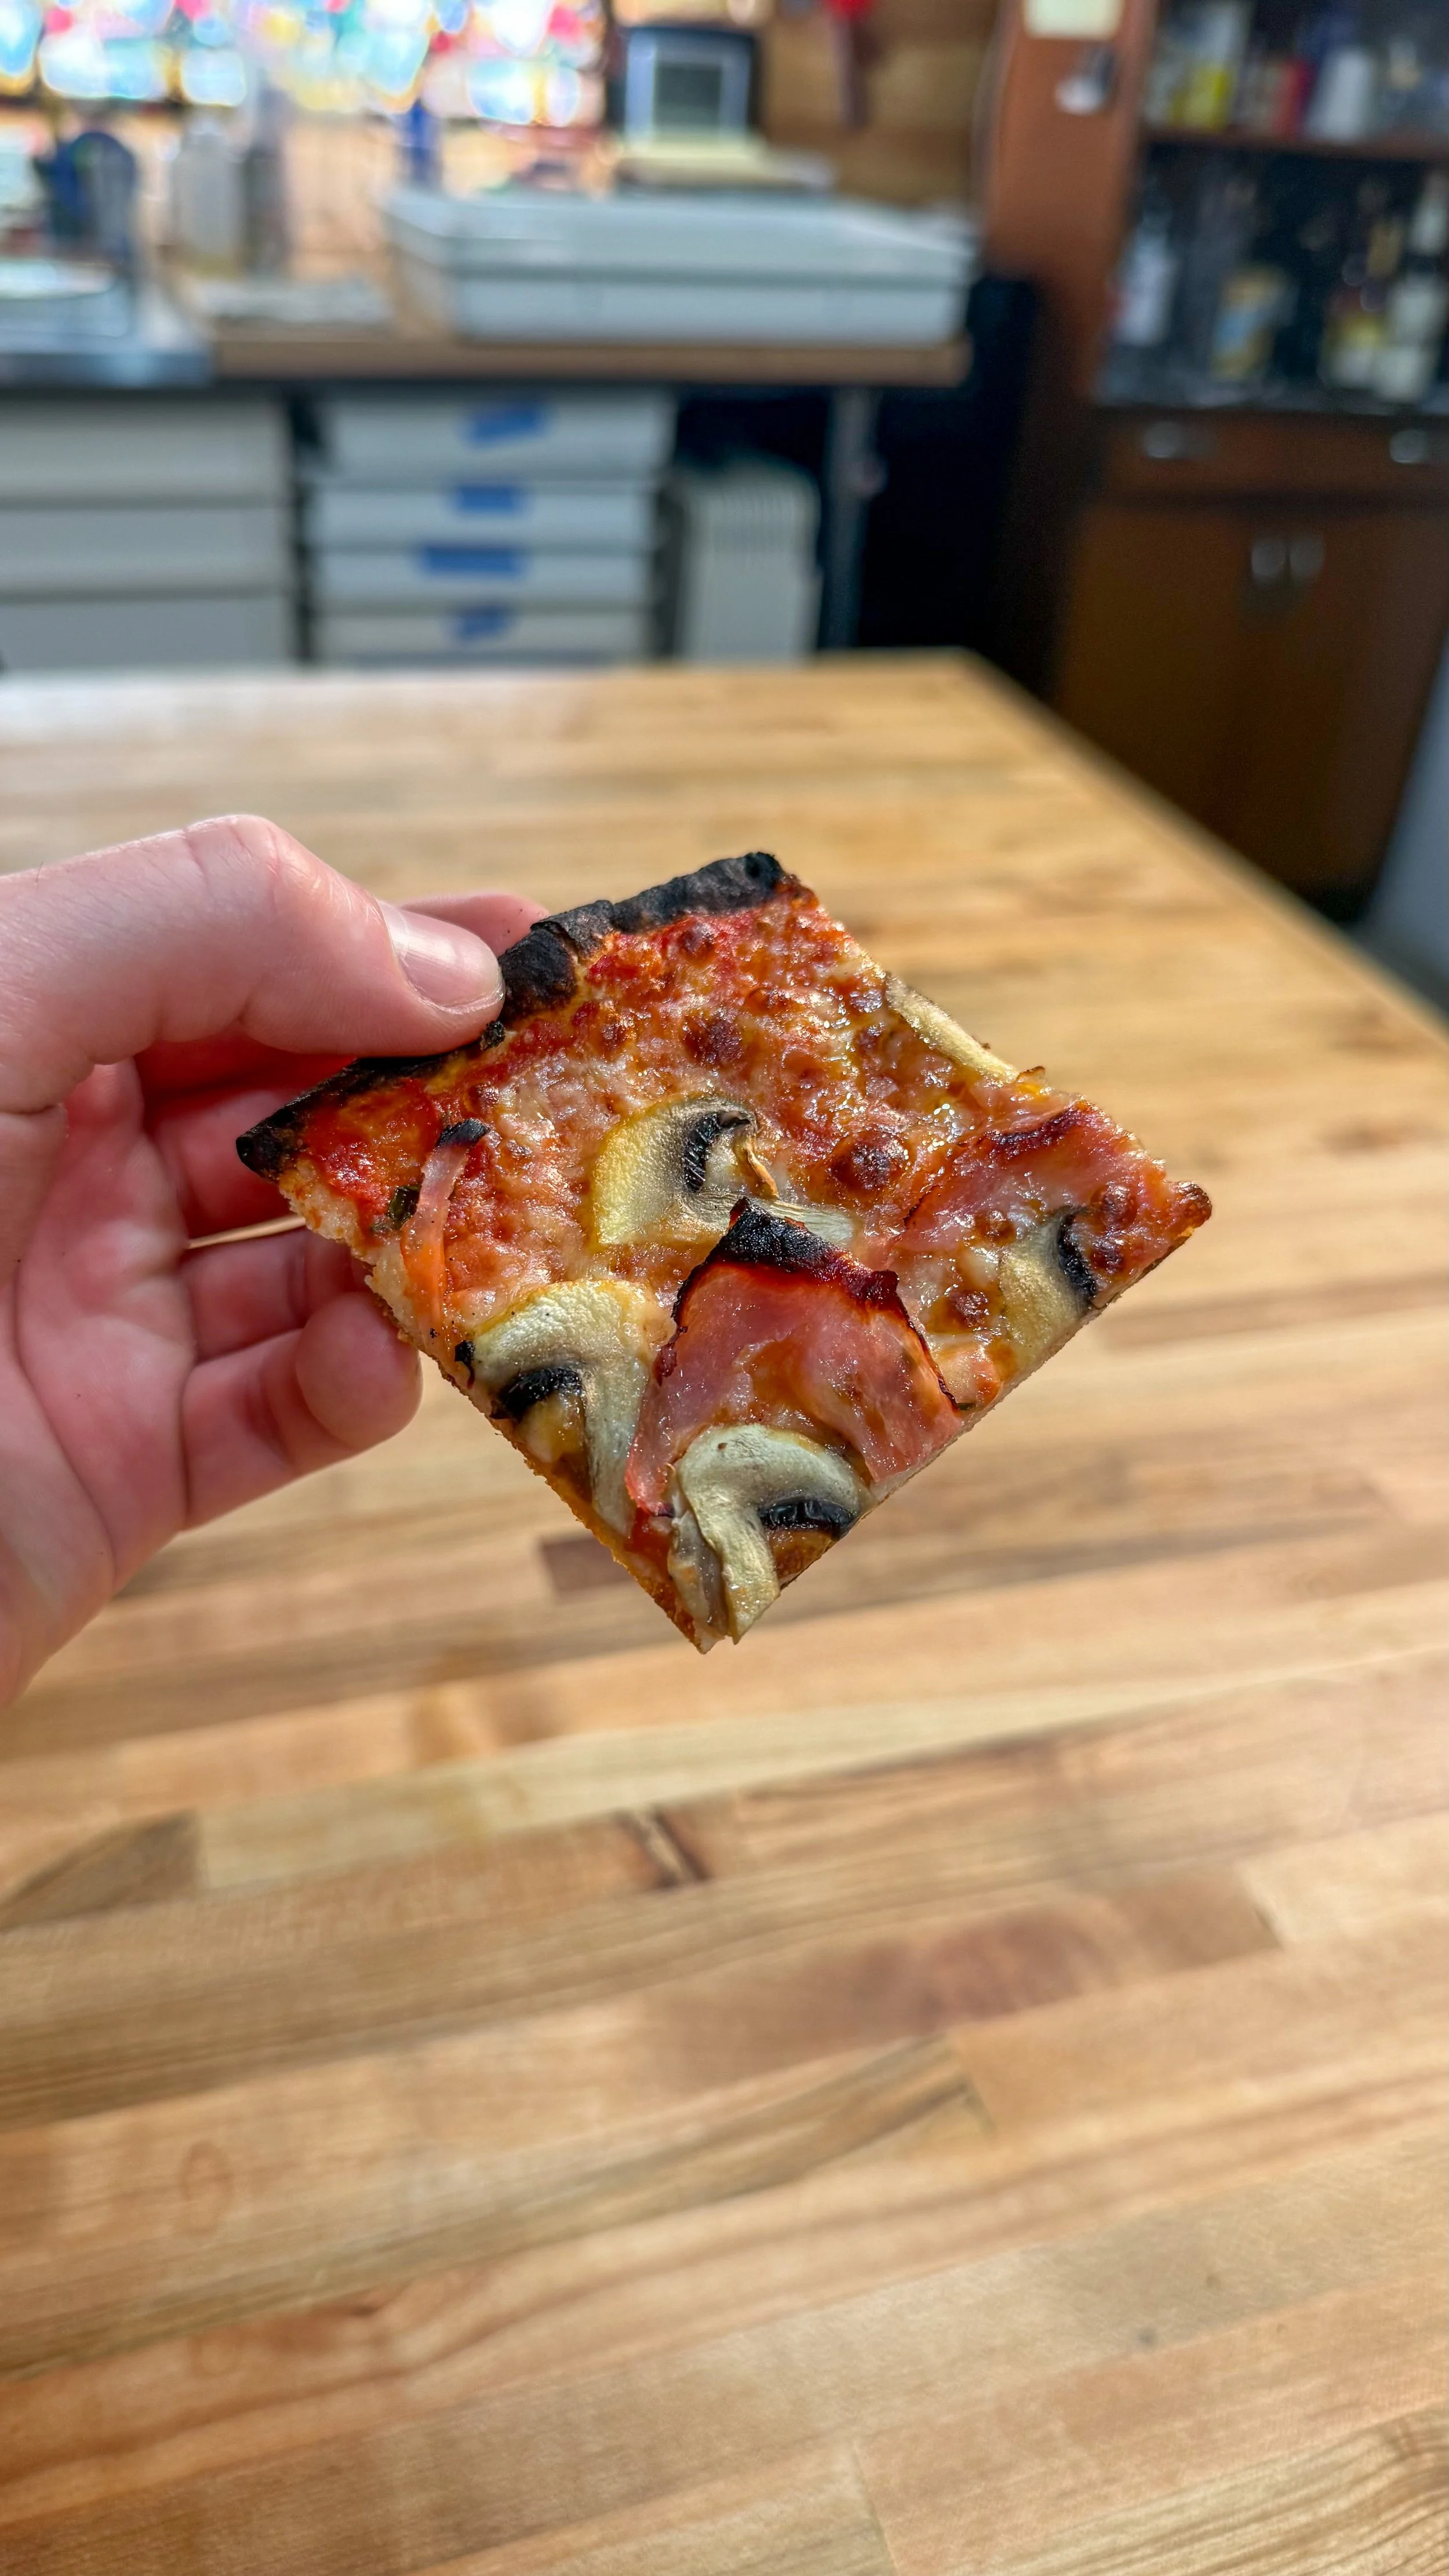
- 7. Top it Transfer to a floured peel or back of a baking sheet. Spoon on sauce thin, 2-3 tbsp max. Scatter mozzarella. Layer on the prosciutto cotto and coppa. Distribute the sliced mushrooms evenly over the top. Drizzle with olive oil.
- 8. Bake Slide onto the hot steel/stone. Bake 5-7 min until the base is crispy and the edges are golden with some char. Hit it with the broiler for the last 60-90 sec for color on top. Watch it.
- 9. Finish Slice into rounds or squares and eat immediately.
- Crush canned tomatoes by hand in a bowl. Remove any hard or stringy bits. Season with salt. No cooking needed.
Adam's Notes
Hydration is lower here (60%) than Neapolitan on purpose. It's what makes the dough rollable and gives you that crispy, cracker-like base.
The olive oil in the dough adds extensibility and a slightly richer, crispier texture.
4 Post-it notes thick is Chef Leo's benchmark. Aim for it consistently across the whole round or you'll get uneven baking.
No baking steel? Upside-down cast iron skillet works. Preheat it just as long.
Mozzarella tip: If using fresh, tear it and rest on paper towel 20 min first to draw out moisture.
Mushrooms: Slice as thin as possible. Thick slices won't cook through in 7 min at this temp.
Dough keeps individually wrapped in the fridge up to 5 days or freezes well after balling.
Note on assembly: All three toppings go on before baking. Prosciutto Cotto handles heat well unlike its cured counterparts, so no need to hold it back. The mushrooms will roast down and the ham will get a little color. Win all around.
Disclaimer: I earn commission income with qualifying purchases made through Amazon’s Affiliate program and other affiliate links in this description.